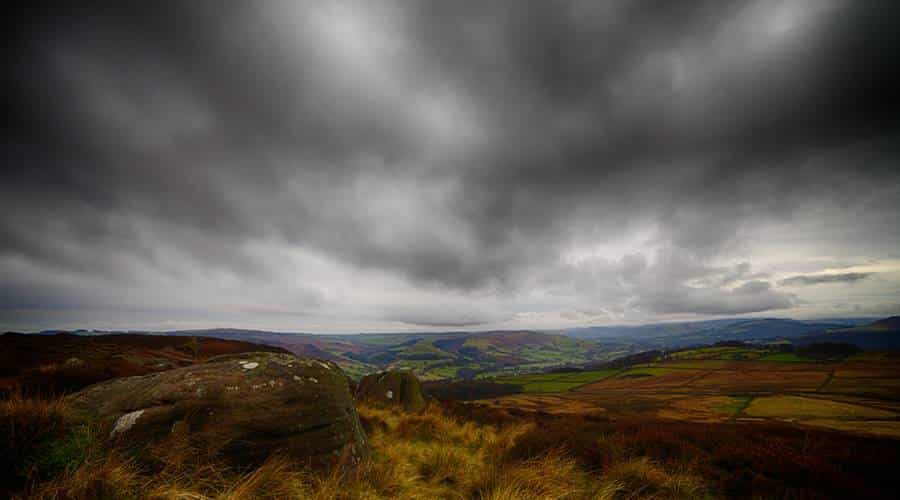
My sky is burnt (overcast sky). That is an observation that I hear regularly, and I understand your frustration. Be aware that the human eye detects a much wider dynamic range compared to a digital camera, i.e. between 14 and 27 notches versus 9 notches. Admit it’s a mess.
In addition, this type of difficulty occurs on heavily sunny days, especially between 11 am and 14 pm in the afternoon. The sun spreads its rays and creates strong contrasts on the panorama. However, a high contrast between the sky and the ground will become problematic, because the camera cannot capture the scene as human vision perceives it.
The sky will then be too exposed (so burnt), turning white, or the ground so dark that it will be difficult to discern the details. Frustrating you can say?
To remedy this problem of burnt sky, there are some simple tricks to perform. In fact, the ideal is to be able to control the result in the shot, and not in post-treatment. It avoids wasting a crazy time trying to work (desperately) a failed photo.
Note: If you shoot in RAW, you record a much wider range of data. This allows you to restore a sky that seems burnt at the first analysis, but during the post-treatment regains all its splendor. The JPEG format, on the other hand, does not offer this latitude, you are limited as to what information you can retrieve.
1. CHECK THE HISTOGRAM
This is a tool that, at first glance, seems rebar, just to read the word his-to-gram on frown (or rise) the eyebrows. But what is a histogram? This is a diagram representing the distribution of light and dark tones in your image. Dark tones will be distributed to the left of the diagram, light tones to the right and medium tones to the center.
In other words, it gives information about the exposure of your image. You can check on the spot if your photo is overexposed and make adjustments to avoid an overcast sky. You can check the histogram on the LCD of your case or, on some models, superimposed on the LCD as a reference before taking your picture.
Ideally, we want a histogram whose pixels will not climb on the right side of the diagram (over exposure) or pasted on the left side (under exposure).
Enable High Light Turn Signals
When activated, an over exposure alert is displayed on your LCD. This allows you to immediately see if you have over exposed (burnt) areas.
To enable the option:
—> Display menu —> Display Options —-> High Lights
If you take a photo where the high lights are over exposed, the targeted areas will flash. Very convenient. I use it regularly.
2. RAW VERSUS JPEG
What does the word RAW mean? This English term means: crude. In fact, it is a digital file whose information has not yet been processed, and you will have complete control of the result in an appropriate development software.
The advantage of the RAW file is that it will give you more latitude to restore an overcast sky. If your image is slightly under exposed or over exposed, it will be possible to retrieve the information and bring out the details during post-processing. More delicate task with a JPEG file.
3. GRADIENT NEUTRAL DENSITY FILTER (ND)
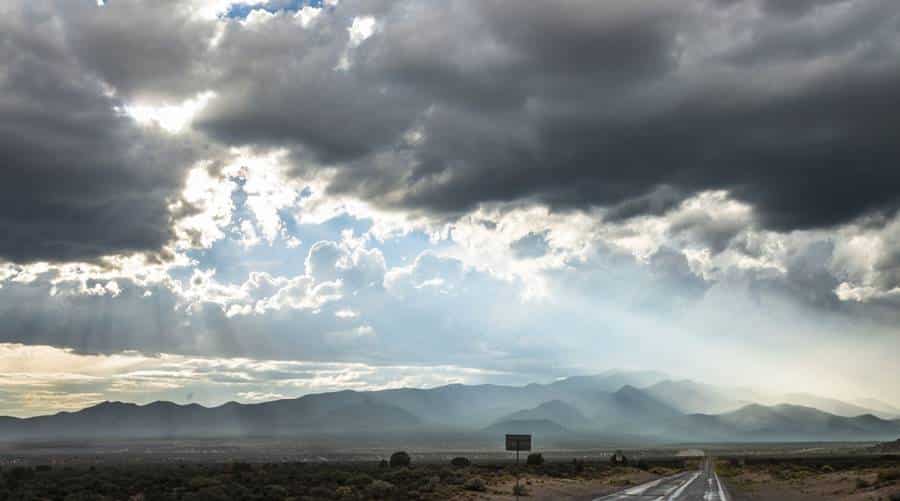
The gradient neutral filter offers a good solution. It allows better control of the difference in exposure between the sky and the ground. The upper part of the filter is darker than the bottom, so it preserves the high lights of a bright sky and leaves the dark areas of the ground intact.
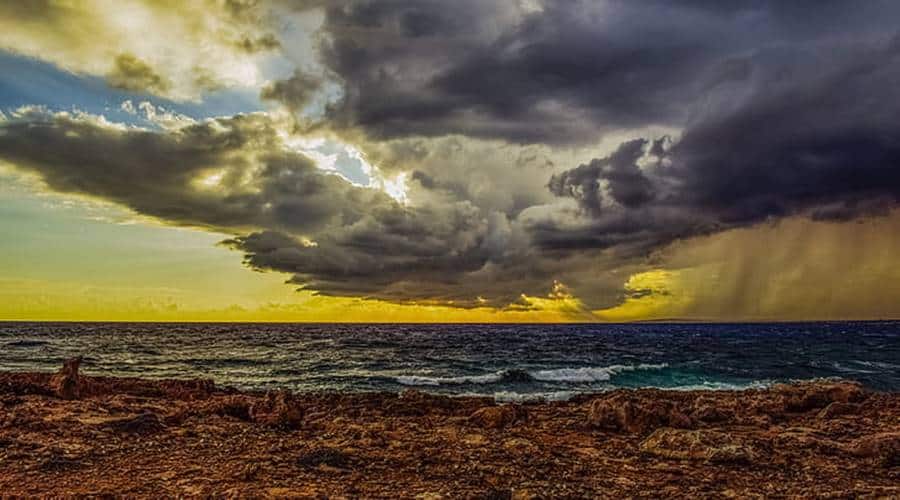
The so-called “hard” filter is useful for landscapes with a well-defined horizon line, such as meadows or seaside scenes.
The so-called “soft” filter will be used for mountain landscapes, or any element beyond the horizon.
Opt for a dimming of -2 diaph to attenuate a cloudy sky, or conversely, a sun that illuminates the sky too much.
Use -3 diaph dimming to optimize golden hour scenes.
4. MERGE TWO IMAGES IN PHOTOSHOP
If you feel bold, and own Photoshop (Photoshop Element, Gimp, or Photo filter), you might consider merging two photos together. It involves photographing a series of images, at various exhibitions, in order to select the two photos (that of the sky and the ground) that you will combine in a processing software such as Photoshop.
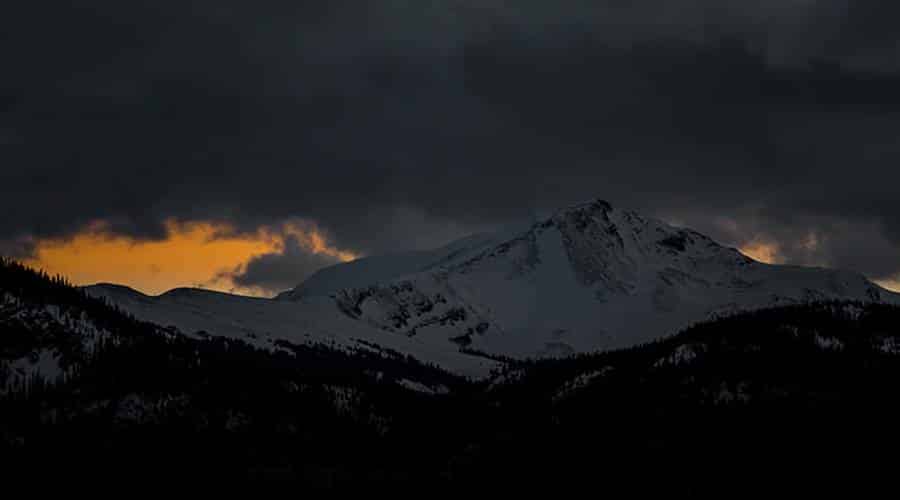
So, you have two images, one displayed correctly for the sky and the other for the ground. Combined together, they produce a scene with a natural rendering. No burnt Sky! Yippee! This technique is a little more complex, I agree, but with patience and practice you will achieve satisfactory results.
Note: Make sure you have a tripod for stability and record sharp images to overlay them well, thus avoiding ghosting. Don’t forget to lock your focus.
You may also like to read: Lens Aperture: What Is It?
5. HDR PHOTO TO AVOID AN OVERCAST SKY
Another solution to photos with a burnt sky is the HDR (High Dynamic Range, or extended dynamic range) technique. This requires the use of HDR processing software, such as Photomatix Pro, but be aware that several other software is available.
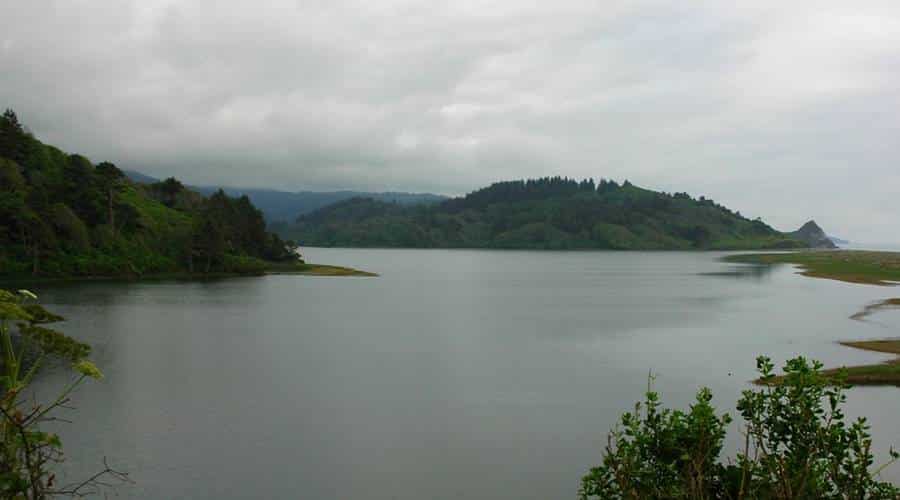
Your camera on tripod, you photograph the scene by taking several images (between 3 and 5), bracketed at various exhibitions (-2, -1, 0, +1, +2), then merge them into HDR processing software. Thus, you get a harmonious image, the details of which both in the shadows and in the highlights are preserved.
CONCLUSION
So, now you have 5 methods to apply to avoid an overcast sky. Start by familiarizing yourself with your histogram, the information provided is valuable and can save you from many worries. Then do not forget the RAW format, it is certainly more voluminous, but the collected information is not to be overlooked.
And finally, if you want to try a more advanced formula, do not hesitate to explore image fusion and HDR technique. If you have a trick to avoid a overcast sky, feel free to share it with us in the comments.
On this, I wish you a heaven up to your expectations! 🙂


