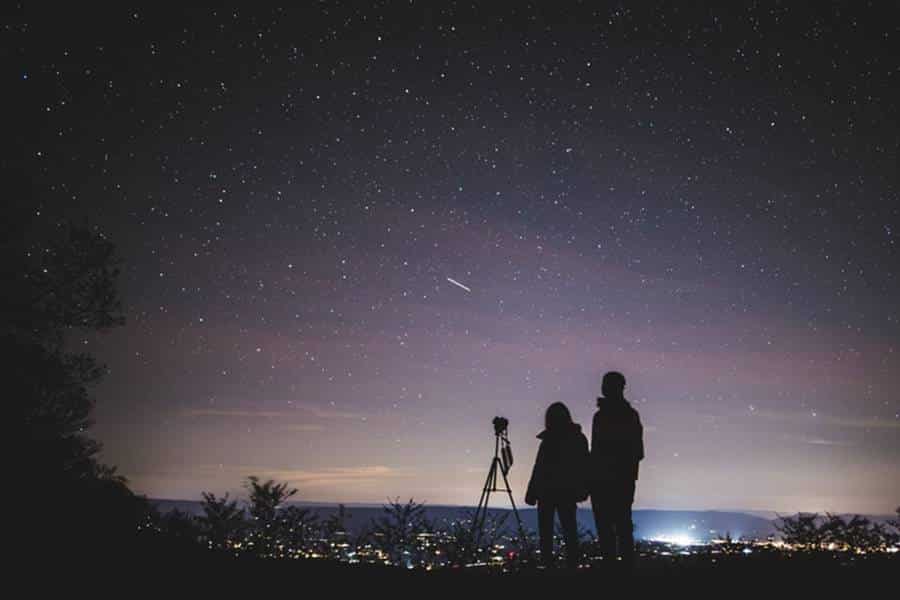
In this article, I’ll tell you the essential astrophotography equipment selection. In ordinary art photography, every more or less professional photographer, before shooting, selects equipment, i.e., the camera used, a set of lenses for it, a tripod, and accessories, depending on the requirements of the subject of photography. A beginner amateur in astrophotography should do practically the same.
For astrophotography, it is better to use a digital camera rather than a film camera. Since with a film camera, there will be specific difficulties associated with processing the results obtained after development. It doesn’t have to be an expensive DSLR. The main thing is that the camera allows you to manually control the settings and make it possible to work calmly with long exposures.
When using a DSLR camera, the photographer gets the opportunity to use both long-focus lenses and telescopes and short-focus optics, which certainly expands his creative arsenal. But for a beginner, it may be better to start by photographing with a conventional digital camera with a short-throw lens so that you can first learn how to shoot the brightest nebulae and endless star fields before moving on to more detailed photography.
Basic Astrophotography Equipment
With only a digital camera and a tripod at hand, you can take exceptionally high-quality pictures that will decorate your photo album. Generally following photography equipment are required for astrophotography:
- Astrograph (or you can also use a telescope with camera mount),
- A DSLR Camera,
- A Laptop, and
- Software
It is no exaggeration to say that astrophotography is one of the most technically challenging areas of photography. Difficulties lie not only in some remoteness of the objects of observation but also in various moments of an organizational nature.
1. Choosing an Astrograph or Telescope
Astronomy as a hobby has interested me for a long time, and finally, there was a practical opportunity to try myself in this business. The number of rakes on this path can be counted in a dozen, and perhaps such an article will save beginners from unnecessary expenses. Before choosing a telescope for astrophotography, you need to know that three telescopes depend on the type of mount used.
After all, as long ago, Galileo said, “the Earth turns, and the telescope must turn after the stars in the sky.” Therefore, the mount is just as important a part of the telescope as the optical tube itself. So, there are three types of mounts:
A. Equatorial Mount
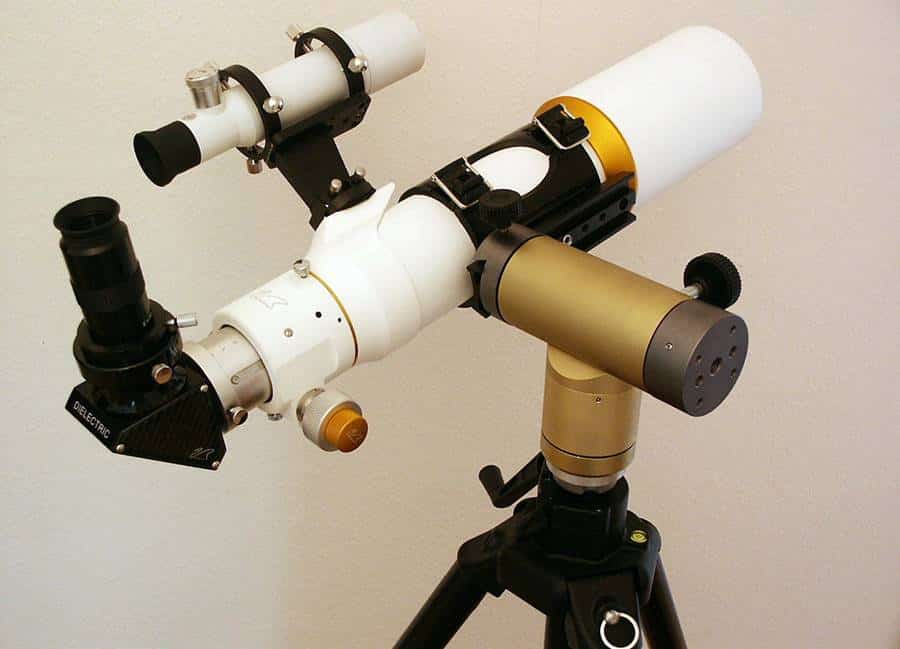
The correct type of mount for astrophotography. The axis of the mount points in the direction of the North Star (the axis of rotation of the earth), so ideally, the telescope rotates in sync with the sky. Ideally, because in reality, the mechanics are imperfect, and pointing to the polar star is also. The problem can be solved by buying an additional guiding camera, which more accurately holds the pole star in the center (cost around $200-$300). You may also need all sorts of fasteners and other pieces of iron, which are not included with the telescope, but they are very decent.
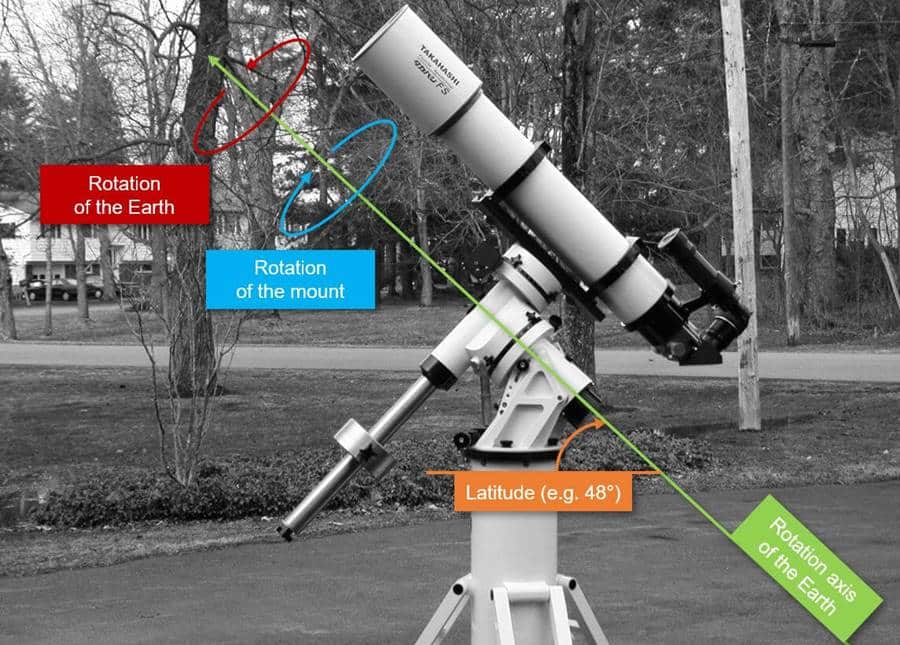
Rake N2 – as you can see from the photo, the mount is quite bulky and heavy; in addition to the telescope, there are also counterweights, the total weight of the structure can be 20-30 kgs.
B. Altazimuth Mount
This mount type is lighter and more straightforward, requires less space, and is generally quite good. However, as you might guess, the observer loses in quality, mainly because the telescope axis rotates out of sync with the earth’s axis. The so-called “field rotation” takes place, making long exposures impossible. It is the N3 rake.
However, this is not so critical for short exposures, and if you wish, you can buy the so-called “equatorial wedge”; with its azimuthal mount is essentially transformed into equatorial and telescope will be something like this:
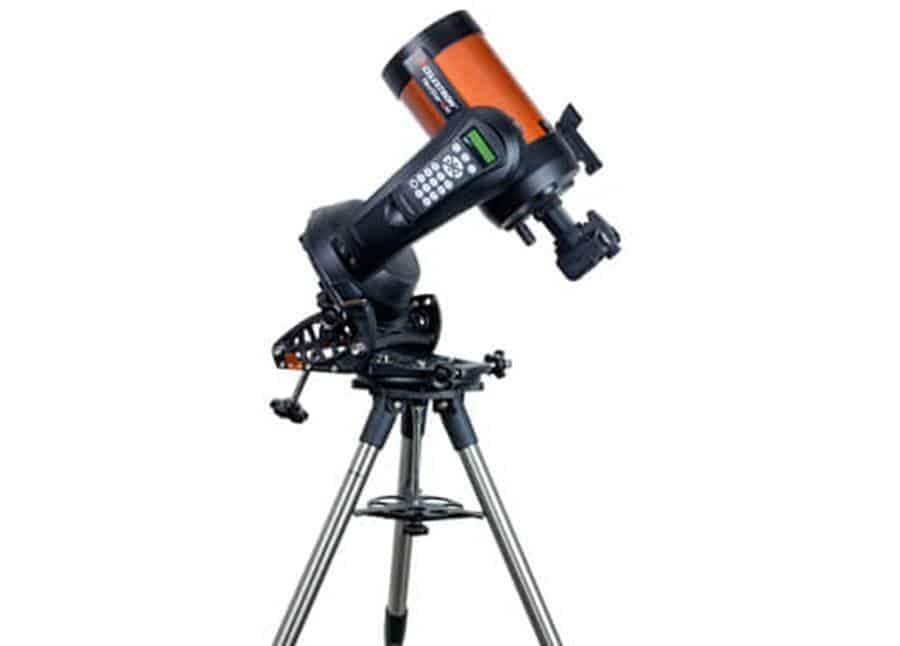
The price of this wedge of about $300, that is, rake N4. So, it’s not worth it – if you put the aim to make high-quality photos, it’s easier to buy an equatorial mount right away than doing such a dubious upgrade.
In my case, everything was decided for me – the equatorial mount does not fit on my balcony, so in general, there was no choice; I had to take the altazimuth mount.
C. Dobsonian Mount Telescope
S Mount – The simplest and cheapest type of mount. For astrophotography, by and large, it is not suitable at all, except for the moon and planets. There are computerized Dobson mounts with electric motors, but their price is quite considerable, and there is no sense in this for astrophotography in general.
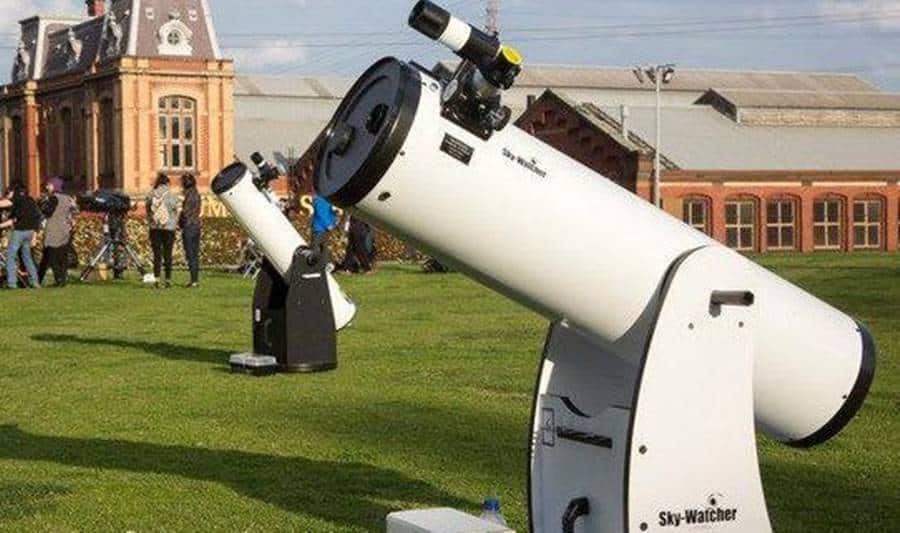
However, plus the Dobson mounts in their cheapness – for example, for the same price, you can buy a 125mm telescope with electronics or a 200mm telescope on a Dobson mount. The second will reveal much more. In general, if you don’t have enough money, then you can think about this too.
Selection of Aperture (Lens Diameter)
By and large, for astrophotography, the aperture is not so critical – unlike the eye, the camera can accumulate light. But you also want to look through a telescope, so this parameter is crucial. It all depends solely on the price and financial capabilities of the buyer. Approximately, several options can be distinguished:
- Up to 120 mm: It is more of a toy where you can see something, but the choice of objects will be minimal. It price up to $600.
- 120-160 mm: an average level, quite suitable for the beginning and further “growth.” The price range is $600-1200.
- 200 mm and Above: for highly advanced astrophotographers, there are already questions of both price and size ($10-50K).
In general, there is a rake N5 – this is the mass and dimensions of the telescope. You can buy just an excellent telescope weighing 30 kgs, and the desire to take it out into the street will disappear for the third time of observation.
A telescope with a diameter of 5-8 inches is quite a good compromise to start with, allowing, on the one hand, to see a lot; on the other hand, it is not so stressful in terms of size and price.
Of course, there are other parameters, such as the optical design, aperture ratio, focal length, but everything, in general, cannot be described in one article. In my case, based on the requirement of compactness, the “Celestron Nexstar 6 SE” telescope was purchased.
2. Camera Selection
5-10 years ago, astronomy beginners put digital cameras on telescopes through adapters and reworked webcams. Now it has become irrelevant; more or less ready-made solutions have appeared. The camera is connected to the telescope instead of the eyepiece; USB2 or USB3 is used as the interface.
As in any other photographic equipment, the price here depends on the size of the matrix and the number of megapixels. There are also monochrome and color cameras, models with and without cooling.
The approximate price of the camera is from $200 to $2000; more or less, an average price for a primary camera can be considered $400-500; for this money, you can buy a camera with a resolution of 2 to 6 megapixels, and shutter speeds up to 1000s. In principle, more is not necessary; even such parameters will not be provided by a telescope in the middle price range.
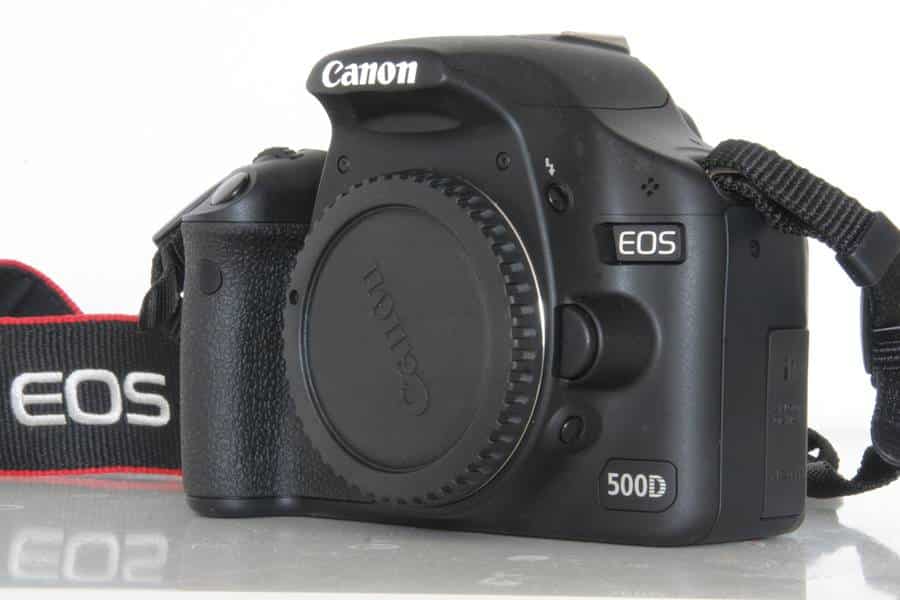
If you have a DSLR camera with interchangeable lenses, you can use it by purchasing an appropriate adapter. I am using Canon EOS R A Mirrorless Camera for my astrophotography.
3. Laptop Selection
As mentioned above, astronomical cameras are mostly USB connected. The camera sends an uncompressed video stream to the computer (compression is inappropriate here because we want to consider the details of objects and not MPEG artifacts). So, a laptop with USB 3.0 and sufficient disk space is desirable (1 minute of uncompressed video takes about a gigabyte).
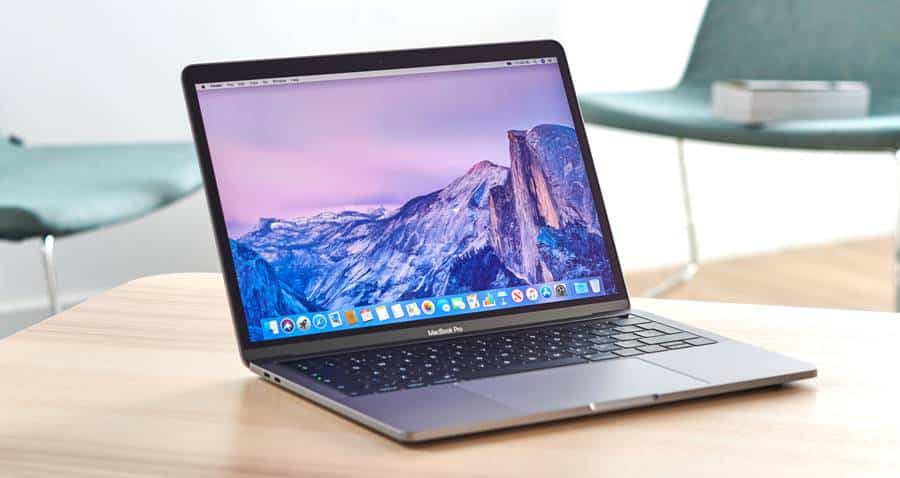
It was a brief overview of the equipment required for astrophotography. You can start photographing with this simple equipment, and there is always space to upgrade more professional and costly equipment for astrophotography.
As you can see, not everything is simple, and there are many nuances here, both for the wallet and for the “what to choose” questions and for organizational issues.
4. Software
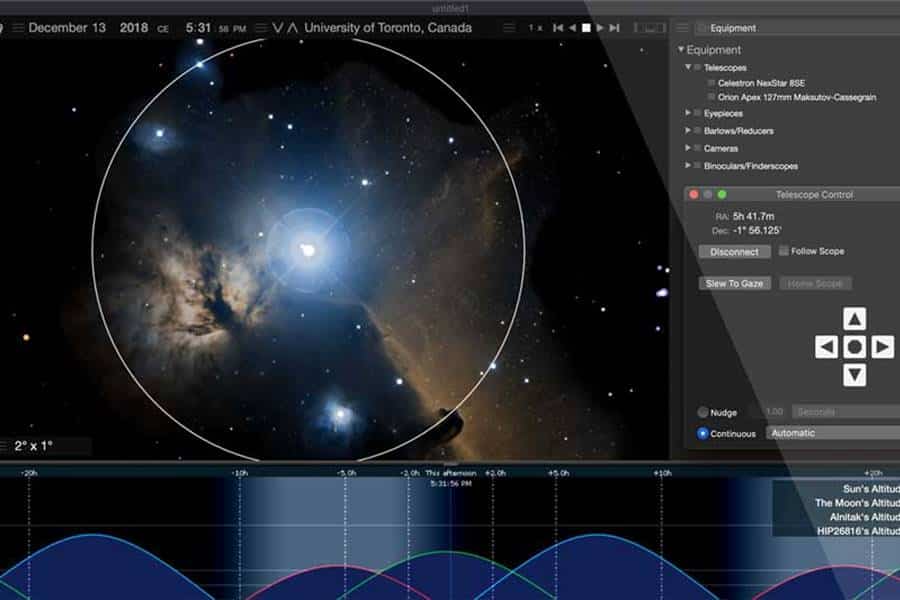
For the software for photographing and processing the results, you can read – List of Astrophotography Software. Here are some well-known astrophotography software capable of processing astrophoto from ordinary cameras, which I am frequently using.
- Image Plus
- MaxDSLR
- AIP4Win
- Astroart
- IRIS
- DeepSkyStacker
- RegiStar
Common Astrophotography Myths:

Myth 1. Astrophotography Requires Only Expensive Astrophotography Equipment
Astrophotography is possible on any equipment, even the simplest. If there are problems with guiding, then you can reduce the shutter speed. If there is no guiding, then you need to set the pole more accurately. All problems can be solved. Naturally, the more expensive and high-quality the equipment, the better the result, but processing the effect also plays a vital role.
Myth 2. Only Canon Is Suitable for Astrophotography
It is not true. Almost any modern DSLR is suitable. The myth has developed because prices for old (and useless) Canon models are low, and they are bought. If we compare Canon with other manufacturers, for example, with Nikon, then the latter wins both in sensitivity and image quality and a lower noise level.
Since Canon cameras are inexpensive, they are bought to “break” the infrared filter from the matrix. It increases the sensor’s sensitivity in the infrared range, which is good for astrophotography but makes it unsuitable for general photography. If the camera is planned for everyday shooting, there is no point in buying Canon (especially older models).
Myth 3. Astrophotography Is Only Possible with Long Exposures
While the matrices were of low sensitivity, it was so. But modern matrices are significantly superior to older models in all respects. All this leads to the fact that long exposures are no longer such a vital necessity for amateur astrophotography.
There are many examples on the web when astronomers get photos with extremely short exposures of about 1 second, and after adding hundreds of such frames, good results are obtained. The general tendency is that the sensitivity and resolution of matrices will increase, which means that the possibilities of amateur astrophotography will only expand.
