Today we’ll discuss the ‘bokeh effect in photography. You’ve probably heard admiring exclamations like “Oh, what a bokeh he has!” or “I love bokeh photography so much!” What does this strange word mean? And why is this bokeh in photography so popular with everyone? Let’s figure it out together in this article.
The word “bokeh” (correctly pronounce “boke” with an accent on the last syllable) came to photographers from the Japanese. In Japan, boke means – “blur, blurry.”
The bokeh effect in photography refers to an element of an image that is out of focus. It is the nature of the blur in the photo that depends on the shape and quality of the bokeh. Often, bokeh is understood as colored spots, which are obtained when small light spots are blurred in an out-of-focus area (lights, light rays through the foliage, evening windows of houses, etc.).
And this is not a mistake because it is in this case that you can see in detail the shape and nature of the bokeh.
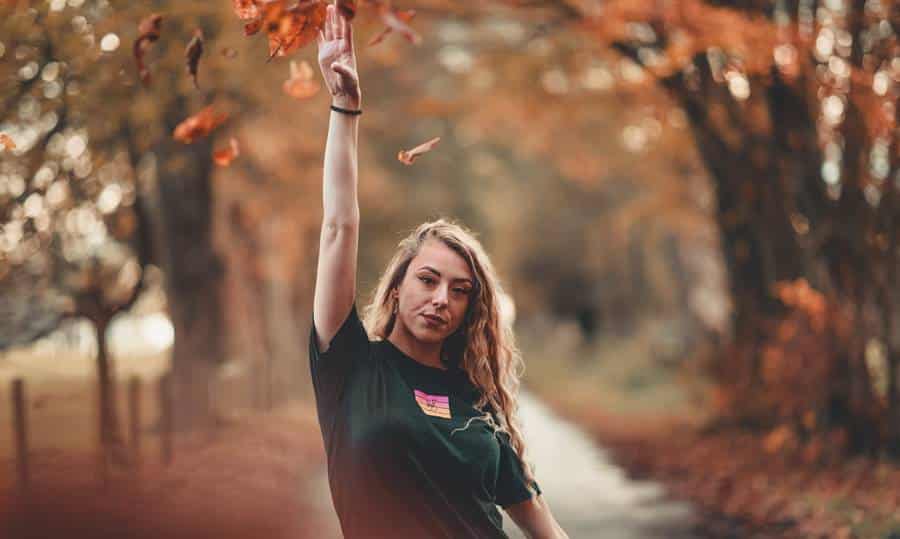
All the details in the blur area in the photograph become blurry spots, and such small light spikes make up the image in the out-of-focus area. One bokeh is superimposed on the other, and we get a blurry image.
Different lenses blur the background in different ways. This depends on the lens design that affects the bokeh shape. Let’s see what types of bokeh are found and why it depends.
Bokeh Effect in Photography
In some pictures, you may have noticed that the light spots in the background turn into blurred circles, and in others – into five, six, or eight. The fact is that the bokeh shape depends on the structure of the lens diaphragm, namely the number of blades. The more petals, the more rounded the bokeh will appear in the photo. Fewer petals result in polygons.
Higher quality and more expensive lenses have an aperture with multiple blades (8-10), which allows you to draw rounded bokeh. Traditionally, it is believed that the ideal bokeh from an artistic point of view is a round spot, which gives a lens of a perfect design with its widest aperture. However, an interesting effect can be achieved with the lens that draws bokeh in a photo as a polygon.
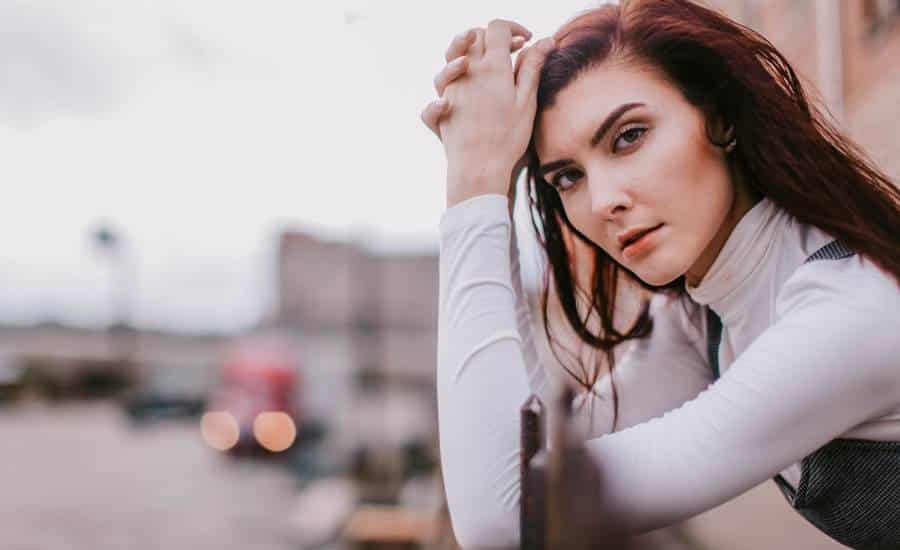
The bokeh effect and shape are also influenced by the degree of the aperture opening. When the aperture is fully open (f =1.2, 1.4, 1.8), the blades move apart to their maximum value, forming the most rounded aperture.
When the diaphragm is closed, the blades are narrowed, creating obtuse angles between each of the structural elements, and the hole takes on the shape of a polygon with the number of corners equal to the number of blades.
Also, remember that the more closed the aperture, the less blur in the photo. Therefore, to get beautiful bokeh in photography, open the lens aperture more.
The Degree of Brightness of Bokeh in A Photo
Another characteristic of bokeh quality is brightness distribution. Depending on this, there are three types of bokeh:
Bokeh with high brightness in the center and soft edges. This is a soft bokeh that produces a smooth and soft blur. Many spots blurred in this way are superimposed on each other with dull (blurred) edges, and a smooth background blur is obtained.

Bokeh with low brightness in the center and bright edges (such as rings or donuts). This is hard bokeh, which results in not-so-pretty blur. Sometimes this type of bokeh results in duplication of the contours of objects in the out-of-focus area, which distracts attention from the main object in the frame.
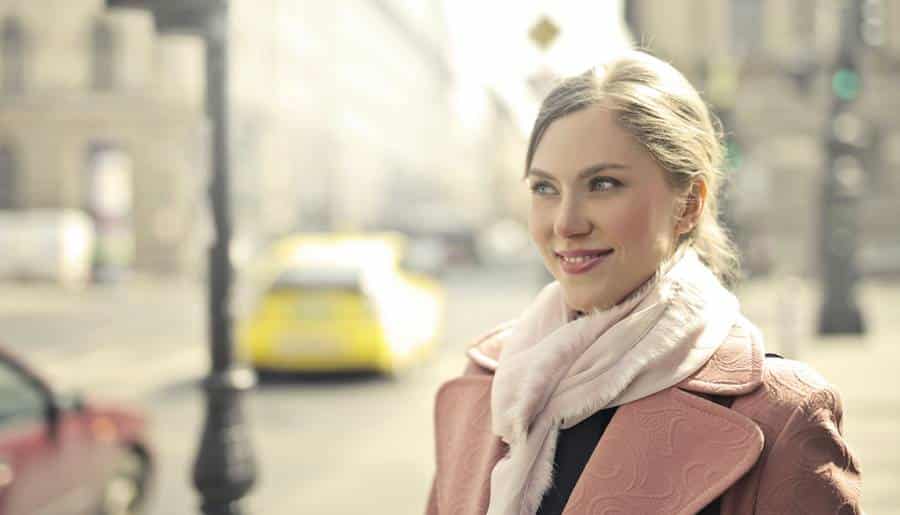
Bokeh in evenly distributed brightness. This bokeh is called neutral, and it can only be found in an ideal lens (with an aperture of 1, that is, practically without aperture in a constructive sense).
How to Get Bokeh Effect on Photos?
Here, by bokeh, we mean precisely blurry light spots, which are so popular with many photography connoisseurs.
Such spots give the image an atmosphere. Achieving the bokeh effect is simple enough: choose a subject (person or object), place it against a background with many small light sources that can turn into beautiful colored spots.
Now open the aperture as much as possible, focus on the main subject and press the shutter button. Voila! A photo with beautiful bokeh is in your portfolio.
Best Way to Achieve Beautiful Bokeh Effect
As you already know, bokeh in photography is formed by blurring certain areas of the image. Best of all, bokeh is obtained when lighting sources or individual light spots fall into the out-of-focus area.
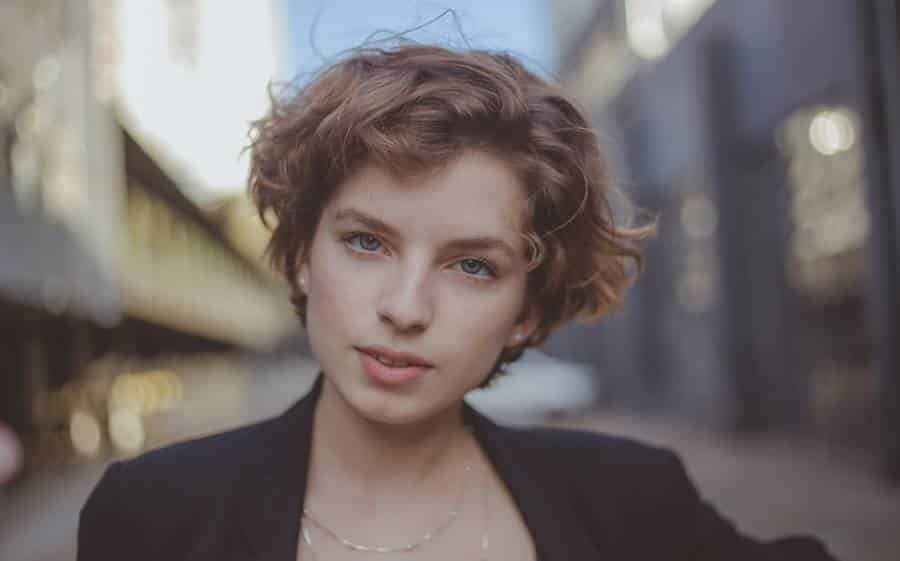
Beautiful bokeh graces many portrait shots and gives them depth and atmosphere. Bokeh in portrait shots appears in the background when shooting with a shallow depth of field. So, the beams of light passing through the foliage in the background, the lights of a night city in the distance, or the glare of light on the water surface during the day are blurred. All of these tiny lights can be turned into beautiful background bokeh.
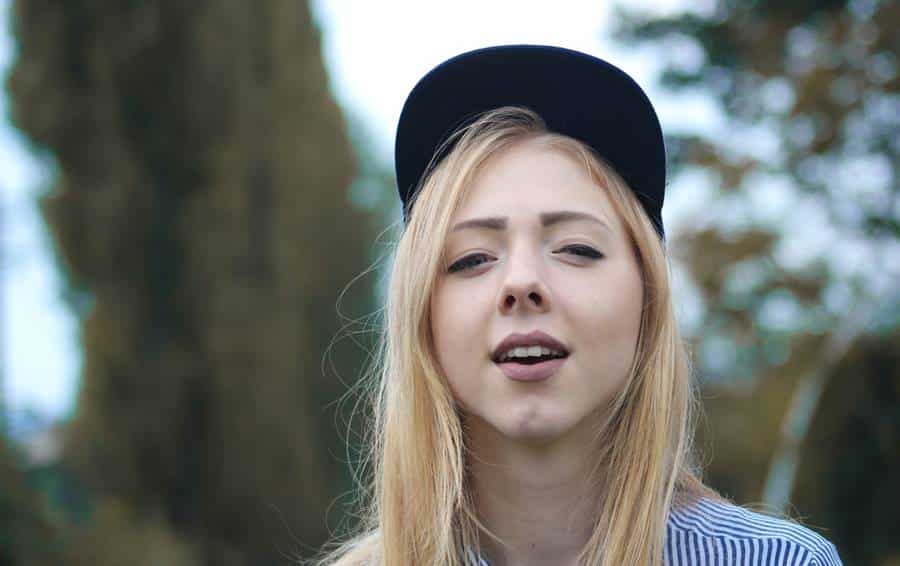
As you might guess, bokeh is obtained when these same light sources render out of focus (i.e., in the out of focus area, in the blur area). Moreover, the shallower the depth of field in the picture, the more pronounced bokeh will be obtained.
Based on the above, let’s highlight the main parameters for creating a beautiful bokeh in the background:
- Leave the glare (from which the bokeh should turn out) in the blur, i.e., focus on the main object in the frame. If this is a portrait, then by model. In this case, the light sources for the bokeh must remain either far behind or directly in front of the lens to be in the out-of-focus area.
- Maximize the distance between the focus point and highlights, which should go into a blur. For example, when shooting a portrait, the farther the city lights are from the model, the more they will go into a blur, and the more pronounced the bokeh will turn out in the photo.
- Use fast and/or long-focus optics. The more the aperture is opened and the longer the lens’s focal length, the shallower the depth of field is obtained in the photograph. This means that out-of-focus objects will blur more. That is why lenses with aperture f/1.2-2.8 and focal length of 50-200 mm are usually used to obtain beautiful bokeh.
But you can achieve the bokeh effect with different combinations of lens parameters. So, for example, you can get bokeh on a 20mm lens at f/2.8. Or, on a lens with a focal length of 70-200 mm, you can achieve quite nice bokeh even with an aperture of f/4 – f/5.6.
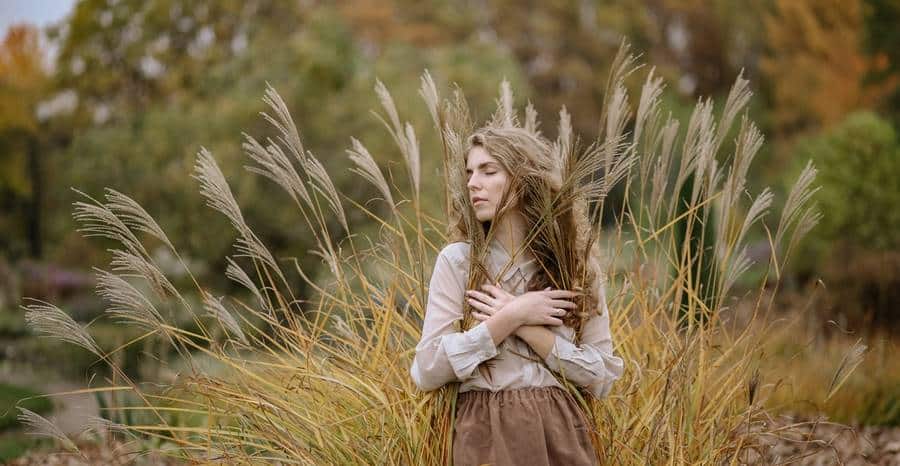
Beginning photographers and hobbyists can experiment with bokeh in photography, even using conventional kit lenses 18-55mm or 18-135mm with f/3.5 – f/5.6 aperture.
To get the maximum blur of light spots in the background, turn your kit lens to the maximum (from 55 to 135 mm) and set the minimum aperture possible (f/4 – 5.6). Now position the subject to focus on as far as possible from the highlights, which should turn into bokeh. Move the camera as close to the subject as possible (as far as framing and minimum focusing distance limitation will allow).
Now using one center focus point, focus on the main subject and press the shutter button. Glare and other small lights in the background should blur into bokeh.
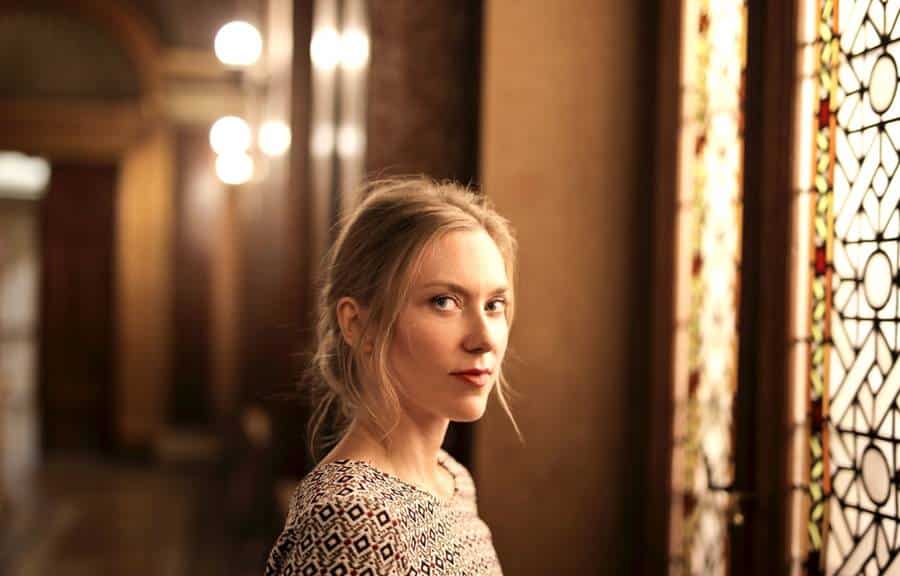
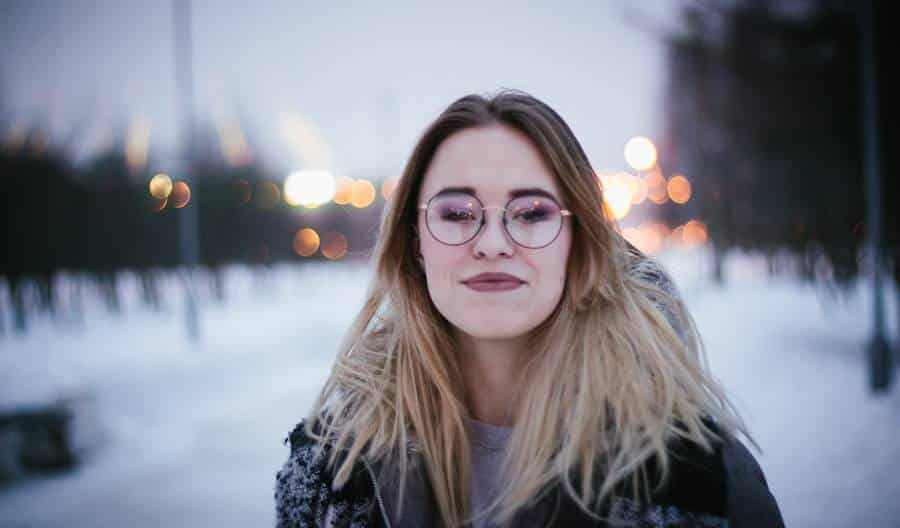
Bokeh looks most effective when night lights are blurred because, at night, any light source will look more contrast. Bokeh from colored lights also looks beautiful, but in the daytime, in white light, it is almost impossible to get a colored bokeh.
During the day, bokeh tends to form a uniform background, while in the evening and at night, you can get reasonably crisp spots separated from each other.
Also, a whole direction can be distinguished in photography, where bokeh is not just blurry light spots in the background but a full-fledged semantic and compositional accent. Some photographers specifically photograph only bokeh; these colored spots are round or polygonal (depending on the lens design).
To photograph only bokeh, you can completely disable autofocus and use the manual focus ring. In this case, the main goal is not to focus (as you do in all other cases), but on the contrary – to take a picture entirely out of focus. And by twisting the focusing ring, watch how the size and nature of the bokeh change. The more you blur the image, the more bokeh spots in the photo become, and vice versa.
Now, during the evening, you can easily practice taking bokeh photography. Indeed you have a garland with colored lights in your house, or somewhere in the city, you will find shop windows and windows of houses decorated with New Year’s lights.
Now it remains to choose the fastest and/or longest lens available, open the aperture as much as possible, move the lens to MF (manual focusing) mode and start blurring the lights by turning the focus wheel. It is best to shoot bokeh at dusk or evening.
Experiment with the composition and the amount of blurring of the lights for a stimulating effect. Here’s what you should get in the end.
Good pictures to you.

