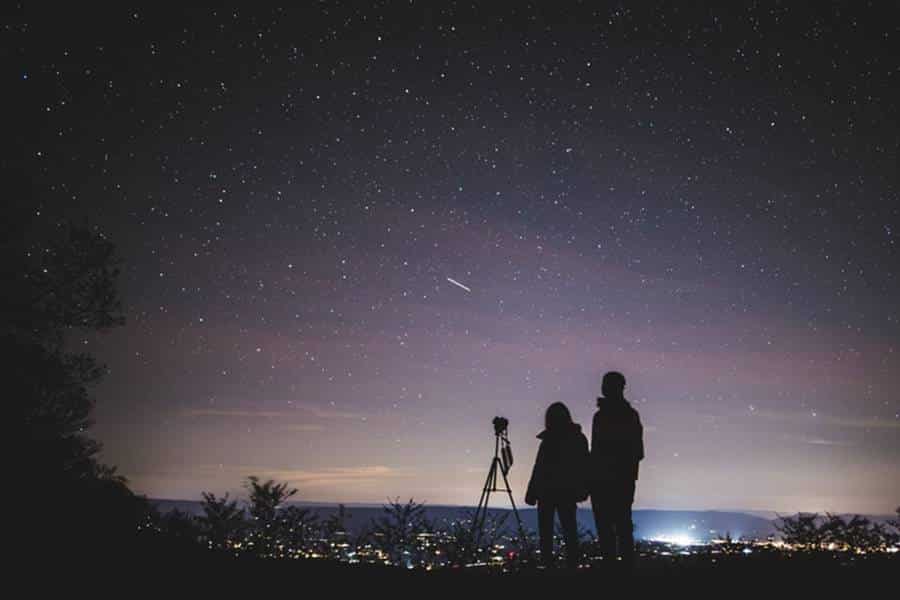
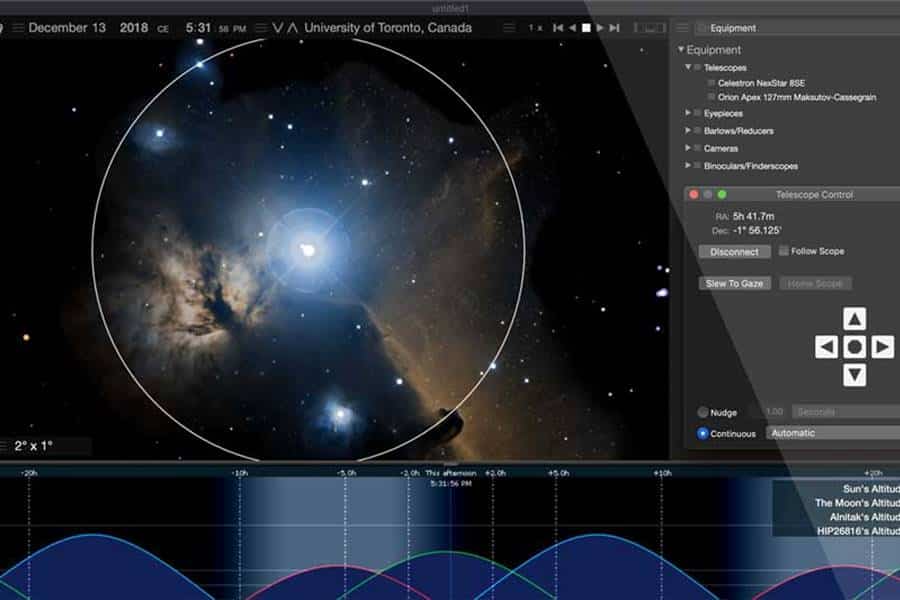
Many astronomy lovers have devoted themselves to deep sky astrophotography, and beginners strive to reach those heights experienced astrophotographers have already conquered. Even though a telescope with a relatively small aperture, an astrophotographer can capture genuinely unique details of the structure of matter in the vast hydrogen nebulae of our galaxy, star-studded clusters, and distant galaxies that are millions of light-years away.
Moreover, photographic observations of this kind can be of great scientific value. Some quite experienced astronomy lovers are looking for supernovae, carry out photometric observations of already discovered objects.
Amateurs are discovering new comets and asteroids in our solar system, conducting observations of asteroid coverings of stars, valuable for science.
Equipment for Deep Sky Astrophotography
Before moving on to the story of what can be filmed and by what methods, we need to understand enough and decide on the equipment that we will need to capture the beauty of deep space.
Most nebulae and galaxies are rather faint objects, which, however, have relatively large angular sizes. Therefore, we should aim for a higher aperture ratio of the telescope to increase the amount of light reaching the receiver matrix. And the focus of a telescope can be selected individually for each object, depending on its angular dimensions.
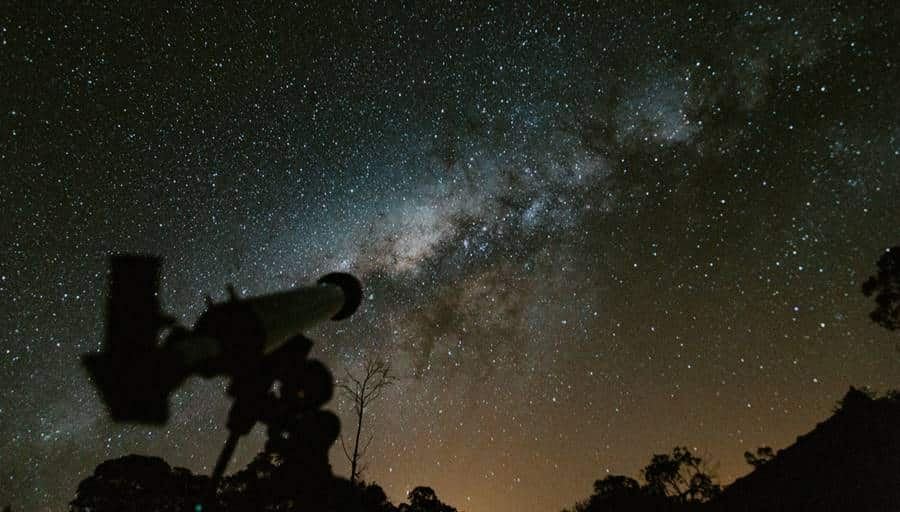
In the simplest case, for astrophotography of the sky, we can even use a standard lens for a digital SLR camera (DSLR). Simply setting the camera on a tripod and pointing it at the North Star or one of your favorite constellations, possibly capturing some details and silhouettes of the surrounding landscape, you need to set a slow shutter speed and wait for the result on display.
The camera’s shutter speed can be from 5-10 seconds to several hours, depending on the desired result. In the latter case, shooting is carried out with the lens aperture closed as much as possible and with low sensitivity; if the photographer sets himself the task of shooting long circular tracks that will leave stars in the image due to the daily rotation of the Earth.
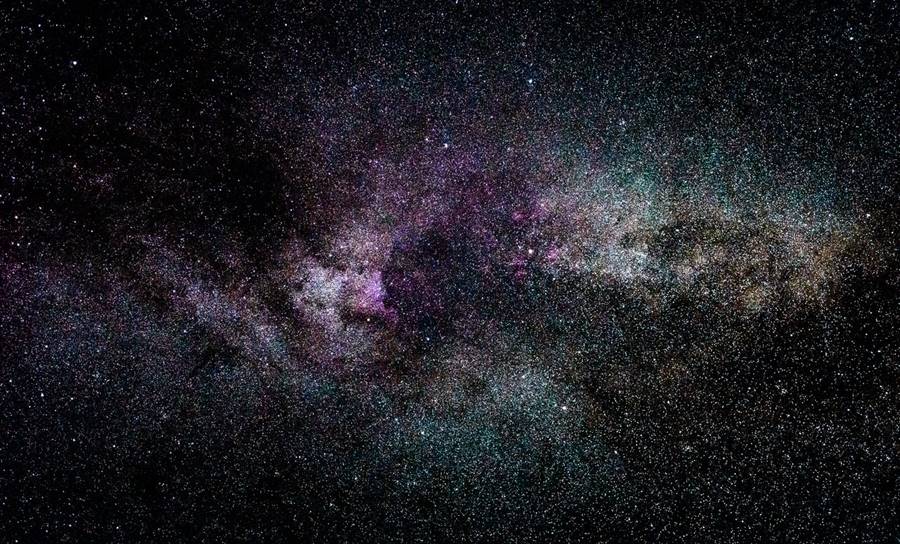
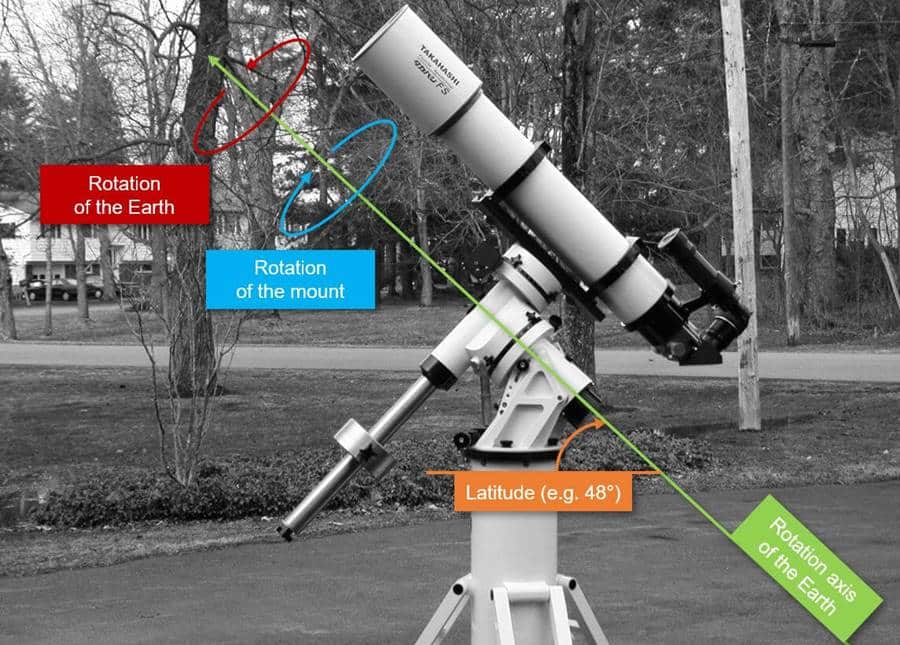
But to leave the stars in the frame “stationary,” you need to install the camera on an equatorial mount with a clock drive, which will track the movement of celestial objects. Precisely aiming the hour axis of the mount on the pole, we start shooting.
Now long exposures can be used with a shutter speed of 10-15 minutes and a low ISO value; you will be able to get beautiful pictures of constellations, placers of stars in the Milky Way, bright and large hydrogen nebulae.
It is better to use wide-angle lenses with a 28-50mm focus for shooting star fields. Using a fish-eye lens with a 180-degree angle of view, you can photograph impressive panoramas of the starry sky, tracks from meteor showers, and artificial earth satellites flying through the sky.
Guiding and Guidance Accuracy
Lenses with a 135-300mm focus are required to photograph individual nebulae and star clusters. When working with a focus of more than 200mm, the requirements for the accuracy of setting the mount’s polar axis are already increasing.
There are pretty accurate tuning methods by observing the drifts of stars, but this method is rather difficult for a beginner poorly guided in the intricacies of celestial mechanics. To simplify the setup task, manufacturers provide holes for a particular pole finder in many astrophoto mounts.
Looking into the finder, you will see the markings that correspond to the view in the sky of the North Star and its surroundings. To the correct sidereal time in the hour circle, the hour axis of the mount will be exactly directed to the Pole of the World.
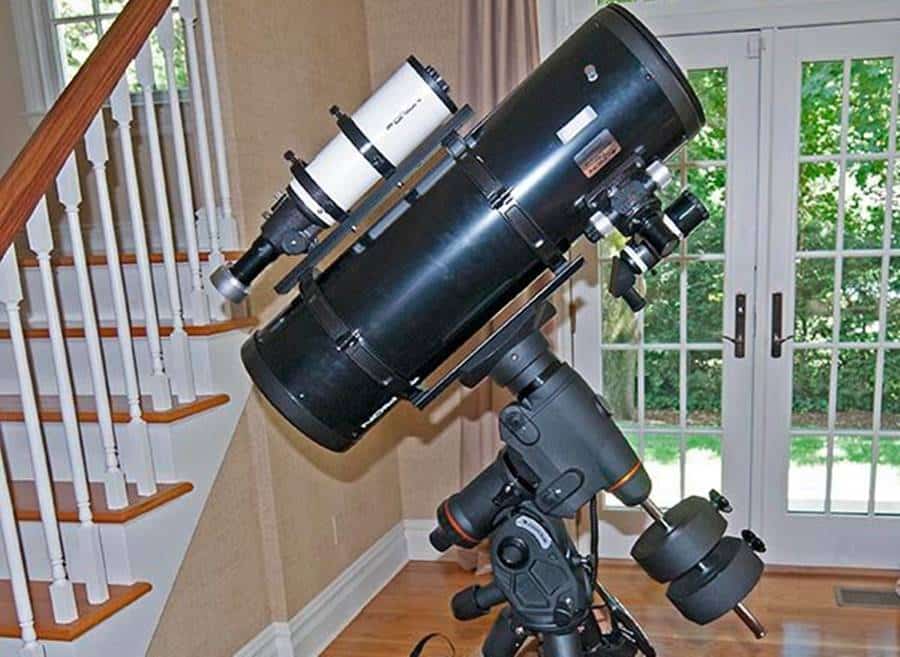
A unique telescope guide is used to compensate for the periodic error of the hour drive of the mount. When shooting with a photographic lens attached to a telescope, the telescope itself can act as a guide. For hydrogenation, an eyepiece with a crosshair is installed, a sufficiently bright star is selected in the vicinity of the object, aligned with the center of the crosshair.
Along with the beginning of the exposure, the observer monitors the possible displacement of the star, compensating it with the crosshair from the control panel of the mount drives or the screws of fine movements.
The maximum possible magnification of the telescope is used to notice the subtlest shifts of the star; for example – the eyepiece guide is used with the Barlow lens.
For small exposures of 10-15 minutes, this method is quite acceptable. Still, suppose we are talking about the serial shooting of distant objects when photography is carried out not through the lens but directly by the telescope itself with a sufficiently large focus. In that case, the manual guiding method turns out to be extremely tedious and not very accurate.
After all, during many hours of exposure, the observer has to constantly look into the eyepiece guide and manually make adjustments to the work of the mount.
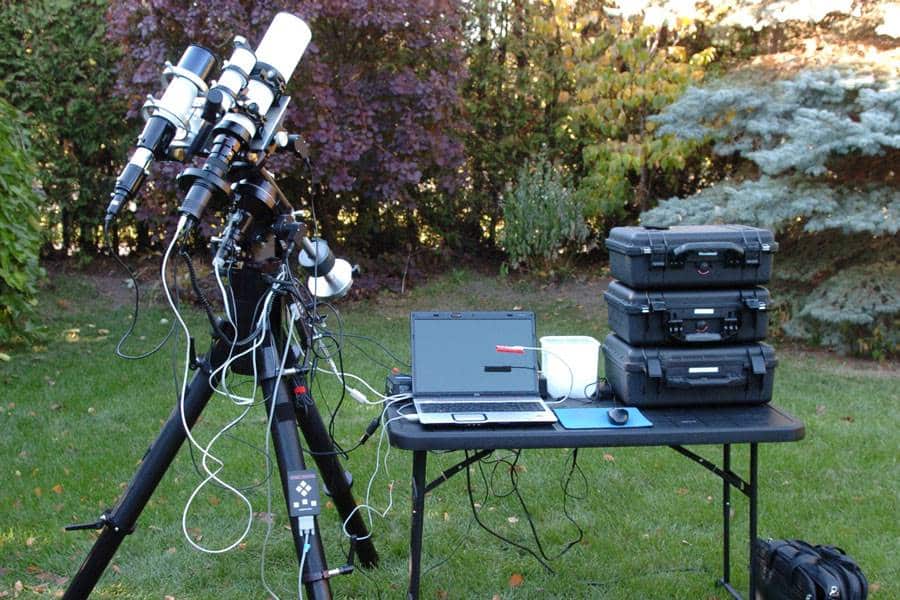
A camera is installed on the telescope guide to automating the guiding process, which, using special software, automatically adjusts the operation of the mount. For this, inexpensive CCDs or webcams are used. But this method of guiding is feasible only with mounts that have the ability to computer control.
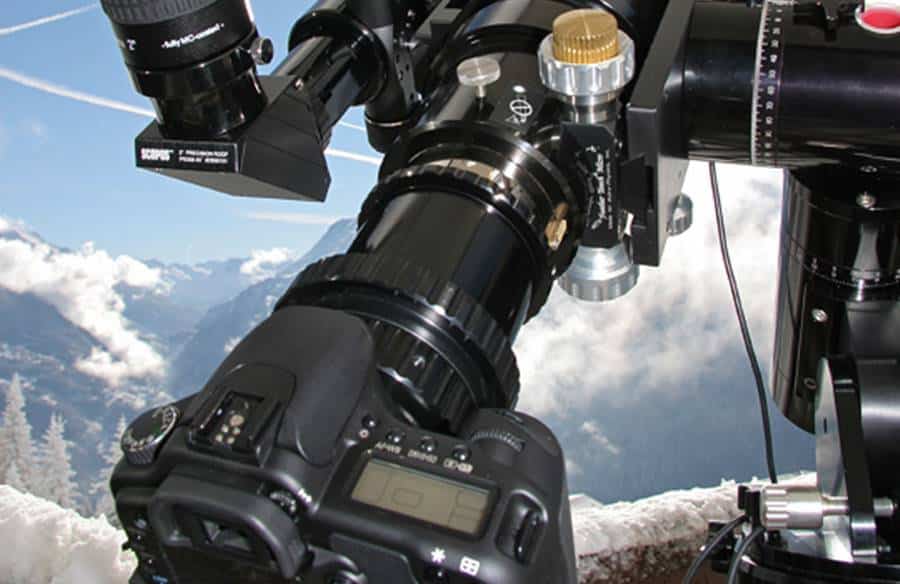
Many astrophotographers prefer so-called off-axis guides to save money on a telescope guide and reduce the amount and weight of the equipment.
In a small case installed between the camera and the telescope, there is a small prism or mirror; this mirror reflects a beam of light at the very edge of the telescope’s field of view towards the side where the eyepiece guide or camera guide is installed.
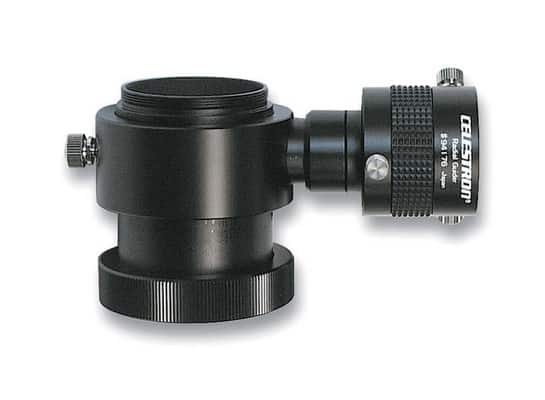
At the edge of the field of view, as a rule, you can always find a star suitable for guiding, and modern, even inexpensive, CCD receivers on a telescope with a medium aperture can quite successfully guide even a 13th magnitude star.
Choosing A Telescope Mount
One of the essential pieces of equipment for an astrophotographer is the mount on which the astrograph and all attachments will be installed. Often, the final result depends entirely on the precision of guidance and rigidity of the mount.
Different mounts have different lifting capacities, which the manufacturer indicates, usually with a view to visual observations; for astrophotography, these requirements should be slightly toughened.
When choosing the amount, you need to make sure that it has a certain margin of rigidity after all the equipment necessary for shooting is installed. Indeed, during shooting, many factors play a role that can affect the accuracy of the guidance. First of all, this is the possibility of sharp gusts of wind during the exposure, which can hopelessly ruin the frame.
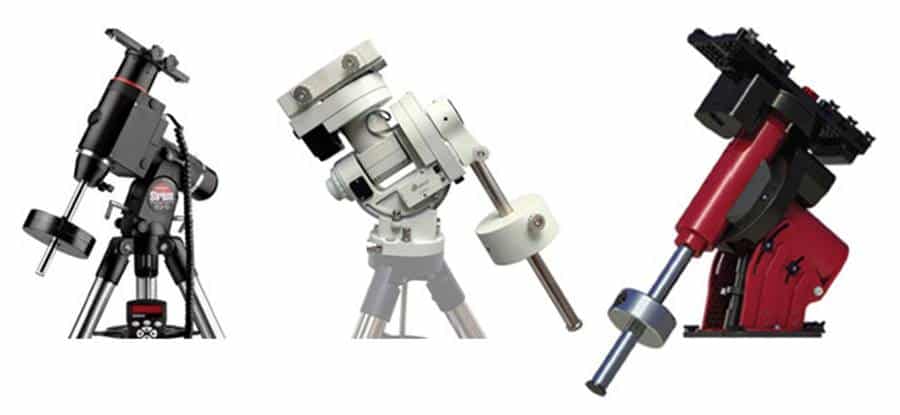
For astrophotography, mounts with both computer control and Go-To guidance are most suitable. We will look at a few relatively affordable mounts that meet the basic requirements and are the most popular mounts among fans worldwide.
The first mount is the most affordable EQ-5 or equivalent. The mount has a steel tubular tripod, a pretty good load capacity, of course, drives on both axes with the ability to control the Go-To system from a handheld console or a computer, and an auto-guide connection port. These properties are more than enough for serious astrophotography.
In addition, all the described mounts have a fascinating PEC (Periodic Error Correction) function. The essence is that the mount, guided by the data obtained from the encoders installed inside, independently corrects the periodic error of the drives. It allows you to shoot in a series of short exposures without resorting to an auto-guide at all.
The described mount will cope well with the guidance of the Newton telescope installed on it with an aperture of about 150 mm.
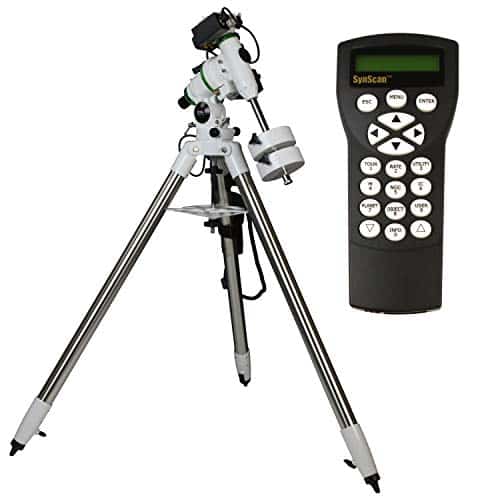
The following two mounts are the HEQ-5 and EQ-6, the most commonly used by astrophotographers. In terms of functions and electronic stuffing, these mounts are not much superior to the EQ-5. Still, the mechanical part is made at a higher level, which provides a higher load capacity, better vibration resistance, and a small periodic error.
This type of mount can accommodate Newton telescopes up to 200mm in the case of the HEQ-5 and up to 250mm in the case of the EQ-6.
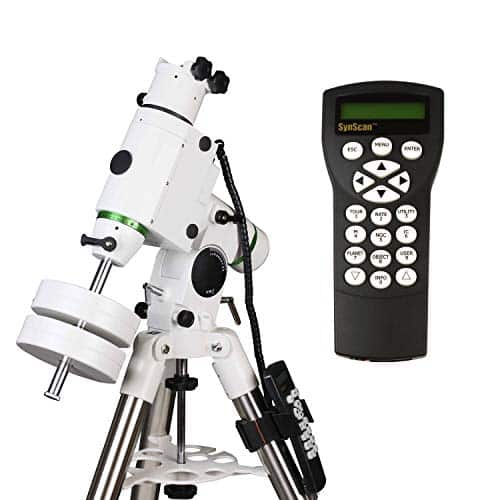
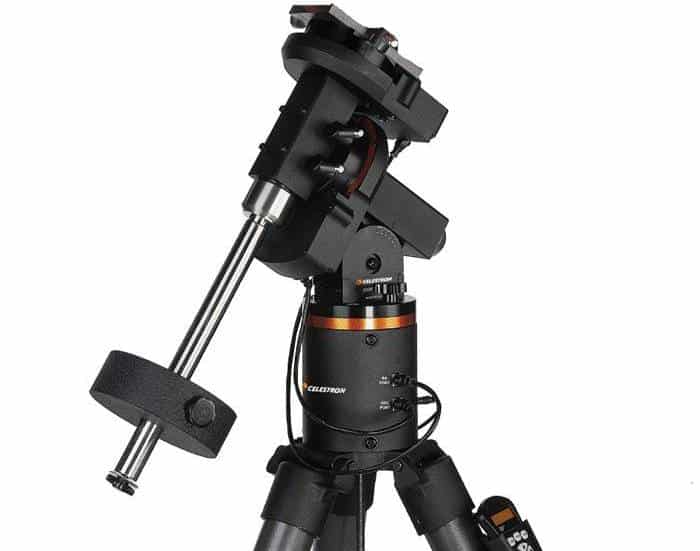
The last in our review will be the Celestron CGE mount. However, this amount can be classified as EQ-6; according to the manufacturers, it is a well-designed and constructed device that provides a more accurate level of telescope guidance.
Choosing A Telescope for Shooting
Having figured out a little about the mount setup before photographing and the requirements for guiding the photography subject, let’s pay attention to the choice of the mounting astrograph telescope.
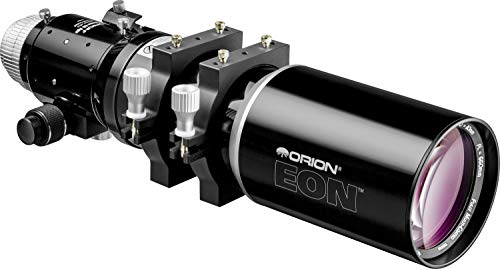
Small ED refractors can be considered as some of the most attractive telescopes for astrophotography. Although such telescopes have a small aperture, they provide high-quality and high-contrast images in a large field of view due to the use of special lenses with low dispersion in the lens, which correct the chromatism inherent in all refractors much better than ordinary glasses used in achromat refractors.
In addition, thanks to a good aperture ratio and a small focus, we can afford to work with lower exposures; as a result, to have greater efficiency during the night of observations and the small focus of the telescope.
In addition to providing a good field of view, it does not impose particularly stringent requirements on accuracy.
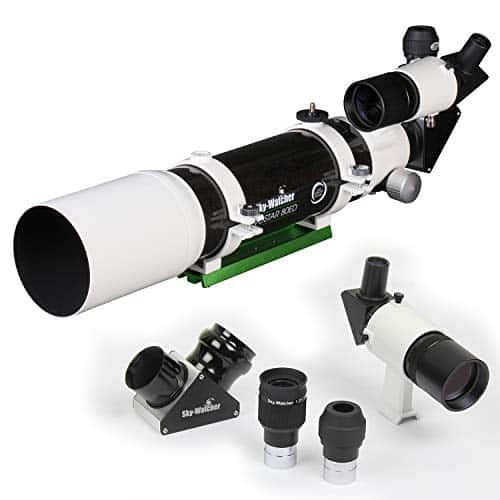
Telescopes such as the ED80 from different manufacturers Celestron, Meade, Synta, Orion have gained considerable popularity among astrophotographers. Telescopes of this level are equipped with high-quality Crayford focusers, which provide smooth and accurate focusing.
Refractors are unpretentious in alignment, unlike, for example, Newtonian reflector telescopes, which have low weight and dimensions – accordingly, a much smaller aperture than Newtons of about the same price categories.
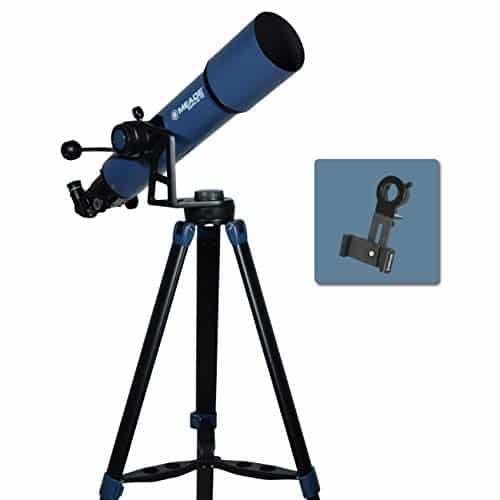
Special correctors, field straighteners, or flatteners are used to improve the image quality of ED refractors. Flattener compensates for the small field curvature inherent in this system, providing the same sharp image throughout the frame. In general, such a tool can be safely considered an excellent choice for a beginner astrophotographer with serious ambitions for a decent result.
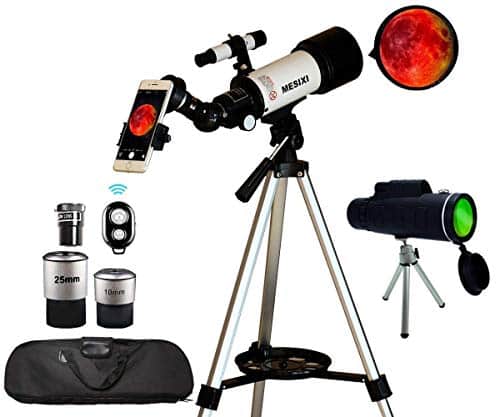
You can start astrophotography with the refractor mentioned above telescope using your smartphone. This 400mm telescope will cost you only $79.99 on Amazon – Click here to get it on Amazon.
As noted in the article on planetary imaging, telescopes of the Newton system are the most cost-effective in terms of price/aperture ratio. With a sizeable relative aperture (aperture ratio), usually 1/5, but sometimes 1/4, and even in some modifications of this system 1/3, we get a large field together with a suitable aperture.
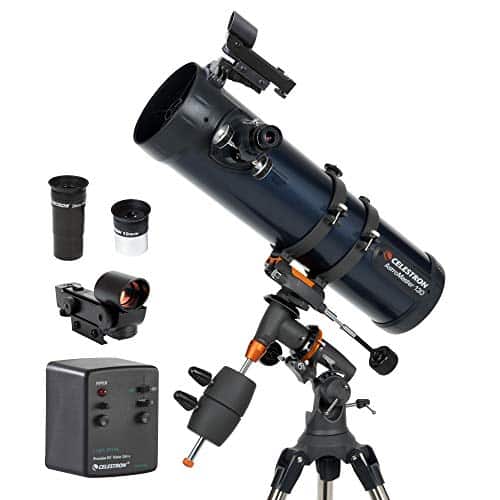
For the aspiring astrophotographer, a Newtonian with a 150mm objective lens on an EQ-5 mount or a more potent instrument with a 200mm primary mirror and 1000mm focus on an HEQ-5 or EQ-6 mount is a great choice.
The aberrations inherent in this system also grow with an increase in the luminosity of the Newtonian telescope. Special coma-correctors are used to correct these distortions to improve the quality of images.

And last, we look at Celestron NexStar telescopes. The main advantage of this system is the compact size of the tube, which allows telescopes with a larger aperture to be installed on mounts of the middle class, which can no longer work well enough with Newtonian of equal aperture.
The good qualities of such telescopes include a sufficiently high image quality inherent in catadioptric. Still, the telescopes of this system have a small aperture ratio, usually 1/10, which is not enough for many photographic works.
Amateurs use focus reducers to correct this shortcoming. The focus reducer and the correctors described above are mounted on the focuser in front of the image receiver, which helps to achieve a higher aperture ratio, usually about 1/6.
Image Receiver
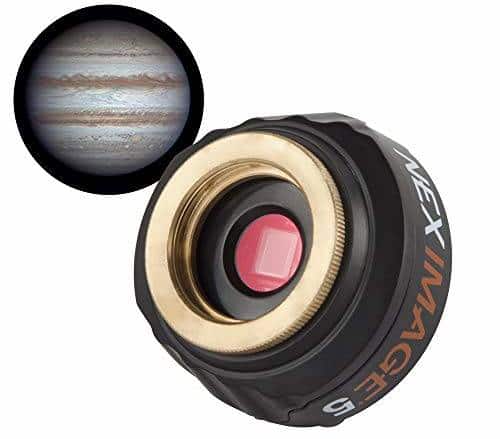
The receiver of the image in Deep Sky astrophotography can be either a CCD matrix or a conventional digital reflex camera (DSLR). The advantages of CCD cameras include low noise levels due to active matrix cooling and excellent resolution. But with the increase in the physical size of the matrix, the camera price rises many times over, which makes vast CCD receivers inaccessible for the amateur.
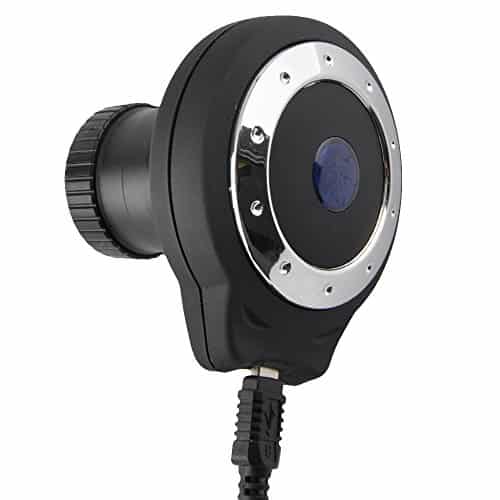
Therefore, CCDs are usually more suitable for photographing compact planetary nebulae, distant galaxies, globular clusters, and other small objects that are confidently placed on a chip in the focal plane of the telescope. CCD cameras can have both black and white and color chips.
In the first case, to obtain a color image of a celestial object, shooting is carried out in three RGB color channels (red, green, blue) through the appropriate light filters. The resulting frames are calibrated and put together in specialized programs for astrophotography and image processing.
For photographing the majestic gas nebulae of the Milky Way, large open clusters submerged in clouds of sulfur and hydrogen, digital SLR cameras are more suitable. Even though the latter has lower resolution and more noise than specialized CCD cameras, DSLRs have a rather large chip. Thanks to this, you can shoot broad fields and even start shooting large mosaics and panoramas of the Milky Way.
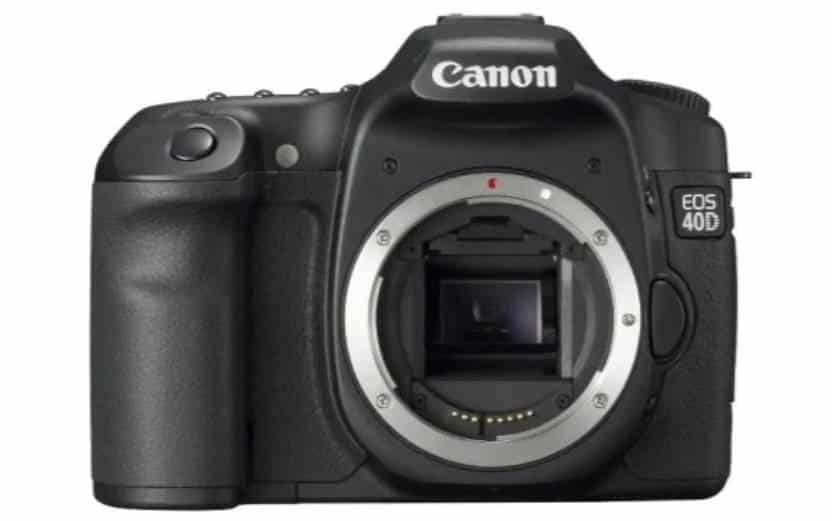
Since digital cameras are intended for household photography and artistic photography, a special filter is installed in front of the camera matrix that absorbs infrared radiation (infrared), to which the matrix is sensitive. Still, it is utterly inappropriate to build a regular image in artistic photography.
In astrophotography, everything looks different; as you know, the surrounding Universe consists of almost one hundred percent of hydrogen, which emits light in the H-alpha line and nearby spectral lines. These lines are precisely related to the IR part of the spectrum, which is cut off by the camera filter, not allowing you to remove fine details in the structure of nebulae.
To get rid of this problem, astronomy lovers remove the standard filter of the camera and install a special IR filter instead of it, which passes the necessary part of the spectrum.
Narrowband Filters and Nebula Photography
Narrow-band filters are used to highlight the often subtle details of the structure of nebulae, which transmit radiation only of a strictly defined wavelength. For example, suppose we know that the nebula of our choice emits in the line of triple ionized oxygen and the hydrogen line.
In that case, we use the OIII (oxygen) filter for part of the frames and H-alpha or H-beta (hydrogen) for part of the frames. The resulting images are calibrated in a certain way to obtain a genuinely realistic color of the nebula during the final processing and to reveal the radiation of one or another substance in the correct balance.
In addition, the use of narrow-band filters can be exceptionally justified when shooting in urban lighting conditions.
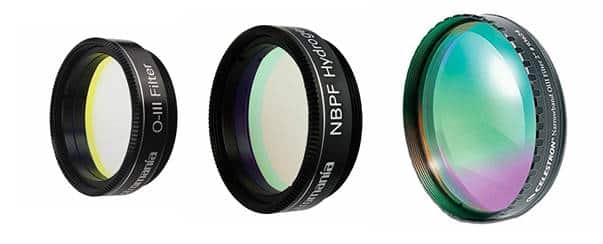
The filter cuts off the light emitted by the background of the bright sky and lets only the wavelength we need through. Shooting with filters will not replace the dark suburban sky but will undoubtedly significantly impact the final result.
Large Galaxies and Clusters
Large galaxies such as the Andromeda Nebula (M31) or the Triangulum Galaxy (M33) can be photographed with mosaics for higher resolution.
A filming session is carried out, for example, from six different areas that capture the center and arms of the galaxy with its periphery. Each site is removed with a slight overlap of the neighboring one.
The resulting frames are also calibrated and fitted to each other. It will give you a high-resolution image that reveals the details of the galaxy’s structure.
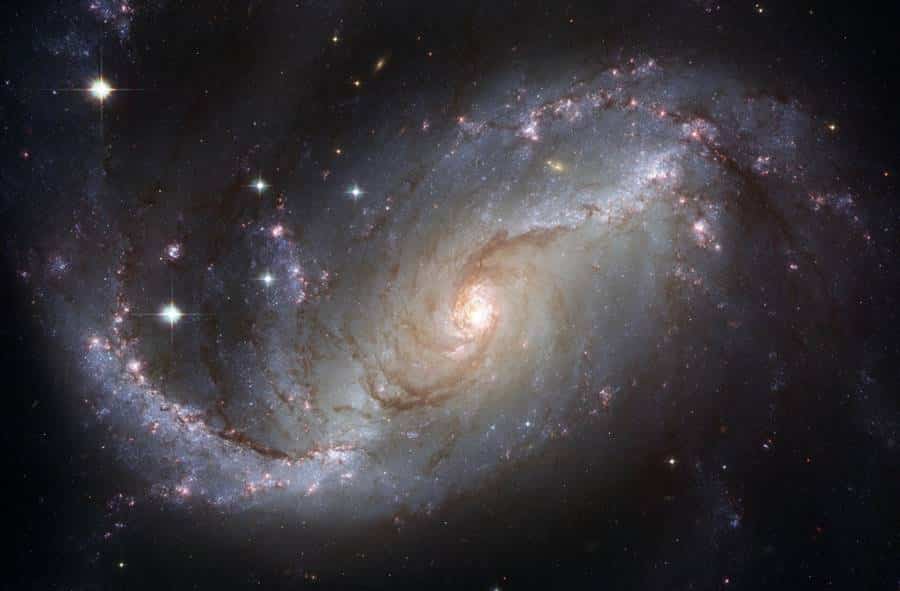
Similarly, large star clusters can be photographed, such as the Pleiades with stars immersed in gas-dust nebulae or many different nebulae and clusters in the Milky Way.
You may also like to read: Astrophotography Equipment: A Buyer’s Guide for Beginners
Conclusion
Passion for astrophotography, planets, and deep space objects, is a relatively expensive and challenging occupation. But being seriously passionate about astronomy in principle, few people can forget about these beautiful and inspiring views of the Universe.
Walking a long but very interesting and exciting path from a beginner to a serious astrophotographer, an astronomy lover gets the opportunity to learn how to work with a variety of astronomical equipment, to carry out important photographic observations, which in many cases can be helpful even for professional astronomers.
Well, besides, of course, enjoy the contemplation of the space around us. Each time looking at your pictures of celestial objects, remember the pleasant moments of many nights of stargazing when the weather is terrible outside the window.
