Today, I am going to tell you ‘how to reduce camera shake during photography and filming?’ Handheld photography has its pros and cons. Handheld shooting gives speed and mobility: you can quickly move around the site, adds the effect of presence, allows you to respond to what is happening promptly.
These pluses are diluted with minuses. Pleasant, lively movements can turn into meaningless shaking, which only speaks of the operator’s inexperience. You can fight this shaking with the help of special lenses, intra-matrix systems (moreover, if you combine stabilization in the lens and the matrix, it will become even better), stabilization, as well as Steadicams. More details are in this tutorial.
Causes of Camera Shake and Blurry Photos
Blurring in photographs may occur due to slow shutter speeds. The hands are constantly shaking a little, which causes the camera to move. Moreover, the longer the lens, the more pronounced the effect due to the narrow viewing angle.

Therefore, before moving on to specific types of stabilization, let’s look at how to work with shutter speed correctly.
When shooting handheld, the maximum shutter speed in seconds should not be longer than 1/equivalent focal length. The equivalent focal length is the focal length calculated, taking into account the crop factor of the matrix.
It means that when shooting with a 50mm lens on a matrix whose crop factor is 1, the maximum shutter speed will be 1/(50×1) seconds, that is, 1/50 seconds. When shooting on a matrix with a crop factor of 1.5 and the same lens, the maximum shutter speed will be 1/(50×1.5), that is, 1/75.
The longer the lens’s focal length, the faster the maximum shutter speed. The focal length and crop factor determine the angle of view of the lens: the higher the focal length, the narrower the angle of view, and the more likely it is that any camera shake will lead to blurring.
Types of Stabilization

When shooting without any stabilization, the camera will be very light. Any vibrations of the operator’s hands will be transmitted to the camera. You can reduce shaking without stabilization by using a heavy lens. It will make the setup more weighty and allow you to hold the camera more comfortably, leaning your elbows against your body. But, of course, it is more reliable to rely on more advanced methods:
1. Optical Stabilization in The Lens
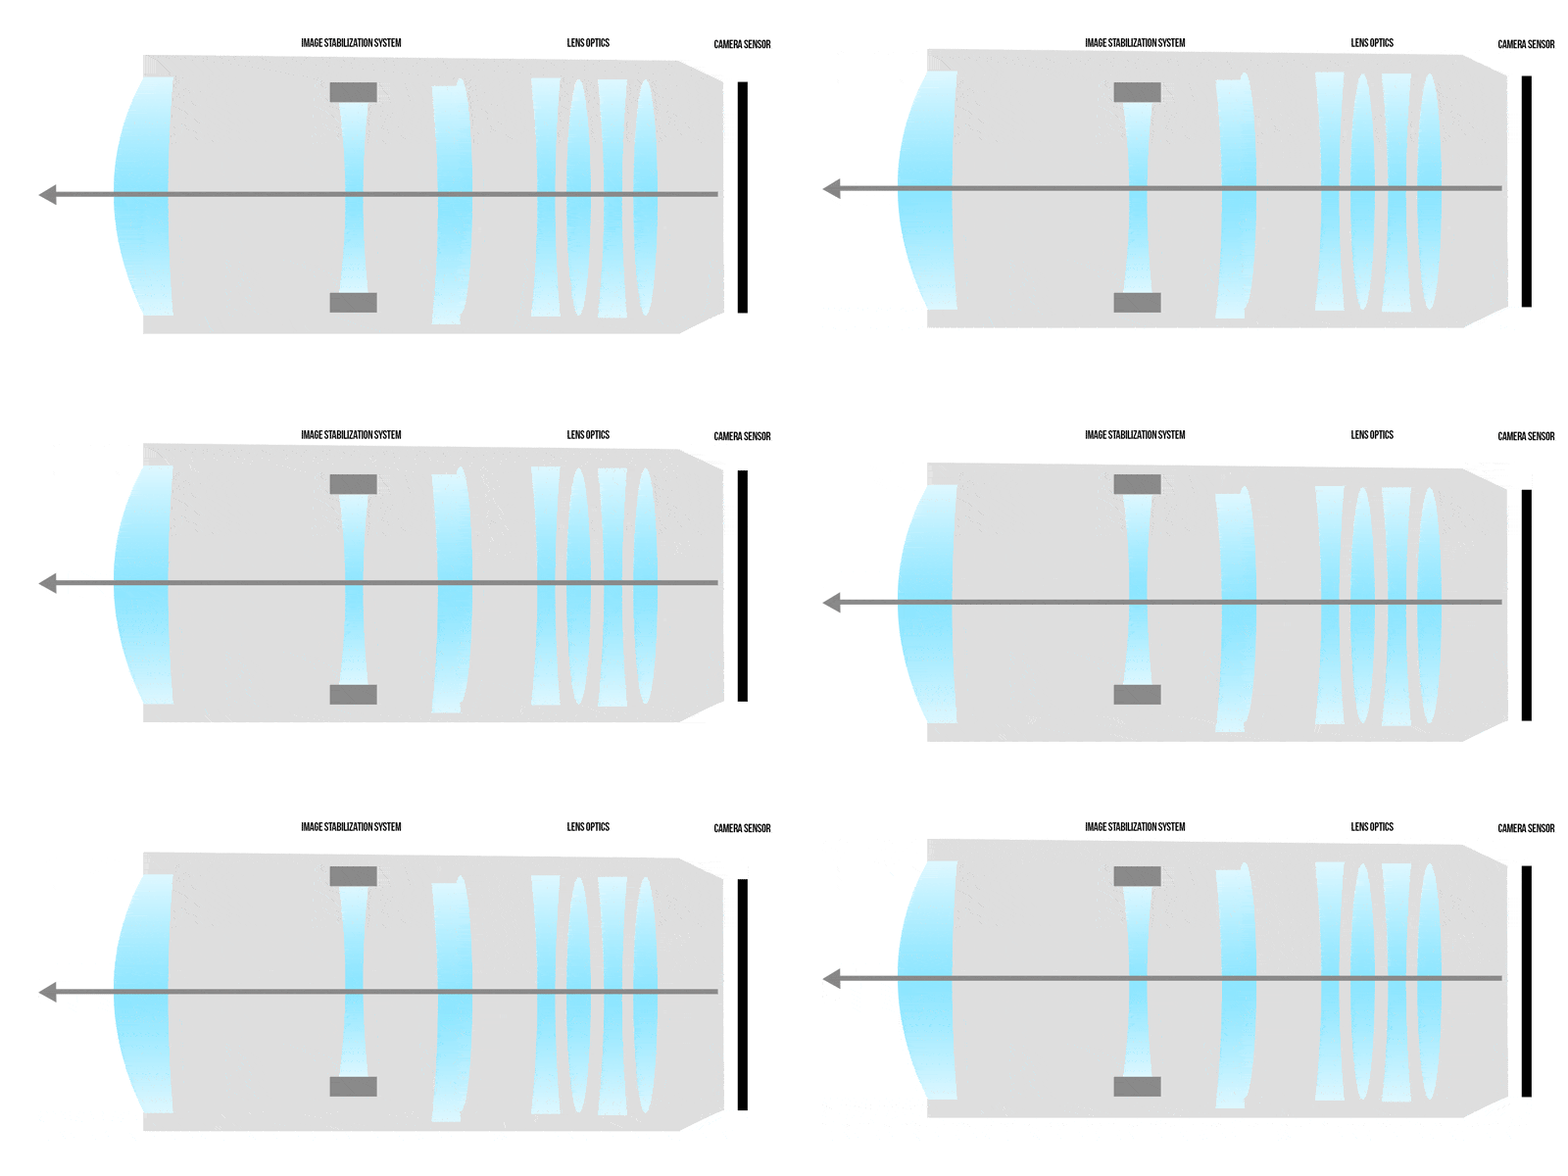
If your lens has any abbreviations: VR, IS, VC, OS, OSS, OIS, then it has an optical stabilizer. A movable lens unit provides optical stabilization in lenses. When the camera starts shaking, this block moves out of phase to compensate for the shaking.

Optical stabilization in the lens can compensate for shaking in 2-4 directions. In other words, these are tilts up-down, right-left, and linear shifts up-down and right-left. Optical stabilizers do not dampen shaking when the camera rotates around its axis.
The effectiveness of optical stabilizers is usually 3-5 exposure stops. The exposure step is the distance between the available shutter speeds. If the stabilizer compensates for, for example, three stops of exposure, this means that you can now get sharp pictures with a shutter speed of 3 stops faster than before. For example, before the maximum value of the working shutter speed was 1/250 s, now it is 1/30 s (I add three steps to the shutter speed by 1/250 s).
2. Matrix Stabilization
This option is suitable for those who want to shoot with native lenses that have optical stabilization in them.
The essence of matrix stabilization is in the mechanism that moves the matrix in antiphase to the arising oscillations. Matrix stabilization dampens vibrations in five directions: up-down tilts, right-left tilts, up-down linear shifts, right-left linear shifts, and rotation. It distinguishes matrix stabilization from optical stabilization, and the latter cannot cope with the vibrations that arise from turns.
It will become more convenient to shoot even with old manual lenses with such stabilization. Just be prepared to lose two axes of stabilization, left with only three (tilt and roll). For the remaining axes (linear shifts) to work, the camera needs distance information that such lenses do not provide.
The best effect can be achieved by combining matrix and optical stabilization. In this way, you will increase the number of exposure steps that the stabilization systems in the camera and lens compensate for.
3. Electronic Stabilization
The cheapest type of stabilization is often used in inexpensive cameras and smartphones. No additional mechanisms are used for electronic stabilization, only algorithms, such as those in video post-production programs.
Electronic stabilization crops the image at the edges, narrowing the viewing angle. This method must be used carefully, as there is a risk that the edges of the image will begin to float.
4. Stabilization by Weighting The Setup
A lightweight camera with a lens without optical stabilization can be weighted to reduce the effect of shaking. To do this, the camera can be placed in a special cage, a handle, and an on-camera monitor can be connected to it.
This weighting of the setup will also allow you to more comfortably hold the camera with your arms close to your body to reduce further shaking.
5. Stabilization with Electronic Steadicams
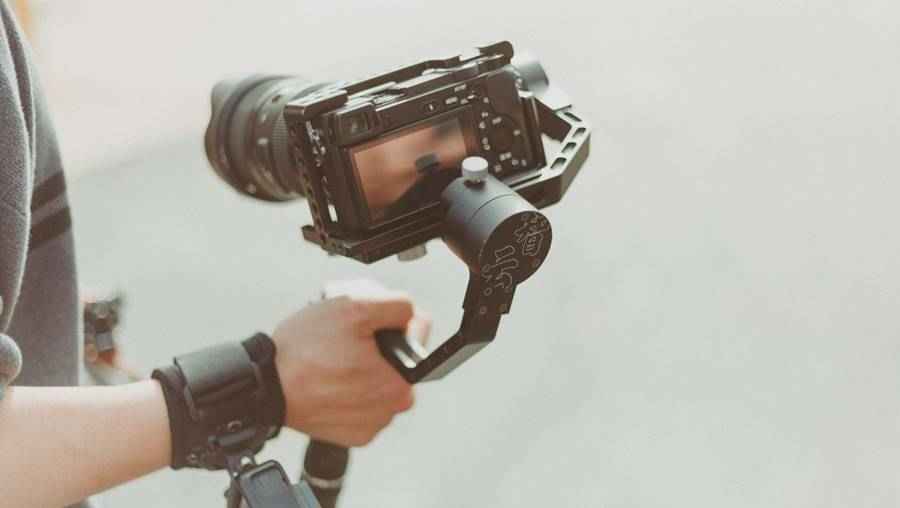
An electronic Steadicam will allow you to make camera movements smooth. Thanks to the gyroscopes and electric motors system, Steadicams compensate for the shaking that occurs when shooting on the go. The degree of stabilization depends on the number of Steadicam axes. The more of them, the higher the level of stabilization. It is also worth paying attention to the duration of the device without recharging the battery.

I have selected several Steadicams of different price categories:
- Professional Steadicam Zhiyun Crane 3S PRO provides a load capacity of up to 6.5 kg, operating time with installed batteries – 12 hours;
- Optimal in terms of price and quality – DJI Ronin-SC – Camera Stabilizer with a maximum load of 3.5 kg and an operating time of 10 hours;
- Hohem iSteadyMulti – Budget Steadicam, suitable for shooting with light cameras or smartphones. Its load capacity is 500 grams, and the operating time is 8 hours.
How to Reduce Camera Shake Properly?

Although the stabilizer has undeniable advantages, you still need to use it. Here are a few tips on how to get the best quality photos and videos for you without shaking:
1. When shooting with a stabilizer, it is better not to use lenses with a focal length of more than 50 mm if you plan to move with the camera. As I wrote above, lenses with a high focal length have a smaller angle of view. Because of this, the shaking on them is much more noticeable. If you can’t avoid shooting with a lens with a considerable focal length, it’s better to use a tripod.
Although the stabilizer allows you to shoot with higher shutter speeds, you should not abuse them. First, remember that you need to shoot it with a fast shutter speed to convey a moving object. The stabilizer compensates for the vibrations of the camera in the hands and not the movement of the subject.
Secondly, you should not shoot at the limit of the stabilizer’s capabilities. Even the most efficient mechanisms will give a lot of lubrication. Therefore, it is better not to shoot without the need for long exposures. Or take a series of pictures. Surely some of them will turn out sharp.
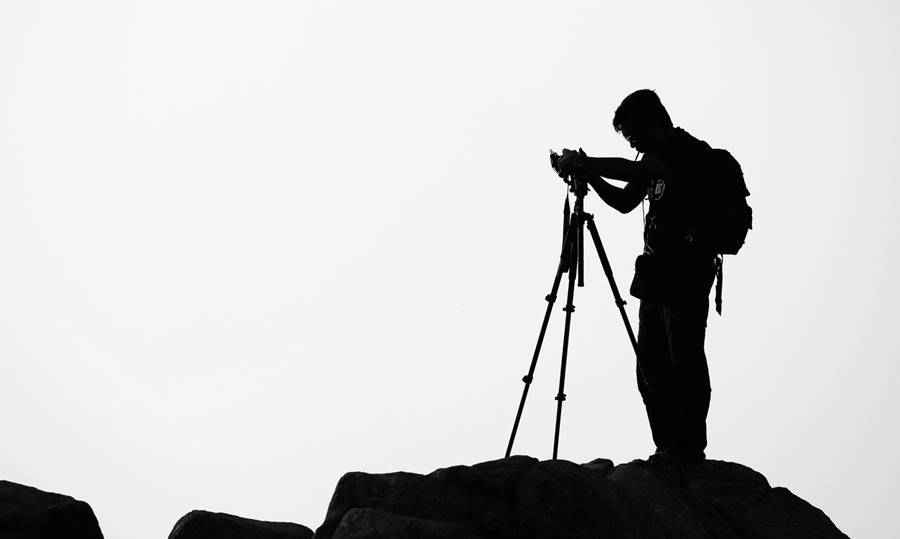
2. The stabilizer is not a replacement for a tripod! You can only use prolonged shutter speeds when the camera is securely mounted on a tripod. Just be sure to turn off the gimbal when shooting from a tripod, as not all mechanisms behave correctly at shutter speeds longer than a few seconds.
3. Video shaking can be reduced by shooting 50-60 fps instead of 24-30 fps. In post-production, you can slow down the video by half to reduce the effect of shaking. This method is only suitable for slow-motion editing video, and real-time shaking will be just as noticeable.
4. When shooting handheld, the operators constantly move, even when making a static video. It makes no sense to stand still to shoot with perfect evenness since you can use a tripod for this. By making smooth movements you can reduce shaking.

In addition, do not forget that there should always be three points of support between the operator and the camera: you can rest the camera against the stomach, press your elbows closer to the body, and also support the camera from below by the lens or by the handles attached to it if you decide to weight the setup, as I advised above.
Conclusion
Stabilization ideally ensures when shooting photos and videos under challenging conditions, allowing you not to lose momentum and get clear pictures. The main thing is to decide which type of stabilization is best for your technique and goals. But still, stabilization does not work magic, so you should increase the shutter speed moderately and not give up on a tripod.


