Today, I will tell you ‘how to take pictures at night.’ Taking photographs is an activity in which, often, the process may be less critical to getting the result than preparing for it. In fact, with the right tool, technical knowledge, and being in the right place at the right time, even a beginner can capture professional-looking photographs with a bit of luck. We will consider shooting at night and in low light in general.
Camera Settings for Night Photography
One of the first questions newbies ask when choosing a camera is whether it will do well at night. It is intuitively clear that it is more challenging to get good pictures when there is a lack of light. Why is this happening? To answer this question, you must first figure out what settings you can use. Let’s list them.
Light Sensitivity. This setting is hidden under the abbreviation “ISO” in any modern camera. It determines the sensitivity to light of the digital matrix of the camera. When setting, the ISO speed is selected, with an increase in which, for example, the picture’s illumination will also increase twice (with the remaining parameters unchanged).
Excerpt. It is the time for which the camera shutter opens. If the electronic shutter is used, the picture’s time is taken. It is clear that increasing the shutter speed increases the illumination of the photograph but leads to blurring of moving objects or blurring of the picture as a whole (if the camera itself is moving). The shutter speed is expressed in seconds or fractions of a second (for example, 1/50 of a second, 10 seconds, and so on).
F-Number. In any camera lens, a unique device changes the diameter of the hole through which the light passes and then enters the camera matrix. This device is called the diaphragm, and the diameter of this hole affects the so-called f-number. The larger the diaphragm opening, the lower this number. This characteristic is denoted by the Latin letter f with some number after it through a slash. For example, f/2.0, f/10, and so on. It turns out that the lower the f-number, the brighter the picture we will get.
So, we know what characteristics are responsible for the illumination of the picture. We can conclude that it is enough to “twist” them in the direction of increasing illumination when shooting at night, and we will get a good photo.
However, any of these parameters cannot be changed in this direction indefinitely, as this leads to undesirable effects:
- Increasing the sensitivity leads to an increase in the so-called “noise” level in the picture. The graininess seen by the eye gradually increases with increasing ISO speed.
- The shutter speed can be increased to high values only if we shoot a stationary object from a tripod. Conversely, we want to apply the blurring effect of moving objects for creative purposes.
- Aperture affects the so-called “depth of field” – the area of distance from the camera to the objects of photography, in which these objects will be sharp. If we want to get a clear image of things that are, for example, 5 and 20 meters from the camera, we will have to close the aperture, increasing the f-number.
So, knowing the basic principles, we can act in the right way to get the best image quality in low light conditions. To do this, you can consistently answer the following questions:
Are we shooting fixed subjects? If so, ideally, the camera should be mounted on a tripod, and the shutter speed should be long enough (a remote release or a timer is needed here so as not to shake the camera while shooting). It will allow us to use any values for the rest of the settings. However, a too long exposure will also increase noise; this must be considered.
If the subject is moving, we must set a fast shutter speed – here the value is selected so that there is no motion blur, on the one hand, and the rest of the settings do not have to be overestimated (this can be if the shutter speed is too fast). Already at this stage, you can take test shots to see what happens.
The second question is whether we want to get a blurred foreground or background. If yes, open the aperture; if not, close it to acceptable values. Here you also need to understand that on cameras with a smaller sensor, the f-number can be set higher since they have a greater depth of field.
The third stage is setting the sensitivity. Here, we set the value that will allow us to receive a standard image. Of course, higher values make the photo brighter, but they also increase the amount of noise.
For example, consider a photo taken at night with a tripod:
What Unusual Do We See On It?
Firstly, the light from the headlights on the roadway stretched out into long trains, and the cars themselves are not visible in the image. It suggests that a slow shutter speed was used here. Indeed, this photo was taken with a shutter speed of 30 seconds. Houses and other stationary objects remain sharp thanks to a tripod.
At the same time, the surface of the water in the picture looks flat; this also happened due to the long exposure.
Point light sources have rather long beams, thanks to the aperture value of f/22. Usually, it would help if you didn’t use such aperture values, but it is appropriate here. The sensitivity is minimal here – ISO 100.
Additional Tricks for Night Photography
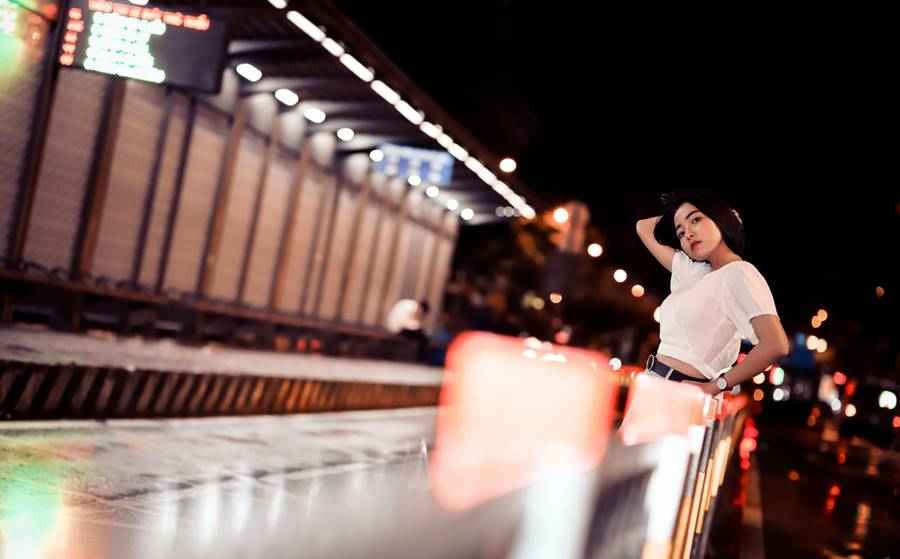
In addition, the following techniques should be used when shooting in low light:
- Shoot in RAW format. It allows you to adjust the contrast level in post-processing and manually set the noise reduction settings. It is, one might say, an advanced technique that real photographers use.
- It is better to use manual settings. There is an M (manual) mode for this; in simple cameras, you can usually only set the sensitivity.
- Perhaps, when there is little light, it is worth adding it? If we are renting a house, it is unlikely that we will be able to light it (unless it belongs to you). But if the subject is small, the solution may be to use flash or constant light. However, additional light sources can completely change the lighting picture; this is worth remembering.
- An alternative option is not to pursue the technical quality of the image; it is possible, on the contrary, to increase the sensitivity, convert everything to black and white, and so on. It is from the field of creativity, here everyone decides for himself.
- Certain types of effect filters can be used. Light filters are optical glass attached in front of the lens and allow you to get one or another effect. Star filters will be appropriate when shooting at night, which add rays to point light sources. A similar effect can be achieved by closing the aperture.
Equipment Selection for Night Photography
Of course, having a top-end camera and lens makes it easier to shoot in low-light conditions. However, this does not always help. There are two types of night photography:
- Long exposure shooting with a tripod. In this case, the choice of the camera itself and the lens does not fundamentally affect the quality of the resulting images. More important here is the ability to set a slow shutter speed, which allows you to shoot at minimum sensitivity values.
- Of course, if you’re using a tripod, don’t skimp on it. Parts subject to maximum stress (head, hinges, screws) must be metal to avoid deformation and wear. The tripod should not be too light, as it will be blown away by strong winds.
- The purchase of a remote trigger will be of great help since the simplest models are pretty inexpensive.
- Shoot moving subjects at fast shutter speeds. If shooting with a tripod with long exposures is impossible, you have to set high sensitivity and open the aperture. Here, it will already play a role in how the camera and lens are designed because at high ISO values, noise appears, and sharpness decreases at an open aperture. The individual characteristics of individual models can be found in the reviews dedicated to them.
Of course, there is no clear line between these types of shooting, but this separation helps to understand better which equipment is worth spending your money on.
Conclusion
Of course, this type of photography is not the most popular and commercially promising, but it is convenient for beginners and helpful in understanding the basics of night photography.
Shooting night landscapes or architecture does not require more than one person, unlike studio photography and similar genres. In the process, you can see interesting places, at a time when few people see them, and also share this.
The selection of devices suitable for night photography is large enough, and it is widely represented in our product reviews section.

