In this article, we’ll discuss the “camera lens flare” and how to deal with it? How often, when you come home after a long photography session and look through the captured photos, you realize that half of the material will go to the trash can because they got unwanted lens flare or glare? But don’t worry, you can turn these defects into a photograph as an artistic effect.
What is Lens Flare?
Lens flare is an optical defect that occurs when non-imaging light enters the optical circuitry of the lens and reaches the camera’s sensor. In the photograph, flares appear as circles or polygons; the number of sides of flares depends on the number of aperture blades in the lens. These defects can significantly reduce the overall contrast and sharpness of a photograph.
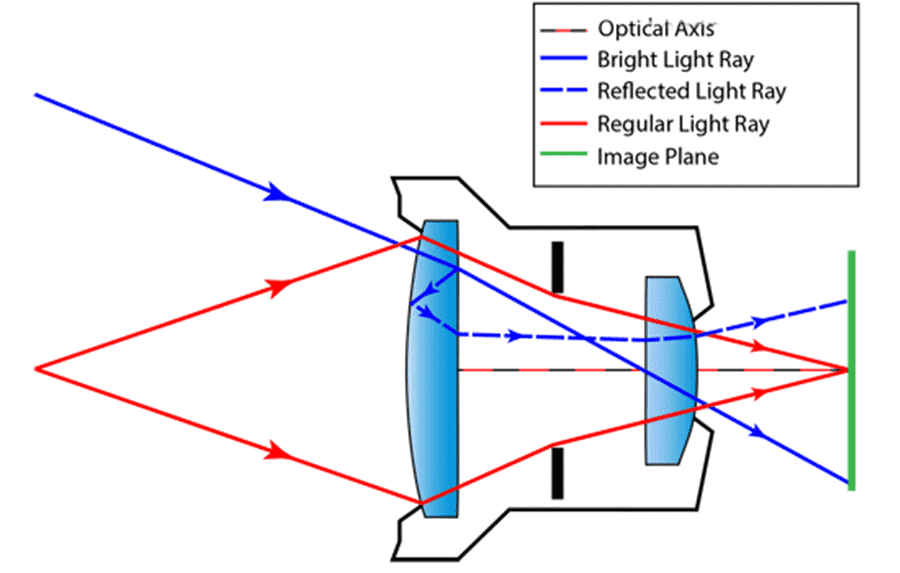
Flare occurs due to the optical characteristics of the lenses. The light that hits the sensor from outside the image aisles first passes through the optical circuit of the lens. There it is arbitrarily reflected from the elements of the circuit. These reflections inside the lens show up in photographs as flares.
Typically, lens flare in photographs (in form of light spots or bright dots) appears due to bright rays of light that hit the camera lens at a certain angle. The lenses are equipped with hoods to prevent such occurrences. Hoods protect the multi-glass optics of the camera from light from the sun or other light sources located outside the frame.
Reasons for The Appearance
A camera lens is a complex optical system. The number of lenses in complex lenses can reach up to 12-15. The lenses are given a complex curvature to get rid of aberrations as much as possible. This operation is performed on particular machines, after which the lenses are ground, polished, and an anti-reflection coating is applied to them. When shooting, a ray of light passing through such a system is repeatedly refracted and reflected. Such a “secondary” reflection of light, falling on the photosensitive element of the camera, appears as a flare.

Depending on various factors, lens flares may look like this:
- Light spots;
- Circles;
- Stripes;
- Polygonal shapes;
- Asterisks.
Flares are always brighter than the main image, so they immediately grab attention, disrupting the composition and distracting attention from what was captured in the photo. In most cases, they are a photographic defect and should be removed. You can get rid of this phenomenon in photo editors, but it is better not to allow it to appear during the shooting process.
Flare in Photos and Their Use
A flare in a photo is a spot of light on a highly illuminated glossy surface (which can be either convex or flat). It appears due to the specular and specular-diffuse reflection of a sufficiently saturated light source on an object. Most often, the sun acts as a source.
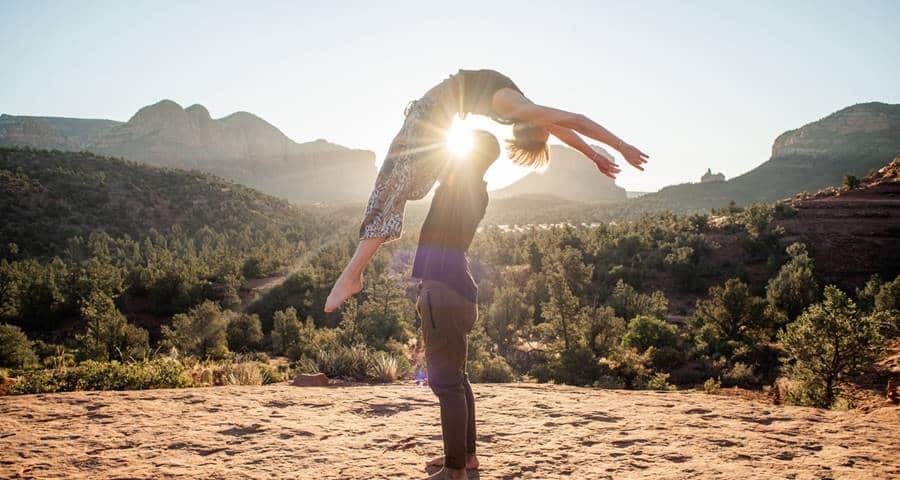
Flare is a catchy, bright area of the subject. And if an unsuccessful lens flare in the pictures spoils them, then the so-called correct ones contribute to the transfer of the texture of the photographing object.
Because a flare reflects light on an object’s surface, the characteristics have a significant impact on how the reflected light looks.
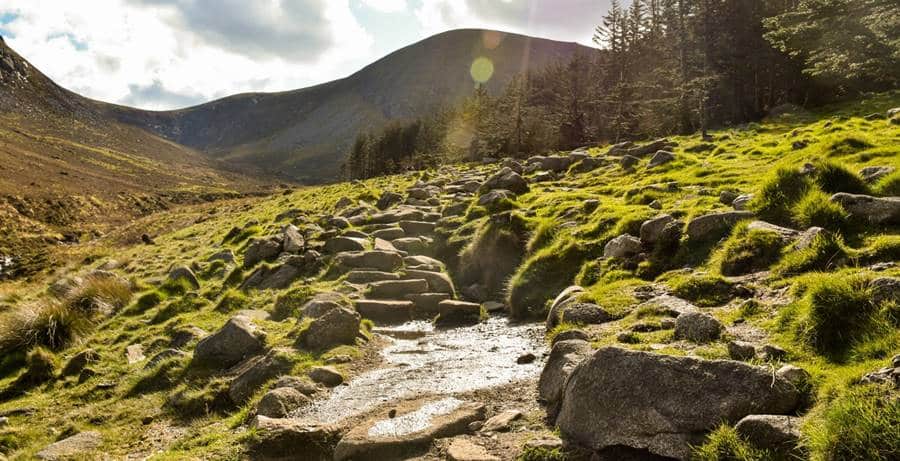
So, a smooth and glossy surface reflects light much more strongly than a matte and rough surface, and the presence of clearly defined boundaries distinguishes the flare on it.
Lens flare and the pronounced graininess of high contrast film were previously considered typical photographic defects. But the constant enrichment of the world of photography with creative ideas led to such defects being perceived oppositely – as stylish artistic effects. It is precisely the reason why programs designed for image processing have acquired tools for simulating flare in the digital era.
How to Avoid Lens Flare?
A possible lens flare in the photo can be removed during the shooting. To do this, you can use additional accessories to the camera or slightly change the process of photographing. In a photograph, they can come from sunlight, artificial light sources, or the reflection of bright light from shiny objects.
When shooting portraits the glasses can glare and when photographing landscapes with a smooth surface, the water’s surface. It’s almost impossible to get rid of this – the water ripples and shimmers under the sun rays. The flare on the water surface is usually not removed. It brings photography to life, making it more expressive.
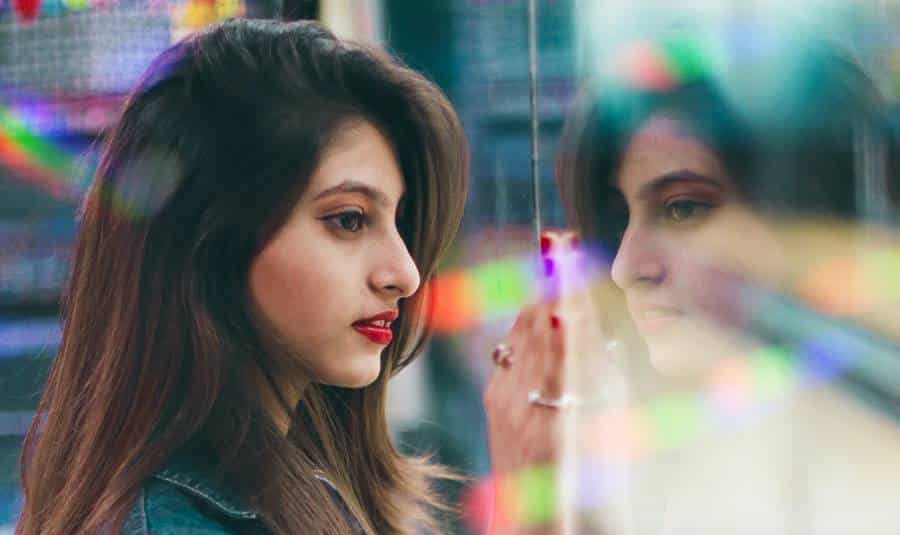
The easiest way to get rid of this unpleasant phenomenon in photography is not to shoot against light sources. Sometimes it is enough to move the camera slightly to the light, as the glare becomes less noticeable or disappears completely. During daytime shooting, the most “glare hazardous” is the middle of a sunny day.
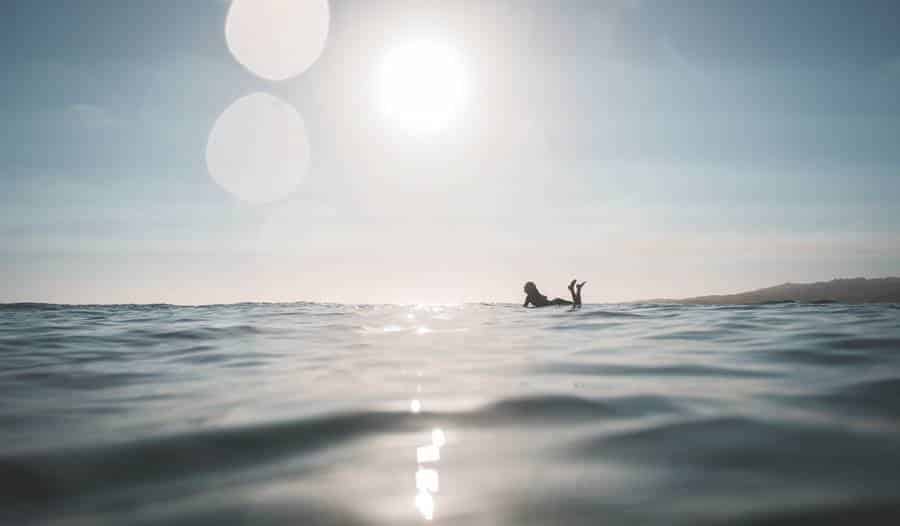
There are situations when the subject of photography is smooth, shiny, or full of light edges, and you need to shoot it. On a clear afternoon, the highlights in the photo will certainly appear. The easiest way to remove highlights is to shift the shooting time slightly when the sun is lower to the horizon or to shoot in cloudy weather. Replacing the lens can also help. Practice shows that long focus lenses are more prone to flare than other types of lenses. It is due to a large number of lenses in the optical system.
Accessories Who Help to Avoid Lens Flare
If the shooting conditions do not allow changing the camera’s position or the time of photographing, you need to use simple technical devices. They will enable you to remove possible glare and get good-quality photos. These accessories are:
- Hood;
- Polarizing filter;
- Gradient filter.
The lens hood is the most straightforward, helpful accessory in a photographer’s arsenal. Externally, the hood is in the shape of a cylinder, often with wavy walls attached to the front of the lens. Usually, backlighting in a photograph occurs from exposure to a light source that is outside the frame. In this case, the hood will remove the side flare. It also enhances picture contrast and color saturation.
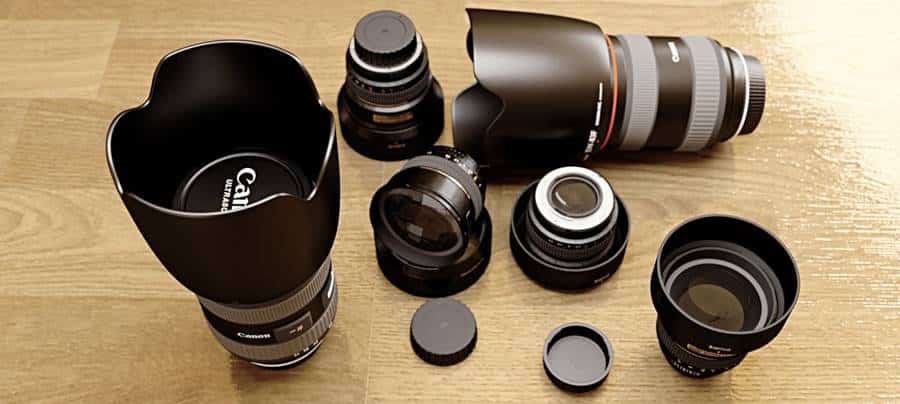
Another proper lens attachment is a polarizing filter. It allows you to get rid of glare by transmitting light only in a specific direction. It will enable you to remove all light streams coming from other directions, thereby minimizing the possibility of flare in the photo. A polarizing filter is often used to reduce glare when photographing water and glass. It is very effective in this kind of situation.
Gradient ND filter also allows you to remove light in the image and balance the brightness in different picture parts. For studio photography, when artificial light sources are used, diffusers and reflectors will help. The correct organization of the model’s lighting gives an almost complete guarantee that the flare will not appear in the photo.
5 Effective Tips to Avoid Lens Flare During Photography
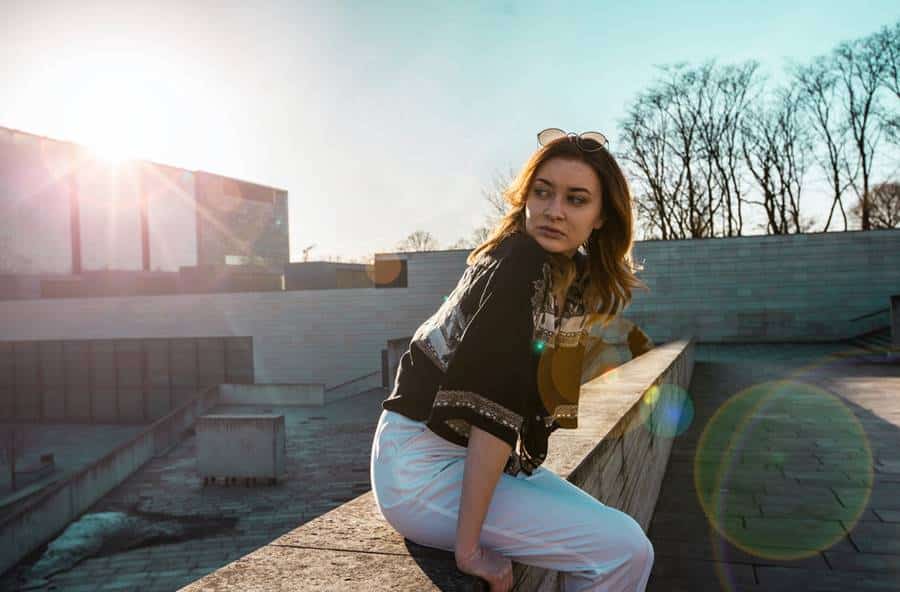
If you want to avoid lens flares in your photography, use the following tips and techniques.
1. Do Not Take Pictures Against the Light Source
The easiest way to avoid flares in your photos is to turn the camera away from the light source. Yes, sometimes it is not possible to completely change the composition of the frame. But even a slight rotation of the camera can be enough to eliminate lens flare. The plot and composition of the frame will be preserved.
2. Use A Lens Hood
Lens hood is another effective method of combating stray glare and flare. Due to its elongated shape, the hood protrudes from the edges of the lens and prevents side light from entering the lens. Moreover, if you are lucky enough to have not a cheap Chinese piece of plastic, but an expensive and high-quality hood, then its inner surface will be made of light-absorbing material. It will prevent light from reflecting off the inner walls of the hood.
3. Choose the Right Lens
Choosing the right lens will help reduce the amount of flare in your photo. Before shooting, you understand that you cannot avoid getting the light source into the camera lens or intentionally taking pictures against the sun; for example, it is best to opt for prime lenses. Since their optical design consists of fewer elements than zoom lenses, the light will be reflected fewer times in the lens itself, and, as a result, there will be a less circular flare in the images.
4. Put on A Polarizing Filter
Often, glare in photographs may appear not from the direct hit of the light source into the frame but from its reflection on different surfaces. A polarizing filter can help solve this problem by wholly or partially removing glare and reflections from non-metallic surfaces such as water or glass.
5. Reduce Exposure
This method will not entirely eliminate lens flares and glares, but you can significantly reduce them in size simply by lowering the exposure. An underexposed photo can be easily corrected in any photo editor, but you will not have overexposures. But minor glare in the image will be easier to remove in Photoshop.
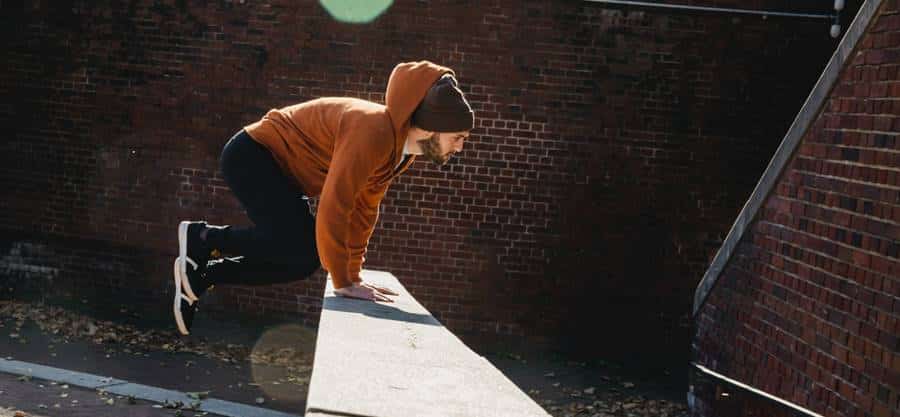
Although flare and highlights do not have the best effect on photography (the contrast and sharpness of the image are significantly reduced), they can still be used as a creative effect. Flare in the photo fills the photo with a lot of sunlight; this allows you to convey the atmosphere of warmth and summer. I like to compliment my photos with sun highlights. And if I can’t catch it while shooting, I often enhance this effect already in the post-processing process.
How to Create Lens Flare Effect in Your Photo?
Bellow, I will tell you how you can diversify a series of photos by adding different lens flare effects. Most of them are created during photography and do not require knowledge of programs for processing.

1. Sun Flare
Sun flare is one of the simplest and most commonly used effects on photography. It is enough to shoot with the setting sun in a back cover, but you can also create a lens flare with a flashlight or flash.
Try not to take the light source itself into the frame; this will avoid unnecessary overexposures. By the way, dirt on the lens gives an excellent flare in the back lens.
I like to shoot with high-aperture lenses; this allows playing with flares and removing background detail. In the examples below – 35, 50, and 85mm f/1.4.

Watch the amount of flare so that it does not overlap the entire frame or completely cover the model (although sometimes this is appropriate).
2. Lens Flares in the Foreground or Background
It is beautiful to create them from garlands or light bulbs, again using a fast lens or a long focal length.
For the lights to appear in the foreground, bring them as close to the camera as possible. The larger the scene, the more variety there will be in blurred spots.
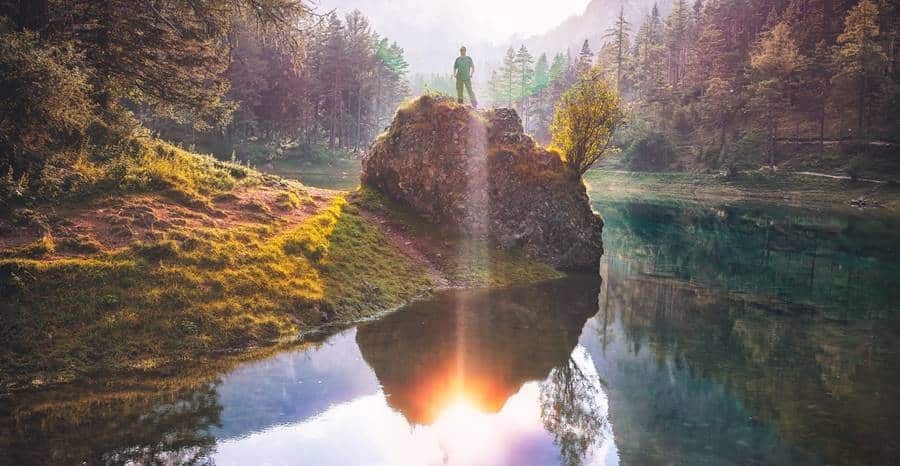
Shoot in dim and low light; otherwise, the bulbs will look faded.
In open spaces, use a larger focal length will make the models stand out more, and the lights in the background will increase.
Pay attention to the placement of the lights, as this is a strong compositional element.
3. Haze, Luminous Patterns, and Walking Focus
Any objects near the lens are blurred quite strongly. Knowing this property, you can bring any shiny object, and it will give a glare. I usually use polyethylene or a plain A4 file (frames 3 and 5) and wrap it around the lens. You can take glass jewelry, chandelier pendants, etc.
Remember to keep the focal point open; otherwise, it won’t be easy to focus. By overlapping the entire frame, you can create a haze effect (frame 3). This effect can be imitated in Photoshop, but live, it looks more attractive due to the folds and unevenness of the material itself.

Another effect is “Tilt-Shift” with the lens removed. I like to add several such frames to the series (1, 2, and 4).
Interestingly, the focus is on the background and the model simultaneously, but not the whole model is in focus.
Switch to LiveView mode (when the image is displayed on the screen), remove the lens from the camera, set focus at infinity, and tilt in different directions. In this case, the full effect will be displayed on the screen. Since this is quite inconvenient and time-consuming, it is better to shoot static scenes.
I prefer to use 50mm or 85mm, but you can experiment with any technique.
4. Reflections and Double Exposure
The first effect (reflection) can be created using glass or a mirror, or even a phone screen in front of the lens.
Position at different angles for more exciting reflections (frames 1, 2, and 3). Also, keep track of what exactly is reflected.
Great when there are other light sources in the room, for example, lamps, windows, garlands, etc. And on the street, it can be gaps in the trees, light between houses, and so on.
Double exposure is available on many modern cameras. Or it is possible to “glue” the pictures in the editor.
Do not forget that you need a contrast where the main characters are (4 and 5 photos).

5. Adding Flares in Photoshop
I like to create lightless in Photoshop, but sometimes I can’t do without it.
The first way is when we use presets (with glare or bokeh) downloaded from the Internet and apply them through lightening modes (for example, “screen”)
You can use even a tiny source resolution with a glare and erase the effect in places where it is not needed (1-5 frames).
The second method is created from gradients, and I use it more often. Be sure to use backlit footage; otherwise, the effect will be too unrealistic.
I use white more often, but warm and cold highlights are also appropriate. (6-8 frames)

There are many ways to create an unusual photo. The main thing is not to be afraid of experiments, turn on your imagination, and you will succeed.
Thanks for reading to the end. I would be happy to answer any questions or comments.

