Today’s topic is a night photography. I am sure that you have faced the problem of getting good shots when shooting at night. After reading this article, you will learn how to shoot in almost any light without fear of ruining the frame.
In the last article I already wrote about black light photography, so be sure to read it. In it, I told the general principles and foundations. We will talk in more detail; I will give a dozen tips and talk about several ideas for a photoshoot at night.
The specificity lies in the fact that long exposures impose certain restrictions on a wide range of subjects. So, in the dark, it is almost impossible to shoot dynamic scenes.
The exposure is quite long, and the runner on the embankment will not have time to appear in the frame, even as a ghost. Asking strangers to stand still for a long time is also not always possible. Therefore, when shooting at night, select scenes that do not involve rapid movement.
So, on the embankment, as mentioned earlier, you can shoot a couple of hugging, a monument, or a parked motorcycle instead of runners or skateboarders.
Camera Sensitivity (ISO) Setting for Night Photography
Do not forget that the canons exist to be violated in the name of art, and a talented photographer can turn even outright harm in favor. For example, blurry movements can become part of your artistic design. In reportage shooting, it is the blurred contours that convey the movement. As a result, the technical defect that occurs when shooting at night turns into a “highlight” of the picture.
In the practice of professional photographers, such tasks are often posed. It can be a photo session of a corporate party in nature, shooting on New Year’s Eve, etc. Here it is important to show imagination and find a reasonable compromise. If quality is paramount to you, you cannot increase the sensitivity. Shoot as low as possible.
If you can slightly compromise the quality (for example, you will print small photos or process pictures with “noise reduction”), the sensitivity (ISO) can be raised to 400-800. The maximum ISO value can be set when it is necessary to get a picture at any cost.
Accessories for Night Photography
Even the highest sensitivity in the dark is not enough for handheld shooting. Therefore, be sure to use a tripod. You can bring along a lightweight carbon fiber model. Of course, carrying such an accessory with you is more pleasant than, for example, a Manfrotto Tripod weighing 3 kg. But any tripod takes up a specific place in your luggage.
However, it is not recommended to refuse this accessory. After all, thanks to the tripod, the camera will be stationary during the long exposure. Just mount your camera on it and set any shutter speed. The exposure time is limited only by the capabilities of a particular device and your common sense.
But the monopod will be practically useless for a night photo shoot. Yes, it expands the exposure range by 2-3 stops, excluding smears and other defects in the photo. However, the monopod will not help radically solve the problem.
When choosing a technique for night photography, you must know what each device is intended for. So, if you can make the camera still in other ways besides a tripod, go for it.
Obviously, in many situations, a tripod turns out to be a “third thing”. For example, when walking with a girl in a park or square, it is inconvenient to carry it with you. But you can put the camera on the parapet and make good night panoramas.
There is little light in the forest, even during the day, but there are many stumps. Of course, you will have to put chips or knots under the camera to fix it in the desired position. But you don’t have to carry a bulky tripod with you. Thus, imagination can help out the photographer, even if he does not have the necessary accessories at hand.
Optical Stabilization
The optical stabilization system is a good compromise between quality and slowness when performing night photography. Some camera manufacturers integrate stabilizers directly into the camera. The lenses of other models are equipped with stubs. This is how greedy manufacturers force consumers to pay for a convenient feature whenever they change lenses.
Many compact devices of well-known brands also have a stabilizer. The scheme of action of this element is as follows.
The optical unit and the photosensitive matrix move in the right direction at the crucial moment. By doing this, they compensate for the shaking of the camera body. However, there are also limitations. For example, with a ten-second exposure, no stabilizer will save the situation.
General Recommendations for Night Photography
Most scenes can be shot in entirely different ways using the available shutter speed options alone. So, a minute exposure turns an average black night into almost a day. This is achieved by lightening the shadows.
However, when shooting at night, the night should still be itself. In the pictures, this can be realized with the help of incomplete elaboration of the shadows. The latter are black areas where a minimum of detail is visible. Also, the reproduction of the bright regions around light sources will give your pictures a natural look.
The camera does not know the intentions of the photographer. Therefore, it does not hurt to master the exposure compensation. This correction helps to trick the meter to achieve the result you want. A night photo session should be carried out only in a completely manual mode. In other words, the photographer independently sets arbitrary values of aperture and shutter speed independent of each other.
Feel free to experiment, because it is much easier with digital equipment than with film. At any time, you can look at the pictures you have taken on the camera screen, analyze errors, take them into account and retake unsuccessful frames. Do not be lazy to do image processing in a graphics editor. Sometimes it is post-processing that turns an ordinary shot into a real masterpiece.
Feel free to experiment because it is much easier with digital equipment than with film. At any time, you can look at the pictures you have taken on the camera screen, analyze errors, take them into account and retake unsuccessful frames. Do not be lazy to do image processing in a graphics editor. Sometimes it is post-processing that turns an ordinary shot into an absolute masterpiece.
Useful Tips for Night Photography
Before going to the photoshoot, do some exploration; this event will save time and get the desired result faster. During exploration, evaluate the night lighting, find a suitable shooting point. If you are planning to shoot architecture, pay attention to the lighting of buildings. In other words, find a place in advance where the city at night will look the best.
When choosing aperture, stick to the “golden mean”. These are values in the f/8-f/16 range. But there is no clear law here. Try to determine the sweet spot experimentally, choosing the best parameters for a particular lens. Even if night photography will be carried out using expensive professional models, this is not guaranteed to get a beautiful picture at the maximum and minimum aperture values. By setting the parameters to medium, you will be on the safe side and increase the chances of getting high-quality, sharp night shots.
To improve the depth of field, clamp the aperture down to f/16. This will make the distance and foreground more clear, turn the street lights into beautiful stars. In this way, night shots will get a special atmosphere.
Before taking a picture, analyze the scene in detail: which areas are in the dark and which ones are too brightly lit. Ask yourself the question: “How will all this appear in the photograph?”
Always remember about lighting. When shooting at night, it is extremely important to consider the significant contrast between dark and bright objects. Do not be lazy to use your feet or zoom to find the point from which you can shoot the optimal harmonious composition, where 3/4 of the frame will not be “knocked out” by bright lighting or sunk into complete darkness.
Batteries drain rapidly in cold weather, especially when shooting at long exposures in winter. It will not hurt to stock up on additional batteries, so as not to end up with discharged equipment at an extremely inopportune moment. Keep them warm.
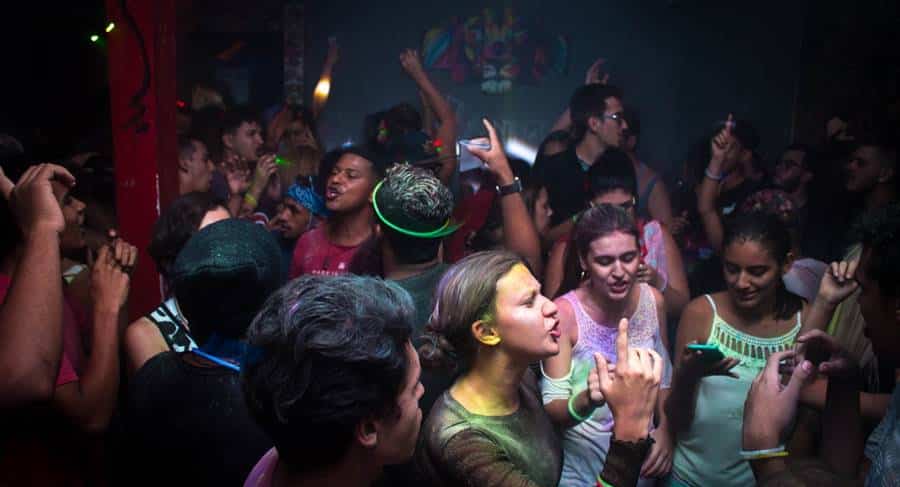
Often strangers interfere with the shooting. But in the course of a night session, crowds, on the contrary, can add a certain charm and variety. If people are motionless, use them as silhouettes. Moving objects create a curious blur effect that emphasizes the dynamics. Such frames are shot at shutter speeds of 1/2 s.
Different effects are obtained at different times. Moreover, the deep night is not always the optimal period for a photoshoot. Often, curious shots are taken at dusk, when the skies are not yet completely dark, but the night lights are already on. The combination of residual natural light and high-grade electric lighting will help you capture unique images. If you shoot at night too late, you are unlikely to capture beautiful clouds, as is possible in the evening.
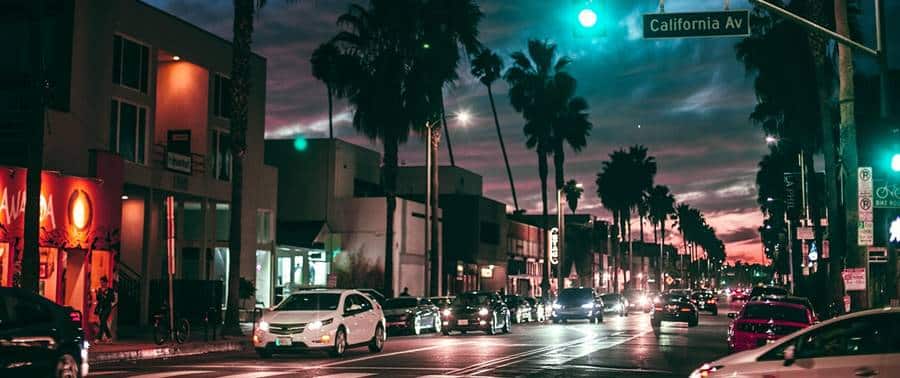
Headlights and road traffic require approximately thirty seconds of exposure.
When shooting moving lights, the zoom effect looks very interesting. Start shooting at the short tip of the lens. Without closing the shutter, zoom smoothly to the long end or in reverse. It is difficult to predict the result of night shooting in this mode, but it can be very curious.
The reflection of lights in a pond will double the number of lights in the frame. Even winter photos can be significantly more beautiful if you use the reflection of light in frozen puddles or on wet asphalt.
On moonless nights, when there is no lighting at all, and the shooting takes place in nature, you can use backlighting. To get effects that are diverse in perception and color, use flashlights with different light temperatures. If you are using a flashlight, do not fix it at one point. Drive it smoothly – it will provide the best illumination and create a stunning effect.
When you open your RAW footage in Adobe Camera Raw or Lightroom, first of all, choose the temperature (the so-called white balance). Then add saturation to your images using saturation and vibrance, but don’t overdo it. To resurrect overexposed areas, use recovery.
Cool Ideas for Night Photography
1. Transport and Its Flows
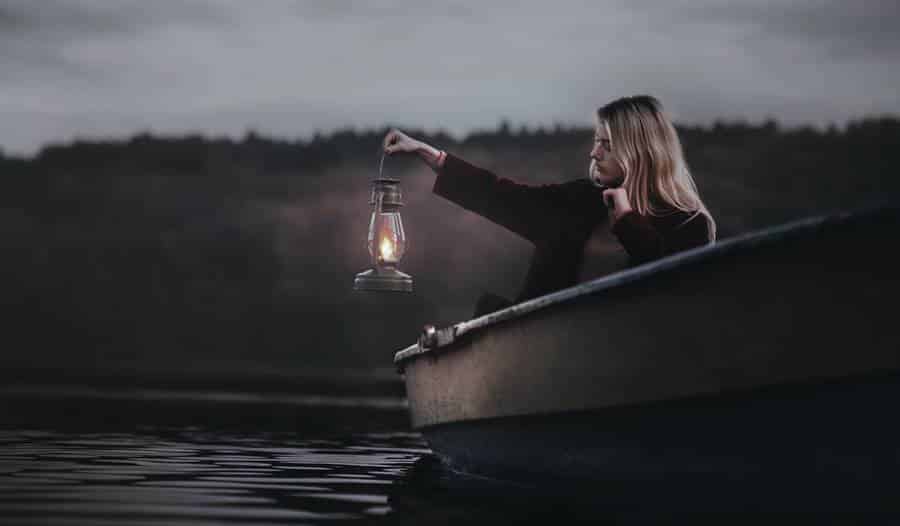
Moving traffic lights always look beautiful. To get this effect, you need to set up a slow shutter speed. Note that slow shutter speeds when shooting at night are more of a necessity than a whim of the photographer. But using it creatively makes for interesting shots.
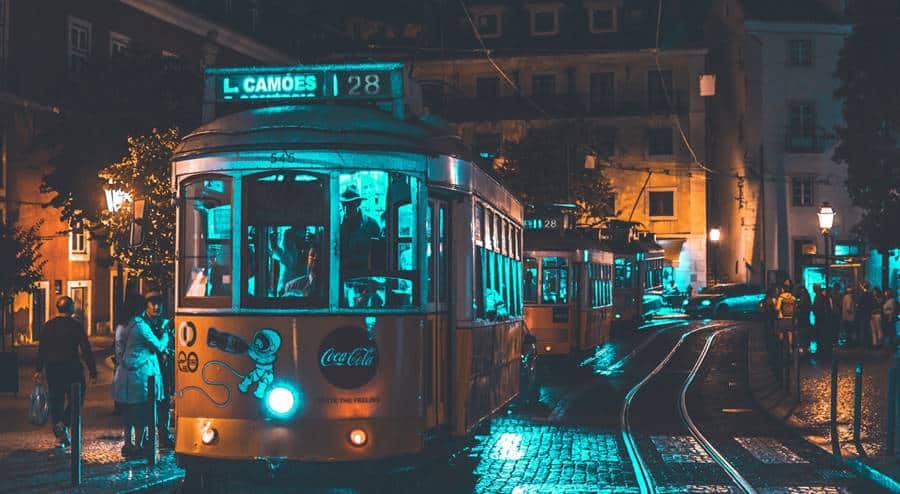
Everything here is determined by fantasy. If you have not been able to get good pictures, do not assume that the reason lies only in the cheapness of the equipment you are using. An inexpensive filter kit or a regular tripod may help you.
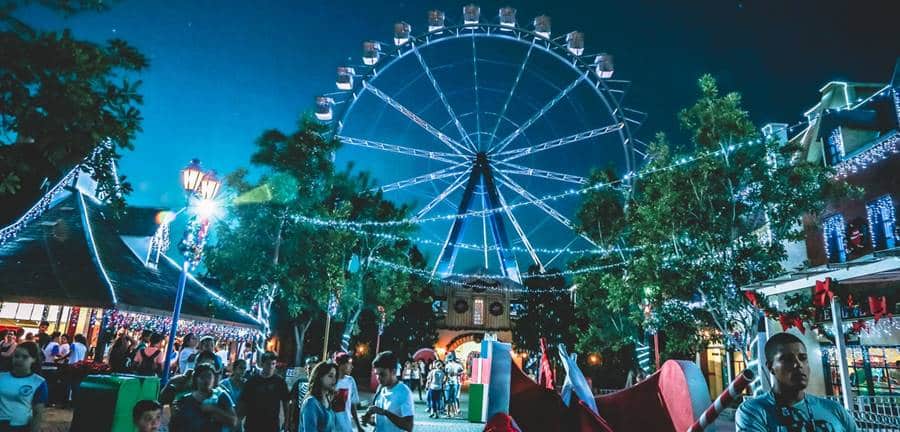
2. Night Photography in The Amusement Park
In such establishments, there are always many moving lights, be it a Ferris wheel or a carousel with horses. Using a slow shutter speed and a tripod, you can get stunningly beautiful pictures.
3. Heavenly Bodies
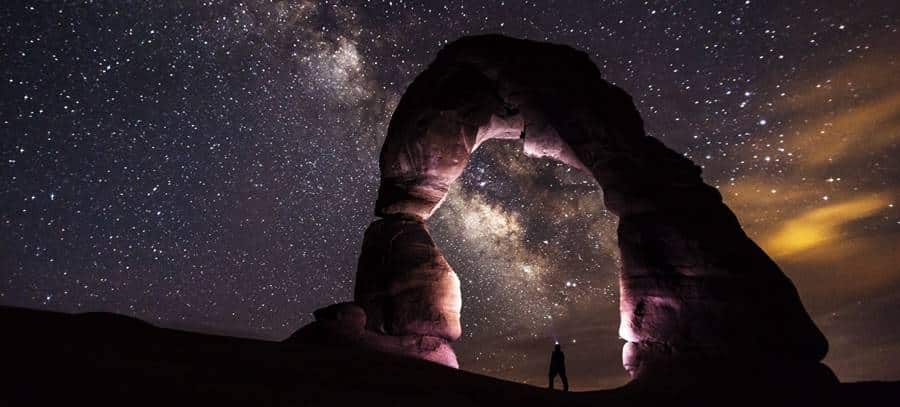
Romantics, scientists, and ordinary people have always been interested in the movement of stars. Dedicate your night photography to this topic. Photos like this look extremely impressive. They make one think about the infinity of our Universe, the existence of other lives. And they simply delight with their beauty.
To remove the “star trail”, exposure can take half an hour or more. There are two methods to shoot here. Either you take one frame at a very slow shutter speed, or a series of frames at a short one, and then stitch the images together.
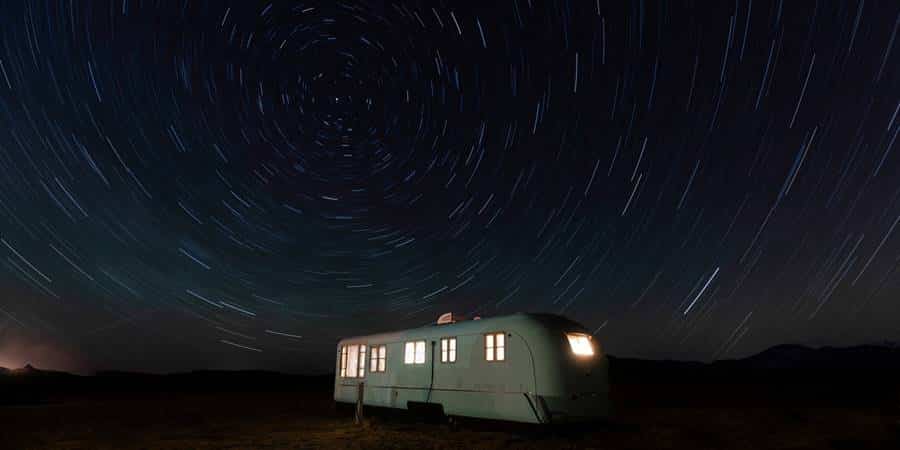
The first method is suitable for those who have a device with an “infinite” exposure and a noise suppression module with such parameters. But the probability of parasitic flare will remain even at night, when the sky looks very dark visually, however, at long exposures it may turn out to be too light or faded. If you prefer the second option, use Star-trails or alternative programs for stitching pictures. The more frames you take, the better the result will be.
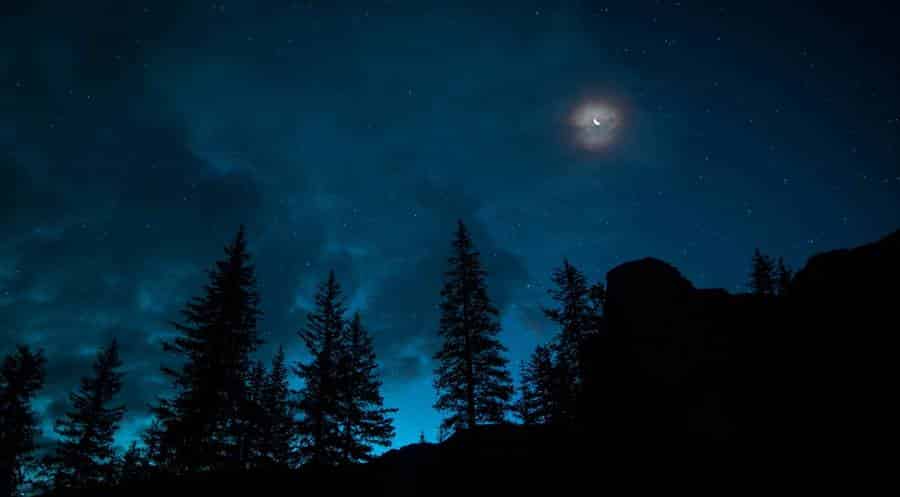
Use very long (at least half an hour) exposures to capture high-quality footage. The photo session is best done outdoors. In an urban setting, the light of the stars will be drowned out by the abundance of electric lighting. The result is well worth spending a spring or summer night in a tent or a country house.
The only caveat is that you need a protective case designed for the lens to protect it from dew.
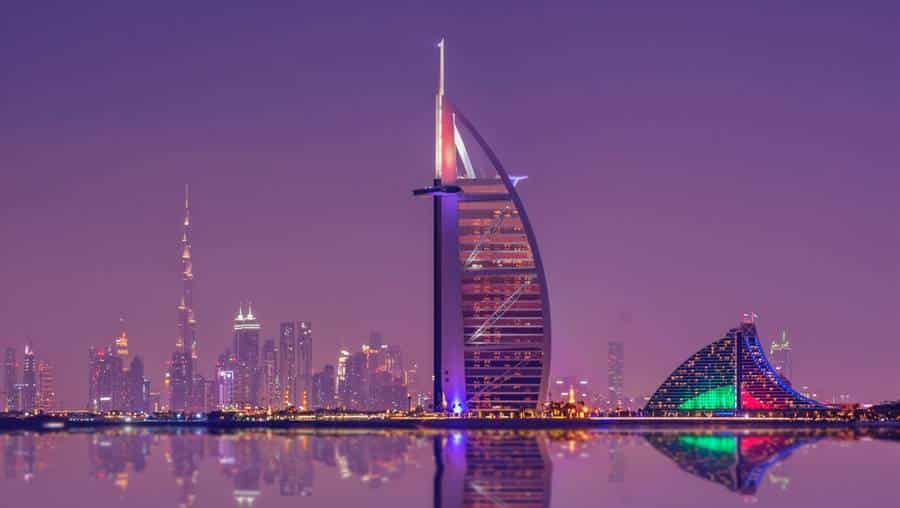
4. Fill the Foreground with Reflections
A simple and obvious idea. But with proper implementation, you will get fabulous photos. After all, the reflections of colored lights in the foreground look incredible.
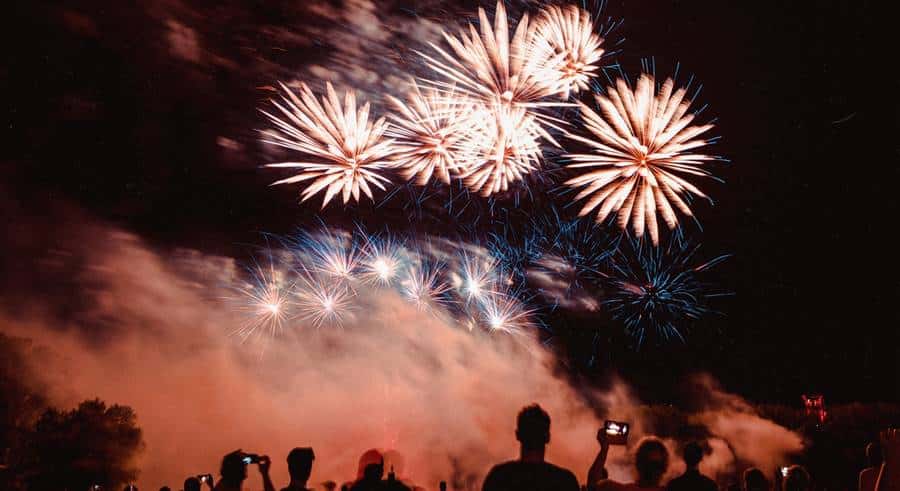
5. Fireworks
Despite the seeming banality, night photography of fireworks, with its correct arrangement (for the hundredth time I will repeat myself: long exposure, tripod, filling the foreground), allows you to get unforgettable shots.
6. Paint with Light
In general, the technique of painting with light (light painting) is quite old and well-studied, although it does require some practice. Having mastered it, you can completely give free rein to your imagination. For example, you will get the opportunity to capture a cute ghost that traditionally appears at night. There are many other interesting topics to cover.
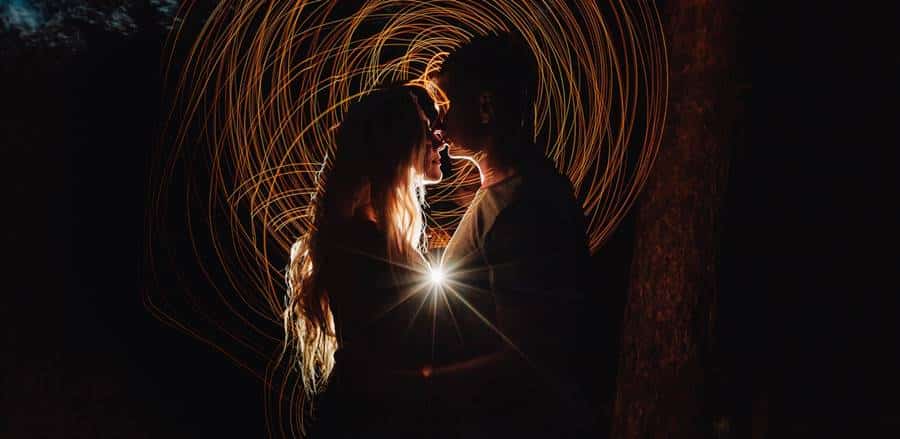
This style is also called “freeze light”.
7. Take Advantage of The Beauty of Natural Phenomena
After dusk or before dawn, nature looks different from usual. Cloudy skies, the moon, thunderclouds, fog, lightning – ready-made subjects for shooting. Such objects are capable of making even a banal landscape very colorful and non-trivial. And night shooting of a thunderstorm allows you to get some of the most beautiful pictures of natural phenomena.
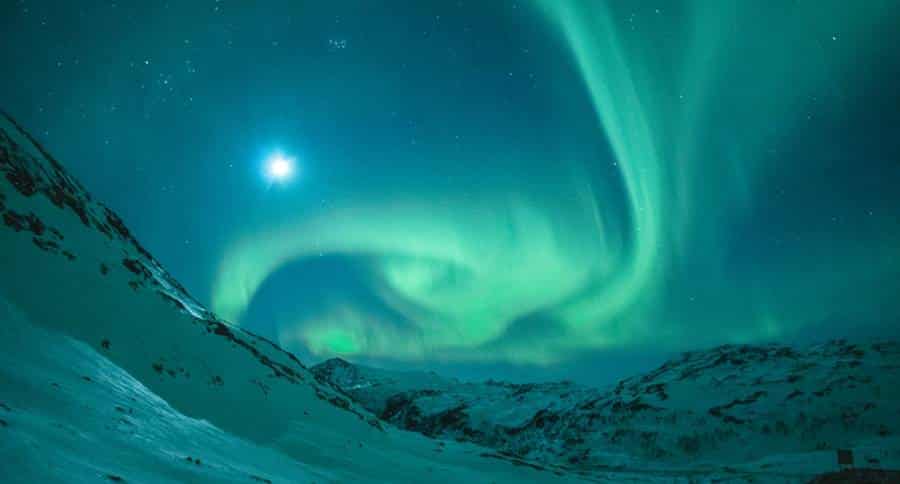
You can even use multiple exposures to add drama and dynamism to thunderstorm footage. This is a fairly well-known technique among professional photographers. Speaking of natural objects, one cannot fail to mention the northern lights. If you live or intend to travel to regions where this phenomenon occurs, be sure to take the opportunity to capture it.
After completing night photography, carefully review the resulting frames, analyze errors, consult with colleagues if necessary, send pictures for criticism to some public social network.
This approach will allow you to constantly expand your store of skills and knowledge, improve your skills, and perform more interesting, complex, and important tasks.
That’s all for today, friends. Hope you enjoyed the article. If so, then leave comments and watch the video on YouTube – I will be glad! See you in the following articles.

