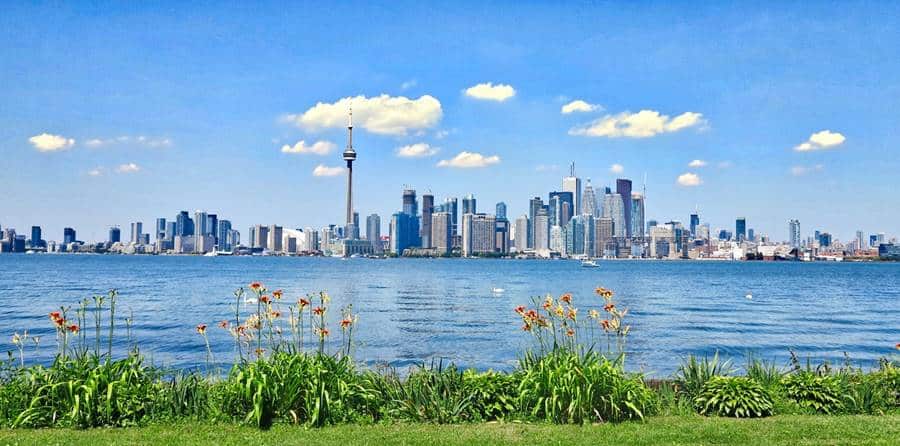
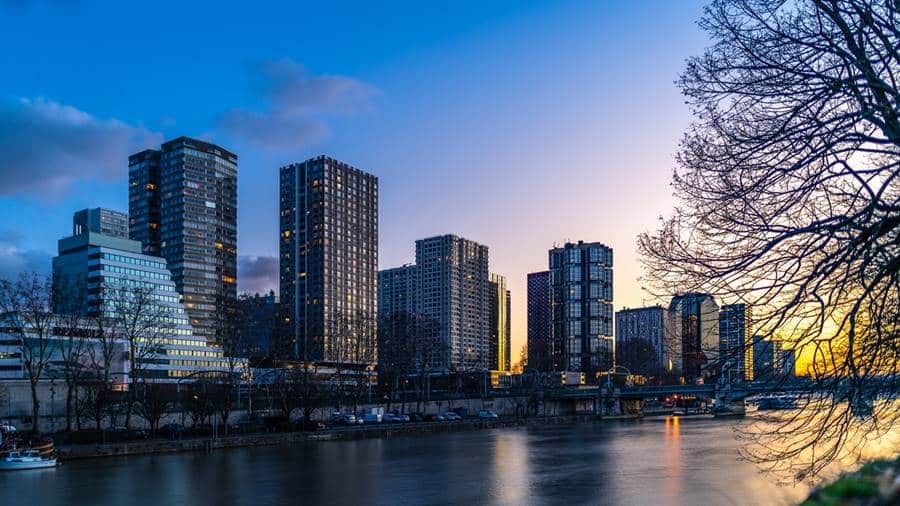
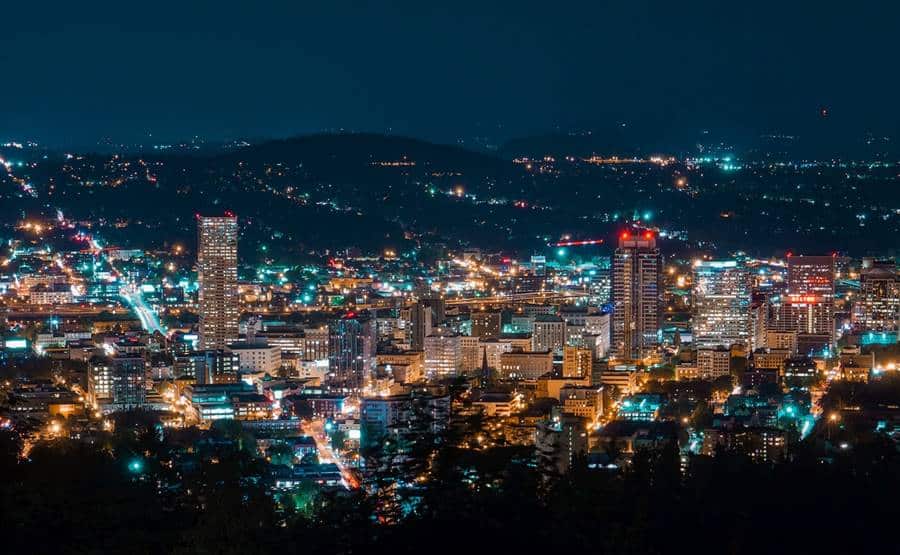
Today we will discuss panoramic photography tips and share some secrets of panoramic photography with an SLR camera. When the notion of beauty mingled with photography, many shooting processes emerged. Among these, the panoramic photo. This type of shot impresses with its vast dimension. But it takes a specific technique to bring beautiful and homogeneous ones.
From the outset, a panorama is a carded view of a vast landscape. For the photographer, a panoramic photo is a patchwork of images assembled. It is also a photograph in a larger than elongated format, giving an impression of immensity. If you want to give it a try, this short guide will come in handy. Focus on the steps and tips for making panoramic photography.
Step 1: Locate the Subject
More than a large image, a panoramic photo is intended to highlight a particular element of a given setting. It aims to enhance it by using its environment. It can be a building with a remarkable architecture, a lone tree, a lighthouse overlooking the sea, a twilight moment, a country house, a massive animal, etc. In short, you can take any subject lodged in a vast horizon.

To have a wide field of vision, you can gain height. On a rock, on a car, or the roof of a house, for example. The goal here will be to see the significance and far.
Step 2: Gather the Necessary Equipment
Some SLR models already have a “panoramic” scene mode. And with the automatic mode, they adapt the shot’s settings by image and according to the surrounding environment. It varies depending on the situation. However, this mode is not very practical for stitching together images: different exposures, irregular contrasts, color imbalance.
Suppose you have some skill with manual settings, but these two modes aside. With an SLR, you have access to various creative ways allowing several possibilities of adjustments necessary to capture the image. You will be able to control the exposure and the white balance. This, to have regular successive shots.

As for the goal, you have to be careful. In principle, this material frames a scene by concentrating some capture defects at the edges of the image. These photographic anomalies can be vignetting (darkening of the picture’s borders), loss of sharpness, or distortions. However, a panoramic is the result of a superposition of several shots at their edges. To avoid assembly problems as much as possible, you should use a lens that minimizes these deformations, such as a fixed focal length model (28 mm to 50 mm on a 24 x 36 sensor or 18 to 35 mm on an APS-C sensor).
Finally, a tripod will also help take a panoramic photo. This accessory gives you the stability you need to capture the shots that make up the photo. It is still possible to do without it, but only if you are good enough for handheld grips.
Step 3: Adjust the Reflex
As you already know, optimizing photo shooting works best with an SLR set to manual mode. It means that you will have to adjust the functions of the device:
Exposure

Here you will have to determine the average measurement of the light of the panorama. The majority of SLRs have an integrated light meter or multi-zone systems dedicated to measuring matrix light. Concretely, here is the procedure for adjusting the exposure:
- Put the reflex on priority opening
- Select and maintain a landscape aperture (f/8, f/12, etc.)
- Choose a panorama area with medium brightness (neither dark nor light) and take a photo.
- Study the displayed histogram (normally balanced)
- If the exposure is similar to the first photo, keep the settings
- If the exposure is different from the first photo, perform exposure compensation
Color Balance (Color Temperature)

This setting determines the color tones of the image. Here you need to turn off the automatic white balance mode. Then choose a method (cloud or sun) that matches the surrounding sunshine. With an SLR, you will be able to capture the images of the digital photo in RAW format. It will allow you to change the white balance and make it homogenous during digital development.
Step 4: The Shooting
Before you begin, choose a vertical orientation (portrait). It will make it easier to stitch the photos together. Also, favor calm and non-windy weather (to avoid blur effects).

Once everything is in position, you can start taking photos. To do this, shoot and then gradually move the reflex in one direction (from right to left or from left to right). You must be careful to overlay each new image 25-30% of the previous one with each capture. To help you get your bearings: use the reflex grids or a landmark on the scene (tree, house, etc.).
Step 5: Assemble the Pictures

This part is the most complex. If you’ve followed the previous steps exactly, it should be easy. This task requires dedicated software (especially for RAW formats). You can find all kinds of them; some are free, others paid. In principle, here is the procedure for attaching them to the software:
- Load images into the software
- Provide the required information (lens, focal length, etc.)
- Let the automatic alignment make the necessary adjustments
- Start the operation to get the photo
- Once the panorama is assembled, cut the outer edges
- Save in one of the available formats (PSD for Photoshop retouching)
- Rework the image (if necessary)
You may also like to read: Sunset Photography Tips: How to Photograph a Sunset Like A Pro?
Roughly speaking, these are all the essential steps to take beautiful panoramas with an SLR. It is possible to go further by adjusting the settings, hardware, and processing software. If this article was helpful, please like and share it with your friends on social media.


