Today we’ll talk about portrait photography rules in this article. Portrait photography can help to reveal the character and inner world of a model, get to know a person better if all the rules of portrait photography are followed. I will also tell you about photography techniques, reveal a few secrets, and talk about the nuances.
Types of Portrait Photography
There are mainly four types of portrait photography. Usually, all options are divided according to which part of the model will be included in the photo. Let’s see the types of portrait photography.
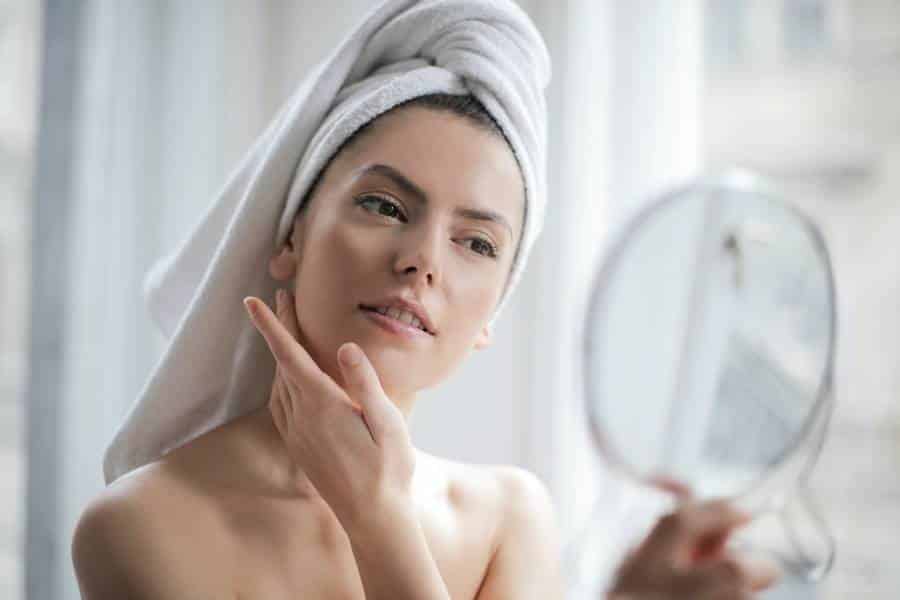
1. Brachial
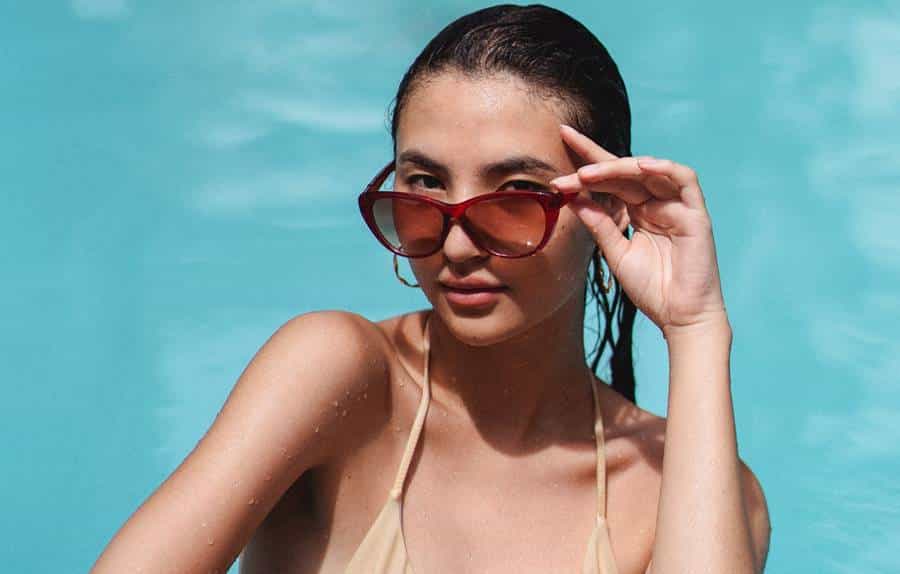
In this type of portrait, the emphasis is on the face and facial expressions. It will be necessary to discuss the features of the makeup and carefully retouch the problem areas so that they do not catch the eye at the same time, but they look natural and not like a layer of makeup. The photographer usually stands 2-3 meters away from the person.
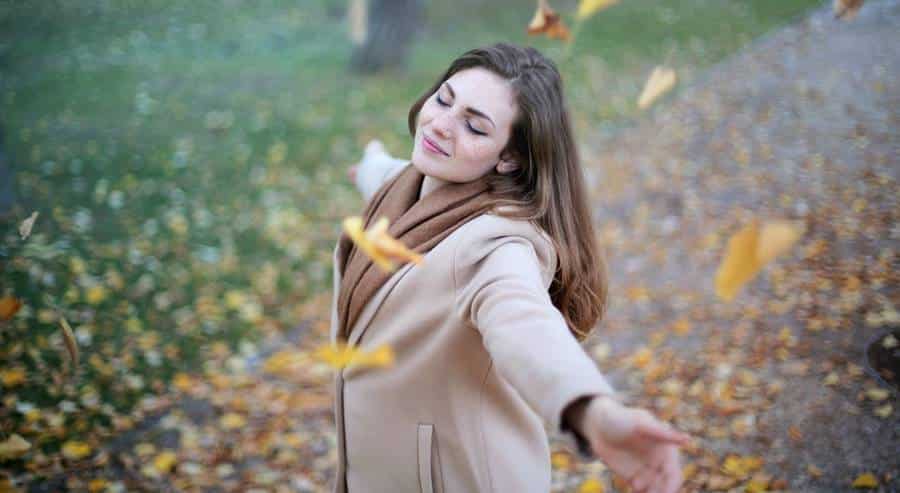
2. Waist
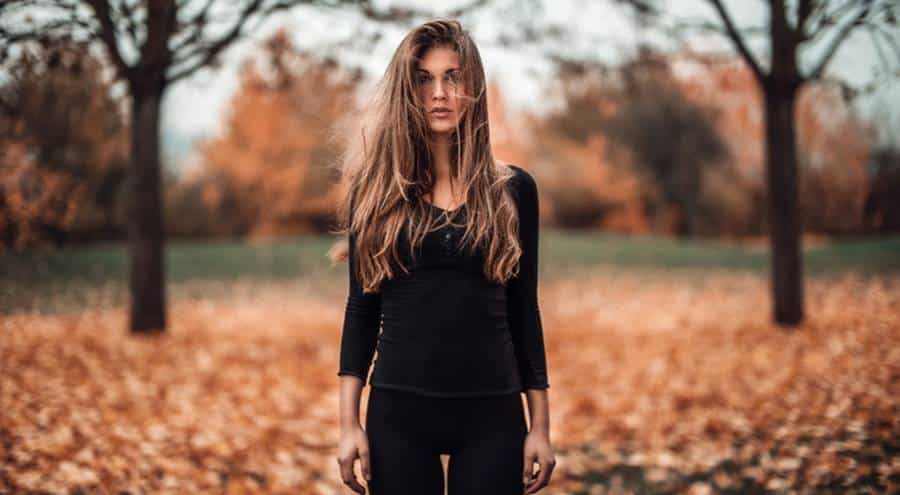
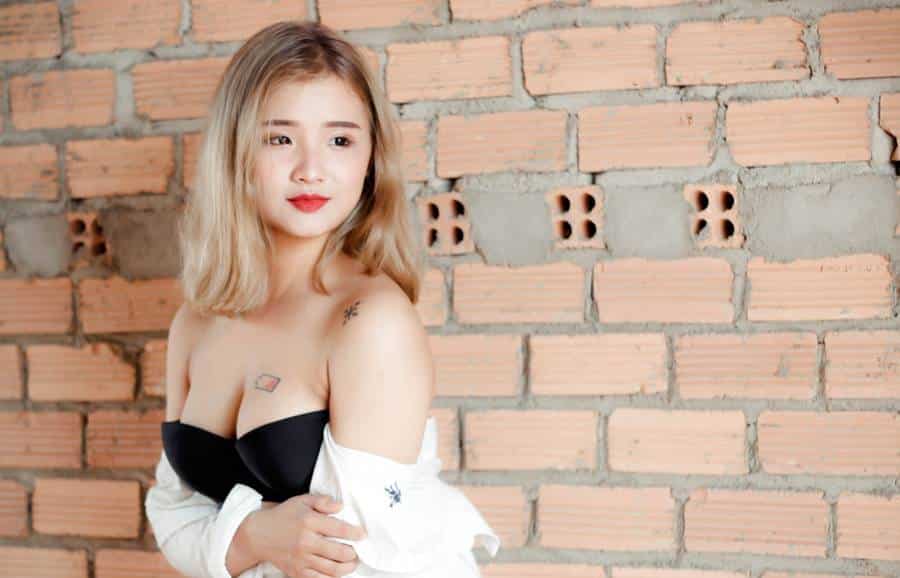
This type of portrait accordingly, is done up to the waist. Here much more experimentation with the angle is allowed; it becomes possible to show the girl’s lush long hair. Also, the conceived emotion is transmitted much more quickly because there are not only facial expressions but also body language and gestures. In addition, you can photograph the model with different objects in hand.
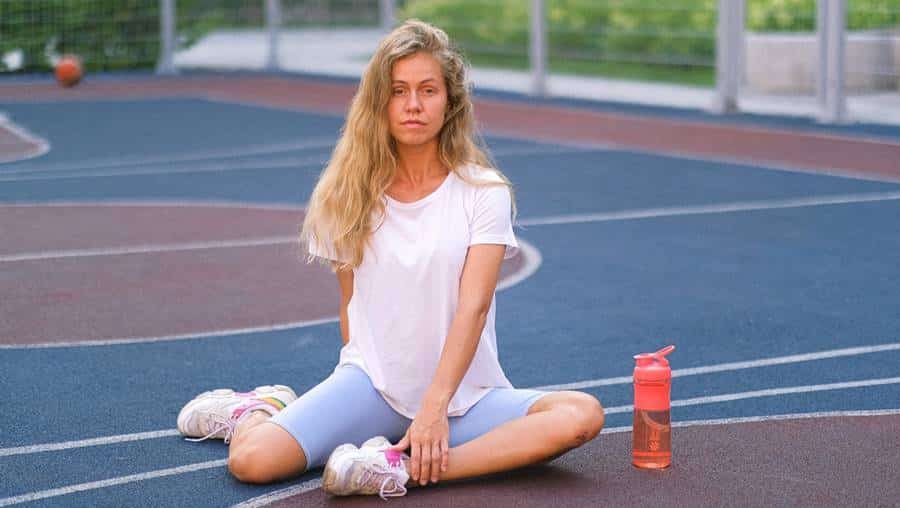
3. Full Length
According to its name, it is a great reason to use long focus lenses. The peculiarity is that, firstly, the whole body of the model will be visible – elegant dresses, the position of the legs, and many other aspects that you want to demonstrate.
Secondly, the background is actively working – it does not have to be washed out completely; you can get the most from the entourage of the studio interior.
4. Generational and Fragmented
Refers to more rare and experimental options because it is unclear what the photographer does not like about the shins and knees. An unsuccessful attempt to crop them can make the figure visually disproportionate. On the other hand, you can get a perfect, exciting shot.
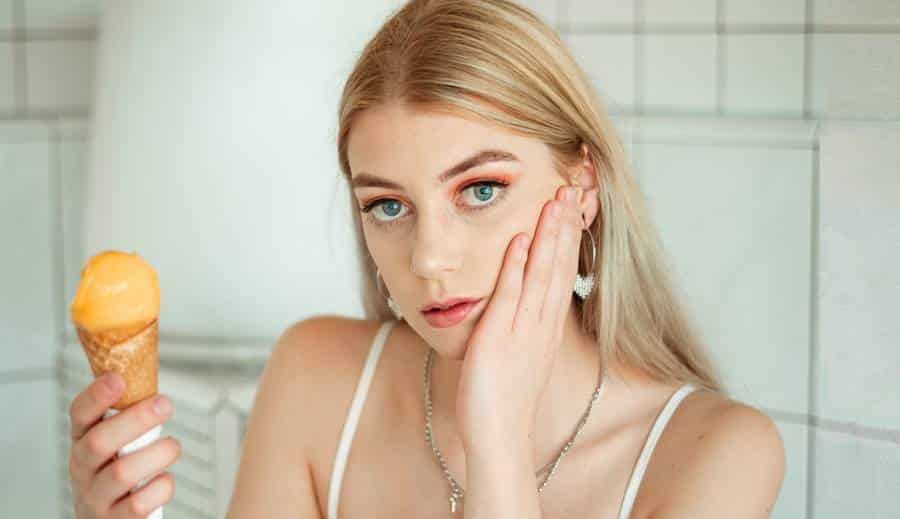
Fragments – this means that only some parts of the body will be photographed, for example, feet, arms, shoulders, stomach (especially popular during pregnancy), etc., customers, for example, when selling rings, fingers will be removed.
The Basics: What You Need to Know
Portrait photography specialists have identified five main topics that beginners have to read before starting portrait photography. Each subject has its own characteristics and impact.
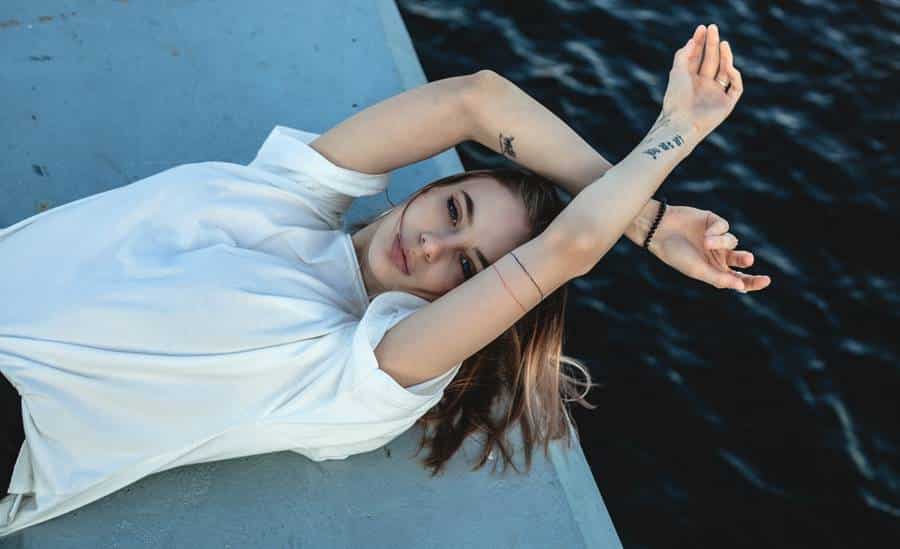
1. Required Equipment for Portrait Photography
This issue is resolved even at the preparatory stage when cameras, accessories, and lenses are purchased. I recommend a DSLR camera as it is fast and it also allows you to change many lenses. With it, you can choose the manual mode and work in the dark.
The lens selection depends on what kind of photograph you want to take – close-up (70-135 mm), waist-deep (50 mm), or full-length (30 mm). Choose specially coated lenses – they help smooth out minor skin irregularities without further retouching.
2. Camera Settings for Portraits
Here are few tips about camera settings for portrait photography:
- An open aperture is a great solution to blur the background, highlight objects in the foreground, and create a bokeh effect.
- The ISO value should be kept low. It removes graininess and noise. Of course, light sensitivity depends on the light level, but it is better to stick to tiny boundaries.
- Slow shutter speed 1/60 second. It will reduce the likelihood of blurry shots when the model moves a little.
- White balance does not require special attention; the standard-setting will do this. If you want to experiment – then put on manual.
- Exposure metering can be averaged over the entire frame size or spot metering to the very center.
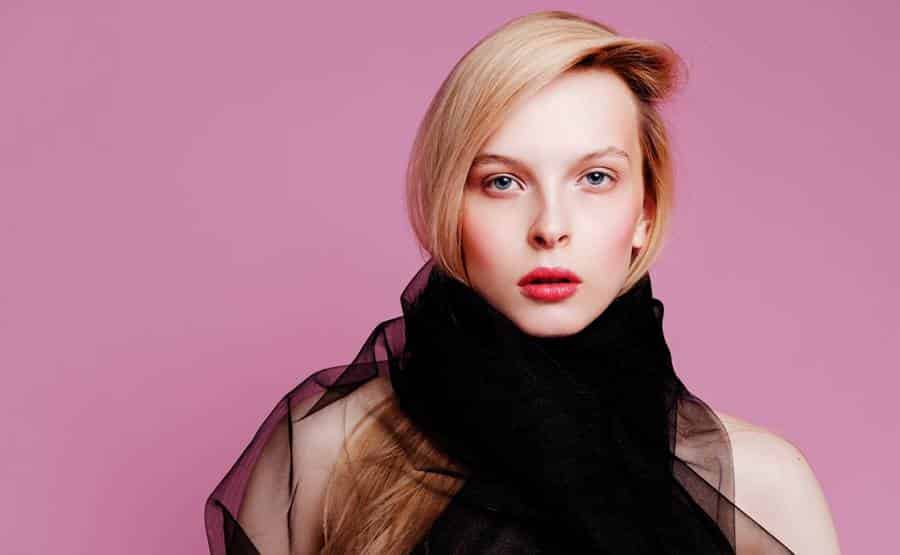
3. Lighting Adjustments
It is an important parameter that will most likely lead to a significant improvement in the image or its failure. After all, light sets accents can focus the viewer’s attention on the merits and demerits of a person. Mistakes in this area are most pronounced when creating black and white works, but color ones also require attention.
Here is the best recommendation – during the first minutes, try experimenting with the modes, adjust the brightness, apply the luminous flux from different sides. It will allow you to learn about the pros and cons of the model and see how it looks in other lighting conditions.
You can work with both natural light, which makes pictures more vivid, and with a flash. It takes a lot of skill here to avoid getting a disproportionately flat face with highlights.
4. Setting the Background
There are two different options – studio photography (or in any other room) and outdoor. It is better to choose light, monochromatic interiors with several accents – objects that can be used in the first case. And in the second, it will be more optimal to choose a calm landscape, for example, a green edge, a forest. In this case, you should focus on the object and blur the background somewhat.
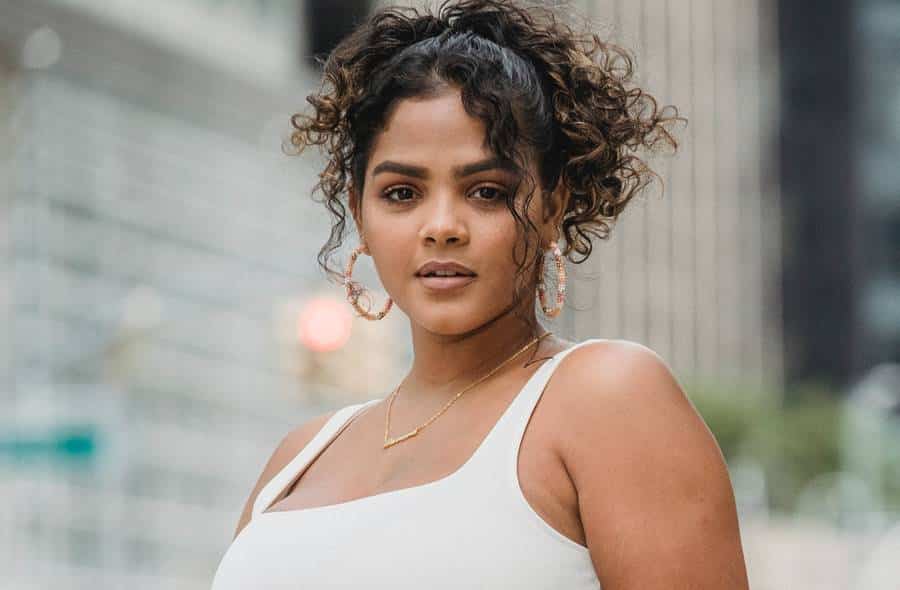
5. Working with A Model
Make personal contact. You should be able to make him/her laugh, as well as relax, relieve tension. It involuntarily occurs in a person who is not used to posing. The best pictures are often taken by accident – with laughter, involuntary movement, non-standard smile.
Another newbie mistake is to think that people know what positions to stand in. No, you must constantly prompt, move your elbow down to a centimeter, correct your hairstyle, say where to look down. Would you mind helping them?
How to Get the Right Portrait Shot?
We will tell you about a few more nuances, including how to work with light and the model itself.
Choice of Lighting at Night
Portraits that show the subject against a dark background look very effective and contrast. For men, this is an opportunity to increase the brutality of the photo and image. Girls are often photographed in such a nude setting. The advantage is the absence of unnecessary glare.
There are special requirements, these include:
- the need for an excellent external flash;
- the inability to set a long (about 30 seconds) shutter speed, because it will not be possible to achieve static and clarity, the optimal parameter is 1/15 or 1/10 sec;
- recommended aperture resource – f/1.8;
- the flash can be external (this is better), but in the absence of an internal one, then you should synchronize using the second curtain, while you can work both in automatic mode and in manual mode;
- the most suitable light is reflected, so use umbrellas on tripods, which should be set at an angle of 45 degrees;
- make the light sensitivity more; then, there will be a more specific background.
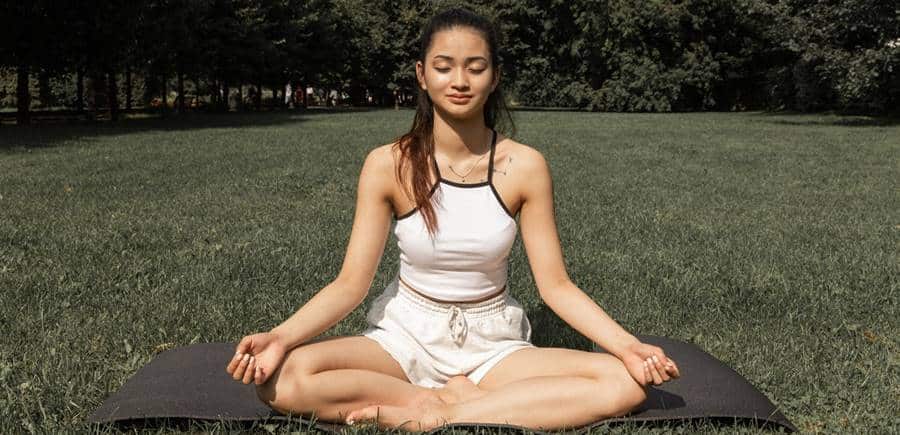
Flash Rules for Portraits
What advice do photographers give on how best to photograph:
- If possible, use an outdoor umbrella for lighting. The built-in flash can sometimes damage, reduce clarity.
- Use a synchronizer; it will allow you to change the angle of the glow, which will give completely different frames.
- Of course – bounce the light off the flash.
Angle Selection
Where the photographer should stand and hold the camera depends primarily on the framing. Suppose that a close-up is selected, then the lenses can be at eye level. If the portrait is half-length, then the lens should be on the same tier as the chest. And when tall, then with a belt.
But sometimes, the standard rules do not work, especially in cases where the task is to achieve a non-standard effect, for example, changing proportions to emphasize one part of the body, often legs. And if, on the contrary, shoot from top to bottom, then the result of a cartoon will be achieved. That is a comical increase in the head with a small torso. The main thing is to show the idea during the experiment and not just make fun; otherwise, people will think that the reason is the author’s inexperience.
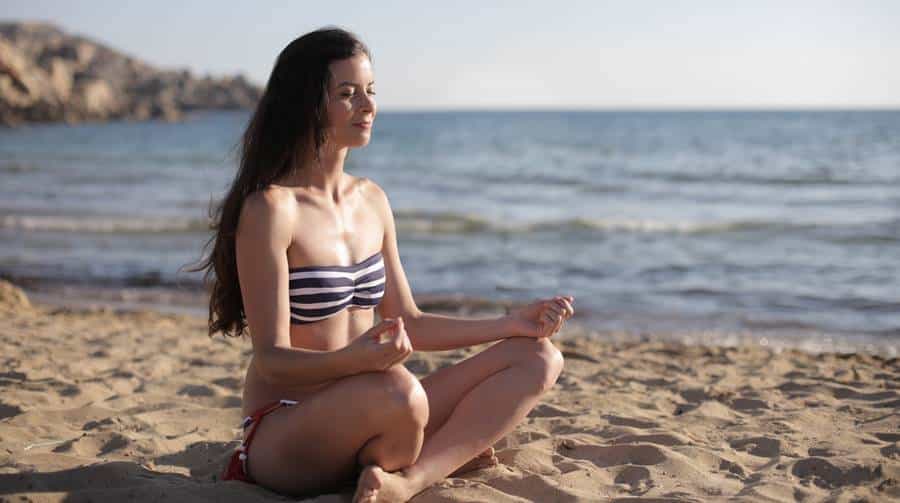
What It Means to Form A Composition in Portraits
Often, amateur shots differ from professional ones in that the model is always precisely in the center. Sometimes you need to shift the foreground a little to the side. It allows you to emphasize the background, which works exceptionally well for outdoor photography when there is an alley of trees, a building, a landmark, or other objects in the back.
The second rule can be called obvious – it is necessary to leave some space at the edges so that it does not work out as in the drawings of three-year-old children when all the people are drawn on the very edge of the sheet.
Camera Selection
There are disagreements between what equipment should be – mirror or digital; however, most experts are the owners of “DSLRs.” They have advantages:
- The speed of work.
- Long battery life.
- Possibility of changing multiple lenses.
Like any technique, in this case, there is a budget segment and more expensive models. The first is “Canon EOS 2000D“, “Nikon D 3200“. They can be purchased for $800 to $1000. If you have a larger budget, consider the flagship Canon EOS 70 D or EOS 5D Mark IV, as well as the Nikon D610.
How to Shoot Portraits on A DSLR Indoors?
If it is impossible to rent a studio, be content with the conditions of the house/apartment and natural light from the window. Light can be reflected using a reflective screen located at a distance of 1-2 meters. If the sun is too intense, then it is best to hang the glass unit with thin tulle without patterns.
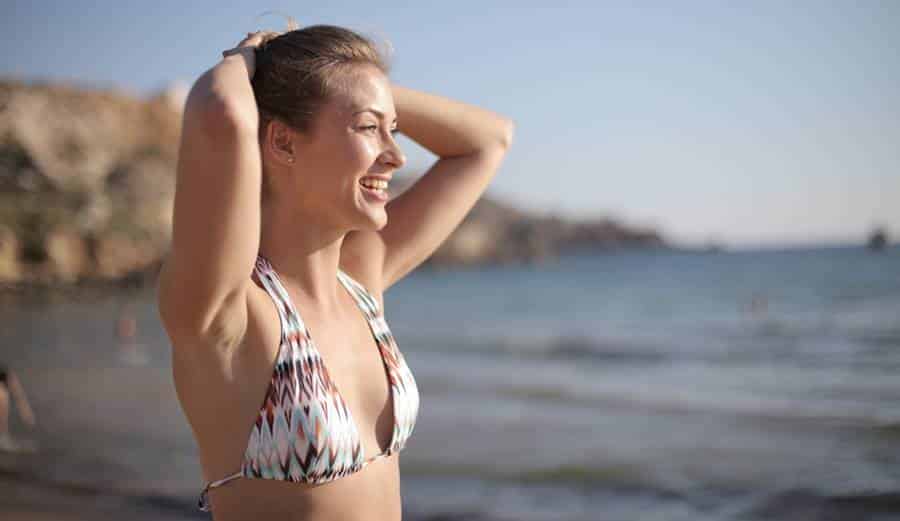
What other tips will we give for a photoshoot at home:
- Stand with your back to the window, and the model will turn to face you, half-side.
- The background can be either a plain wall (ideally not wallpaper, but the paint on a flat surface) or part of the interior – a sofa, bed, armchair, piano.
- Take two additional flashes; they can enhance the result from a natural source.
Classic Schemes for How to Arrange the Light:
- The volume will help to give several spaced automatic flashes located at corners to each other.
- Indirect lighting from walls or ceilings plays well.
- Unusual lighting effects can be created with the most common reflective screen.
How to Shoot Portraits in The Studio?
The main advantage is excellent lighting. Because in specialized pavilions there are soft-boxes, umbrellas, reflectors in those places where different specialists have already checked up to this point. Sometimes it is possible to make artificial colored light.
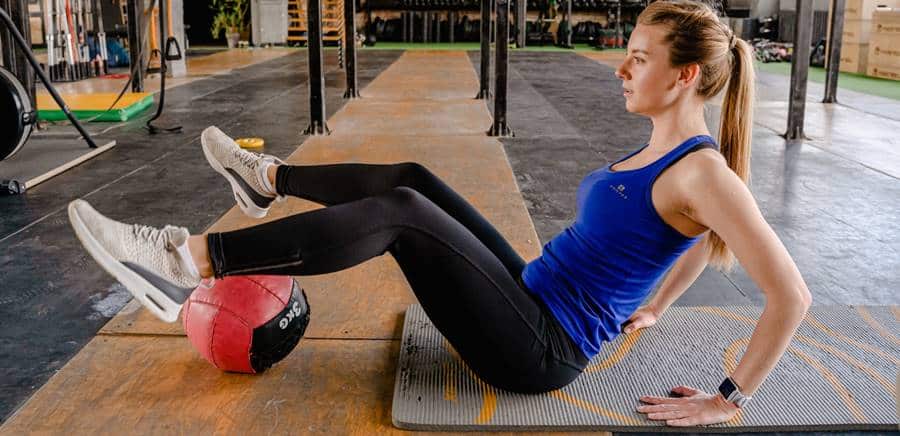
Of course, it is easier to create a staged shot because there are objects, props that you can hold in your hands, play with them in different ways. Plus, it creates a working atmosphere.
Portrait Photography Ideas: Mistakes And Tips
Newbies often make mistakes, for example:
- Using a wide-angle lens. It can create an exaggerated perspective, which is helpful for a joke but not for an artistic depiction.
- Short focusing on the eyes.
- A closed aperture makes the background too bright, clear and can lead to a permutation of accents from the subject to the scenery.
- Objects on the horizon that “stick” out of the ready.
- Offset composition – a lens that is too high or low concerning the face.
- Red Eyes – they are obtained with the built-in flash. Better than it is at a greater distance than the optics.
- Too many details, increased clarity will only accentuate the unevenness of the skin.
Here Are Some Tips for Photographing Portraits:
- Set a straightforward task, what style the photo should have – business, non-standard, artistic. Build your settings with this in mind.
- Decide on a place – studio, city, home environment, forest.
- If possible, shoot off in the middle of the day, when the sun’s rays can leave unwanted reflections, but in the morning or evening.
- Make a soft transition of light and shade; too sharp contrast will lead to a dramatic effect.
- Work out different lighting schemes in a studio – you can adjust the position of the sources in all planes.
- Contact the model. You need to develop a great relationship – trusting. Talk more and suggest which positions are better to be.
Poses Tips
The primary guideline is that they should be natural. The back must be kept straight, making sure that the shoulders are deployed. Don’t slouch. The second task is to see any “hidden” or “cut off” body parts.
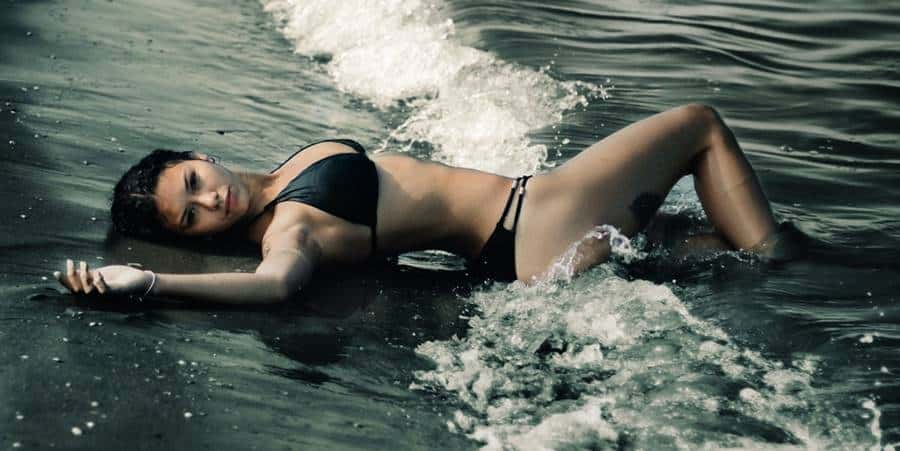
There are several options in the image:
Camera Settings
We talked about the main parameters and how to use them. Now we will give brief information about each of them.
Which Lens to Use?
For close-ups, use a short telephoto lens with a focal length of 85mm or more. It will eliminate distortion and compress the perspective, bring the background closer.
Use a Tripod
This has two advantages:
- Slows down the photographer. Sometimes this is necessary not to rush to change the angle but to work with each one more thoughtfully.
- Easier to interact with the model and maintain eye contact when hidden behind the camera.
Use the Remote to Release the Shutter
It works well with a tripod when you need to step back a bit or take longer exposures. The second advantage is that there is no microscopic shaking of the equipment, the clarity is increased.
Shoot in Manual Mode
Automatic is suitable for beginners. When you have already mastered this, you can start experimenting – this is the only way you will achieve an actual result.
Choose the Right ISO
This value should be small to remove unnecessary noise. The optimal range is from 100 to 400. It is better to start with four hundred and then follow the results to shift the parameters.
Focus Mode
The autofocus will focus on the center point; it should lock on the subject. Ideal if these are the eyes of the model. If you change your perspective, refocus.
Burst or Single Frame Shooting
I recommend sticking to the first option. It is better to get one good shot per minute than five bad shots per second. Give yourself time to look closely at the posture and facial expressions, to catch the light.
Which Aperture to Use?
There is no unique advice. Experiment with the f/1.8 – f/4 range.
Excerpt
If you are shooting with a tripod, then the duration of this parameter depends only on how stationary the model is. It can be 1/15 or even 1/8 of a second. But if you are working with a group of people, you shouldn’t do it longer than 1/125.
White Balance
Use presets such as daylight or shade. Presets are great if you take into account the actual conditions of photography.
RAW Format
It is the optimal resolution for post-processing. You have options for color correction and exposure adjustment.
In this article, we talked about shooting a portrait beautifully and spoke about the basics of shooting; if you have any questions or portrait tips, comment below.

