I recently received a query from one of you about tips for taking good product photography. After several searches through the hundreds of articles published so far on OrigaZoom, I realized that I had not written anything like that, so I promised to discuss it in a future article.
With today’s article, I fulfill that promise and offer you ten product photography tips so that the next time you consider approaching product photography, you have a good handful of guidelines and recommendations to put into practice so that you can achieve a good result; how about?
What is Product Photography?
In the introduction, I have assumed that you know what product photography is because you know what it is, right?
If you don’t know exactly what it is about, I could say that it includes those photographs or images through which it is about selling or simply presenting a product. For example – pictures of electronic components, clothing, cars, footwear, food products, etc.
Therefore, product photography is used to present a particular product, and the degree of acceptance and desire to purchase the product will depend on the quality of this photograph. Hence the importance of these photographs.
1: Choose a Neutral Background
We are often used to not giving enough importance to a fundamental element in our photographs: the background.
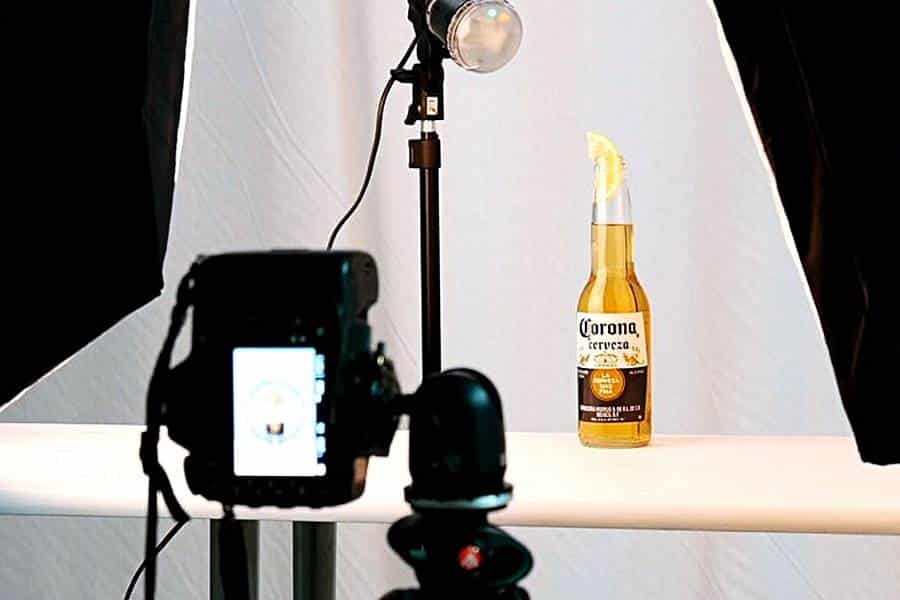
Unless you have an excellent background that you think suits the product perfectly, my recommendation is that you do not complicate yourself and choose a neutral background: white or black are the ones that usually work best.
Also, if you intend to integrate the product photography into a website or catalog later, the white background, primarily, will provide you with better and easier integration.
You can find support kits with studio backgrounds or specific lightboxes for product photography at a great price. If not, you can also use the “low cost” option: use a sheet, cardboard, or even the white or black parts of a 5 in 1 reflector.
One last tip for both a white and black background is, when adjusting its brightness in the shot, check this brightness through the histogram of the different photographs you take.
2: Lighting is Essential
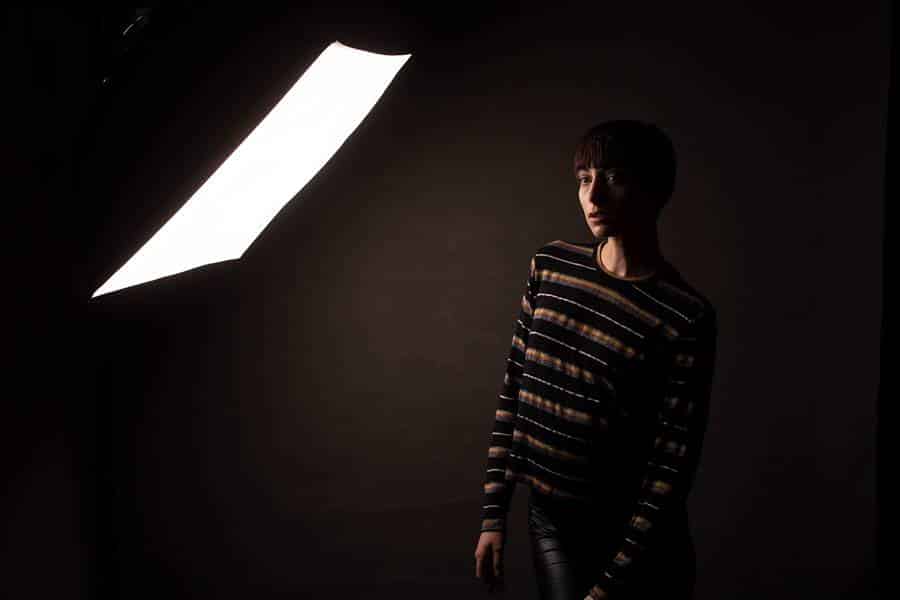
Once you have prepared the background and, therefore, the environment in which you will take the photographs, the next thing is to prepare the lighting properly. In this regard, let me offer you some recommendations:
- The more natural lighting, the better. Suppose it is possible to take these photographs in the street, the better. Although you may need something to diffuse the light, having a lot of light and diffuse is essential for product photography.
- Suppose you opt for the aforementioned white background. In that case, you have different alternatives to achieve it: a softbox if the size of the object allows it, or a background made of paper, foam, fabric, or even vinyl. If we are talking about a big thing, I recommend that you look at this article to show you how to get a completely white background.
- If you do not have enough natural lighting or want to have one more point of illumination, you can use lamps or flashes. If this is the case, try to adequately blur the flare or lighting of the same through sheets, papers, umbrellas, or more specific accessories. You can find quite exciting kits, both for continuous light and studio flashes. You can also go for Strobist photography kits.
- Also, consider using a home or commercial reflector to fill in shadows that are too harsh due to artificial lighting.
As you can imagine, to “adjust” the operation of all these accessories, you will need to carry out different tests, but I guarantee that you will be able to have fantastic lighting with the proper use of each of them.
3: Use A Quality Goal
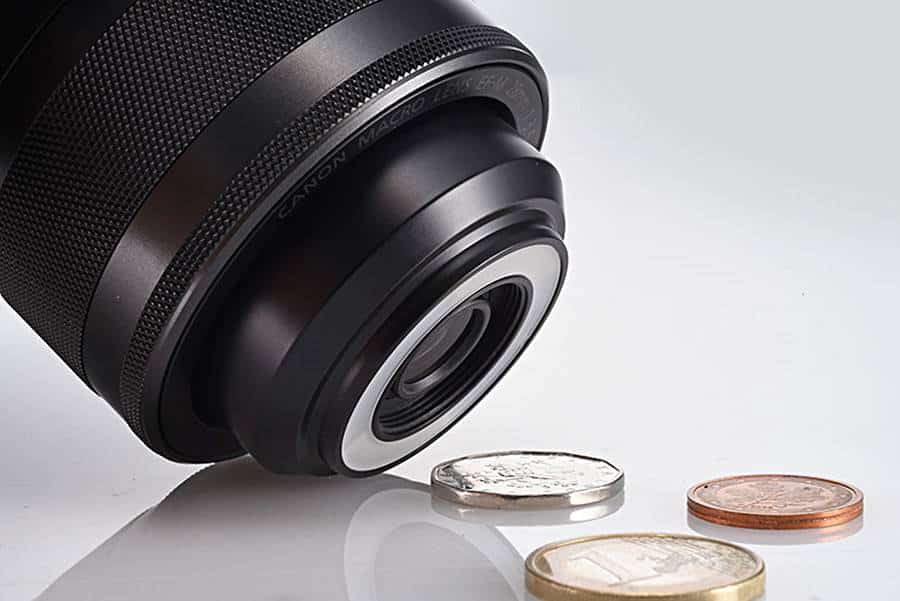
Product photography requires a professional result, and this requires a good lens. A lens that provides enough quality to make the outcome worthwhile.
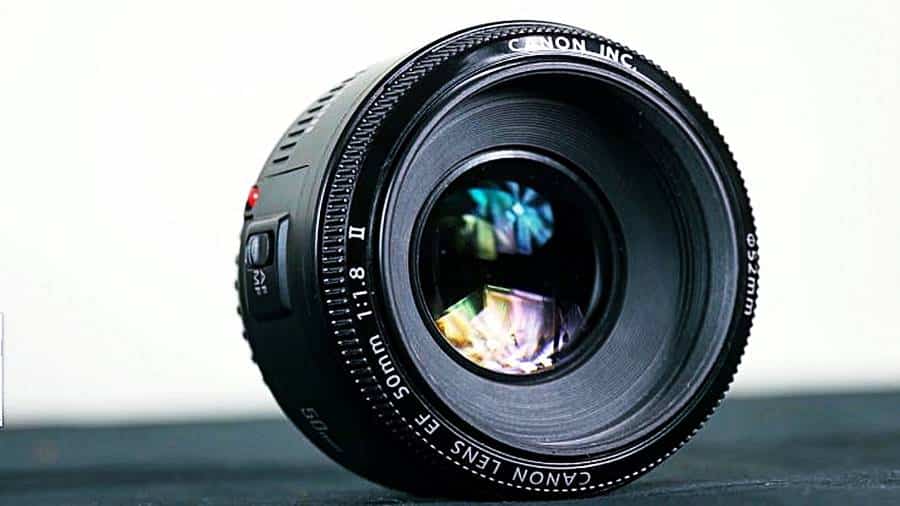
Therefore, we will look for a quality zoom lens, or, better and cheaper, a fixed focal length that will allow you to have fantastic features with the best quality/price ratio.
4: A Tripod Will Be Very Useful
Until you achieve the desired result, you will have to perform many tests, vary the camera’s location, the product, the camera settings, the lighting properties, the background.
It will be essential to have a good tripod that allows you to maintain the characteristics of framing and composition and offers you that stability that allows more excellent sharpness and longer exposure time values (if necessary).

Therefore, in this type of photography, do not hesitate; always use a tripod. Your photos will thank you.
If you also have a remote trigger or configure the camera to shoot after a timer, all the better.
You May Also Like: Choosing a Suitable Foot for Your Camera Tripod/Monopod
5: Clean And Prepare The Product
Before pulling the trigger, it is very appropriate that you clean the product properly so that it looks without a hint of dirt or dust. And why not the camera lens.
It is also possible that you have to place some of the components or parts of the product, vary its position in front of the camera, or even decorate it in some way to achieve a good result.

So don’t forget, prepare everything well. It is preferable to have everything in order before taking the photographs than to have to do wonders afterward with your retouching application to eliminate imperfections that you could have avoided with due care in the previous phase.
6: Set Camera To Manual
Until you achieve the desired result, you will have to make different adjustments, changes in the location of the accessories, variations in the intensity of artificial lights, the focus point, the perspective, etc.
For this reason, to have complete control of the result, it is highly recommended that you opt for the camera settings in manual mode so that you control all the parameters: aperture, exposure time, and sensitivity.
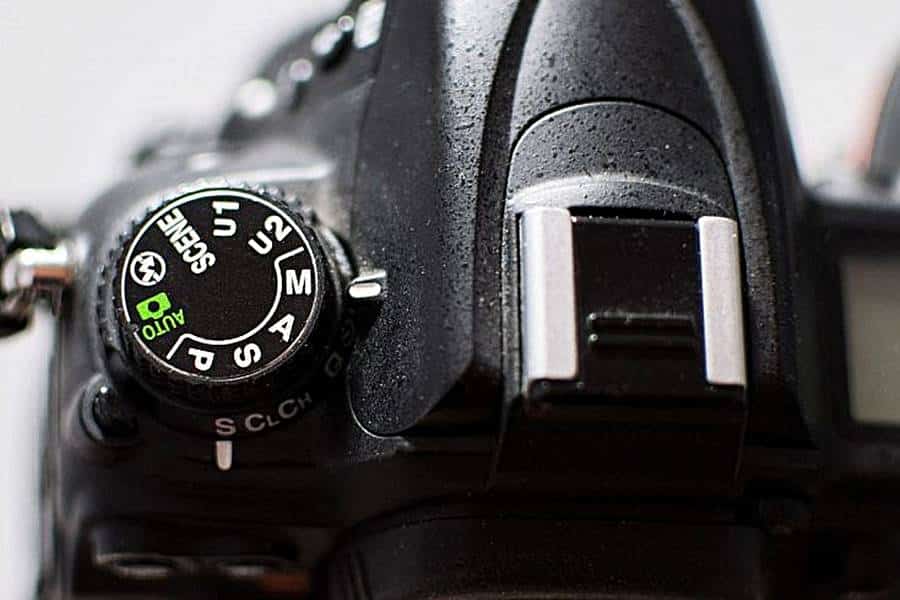
Concerning these settings, only two recommendations: use a reduced aperture (high f) to have sufficient depth of field and use the lowest possible sensitivity to avoid the appearance of noise.
In addition, I also recommend firing the flash or flashes in manual mode to have greater control of the intensity of the flash and that the focus mode is also manual. (so that you can adjust it, and you can leave it fixed between shots). Also, regarding focus, if you have Live View, turn it on.
7: Don’t Forget To Make A Correct White Balance
Product photography must be faithful to reality (reaching, if possible, to improve it, but not to transform it completely).
Of course, to achieve this fidelity, it is essential that the colors photographed are those of the product, right?
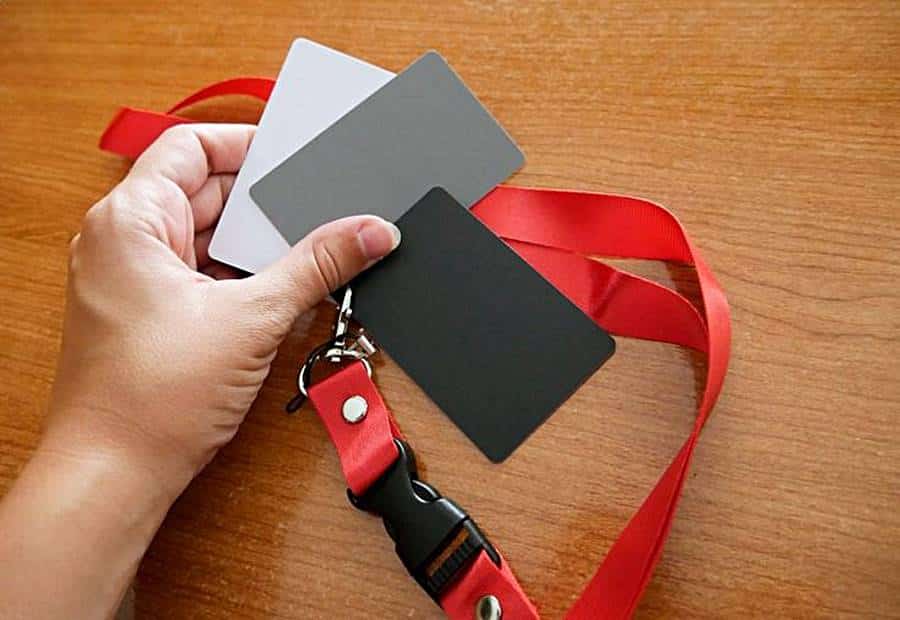
To do this, you must be very careful to make an adequate white balance since, otherwise, the photograph may not be a fair representation of reality. To achieve this, here are two tips:
- Shoot in RAW to be able to vary the white balance in the editing phase without losing quality.
- Use gray cards to be able to fine-tune the white balance in the editing phase.
By following these two tips, you will be able to respect reality, at least when it comes to color between photography and reality.
8: Vary Product Position And Outlook
Remember that product photography seeks to sell the product, make it attractive, different, dynamic, desirable.
To achieve this and following the four tips above, you must offer a different photograph.
Getting to this different photograph may require you to try different perspectives and angles from which to take the photo, perhaps also having to vary the object’s position: keeping it on edge, placing it diagonally, next to other things, etc.
You May Also Like: Top Trends in Photography. What Should Be Expected in 2021?
You can help yourself with multiple accessories to modify the position of the object: invisible threads, structures, platforms, etc. Do not rule out any option to offer a more attractive place for your product.
9: Photo Editing Is Not An Option. It is an obligation
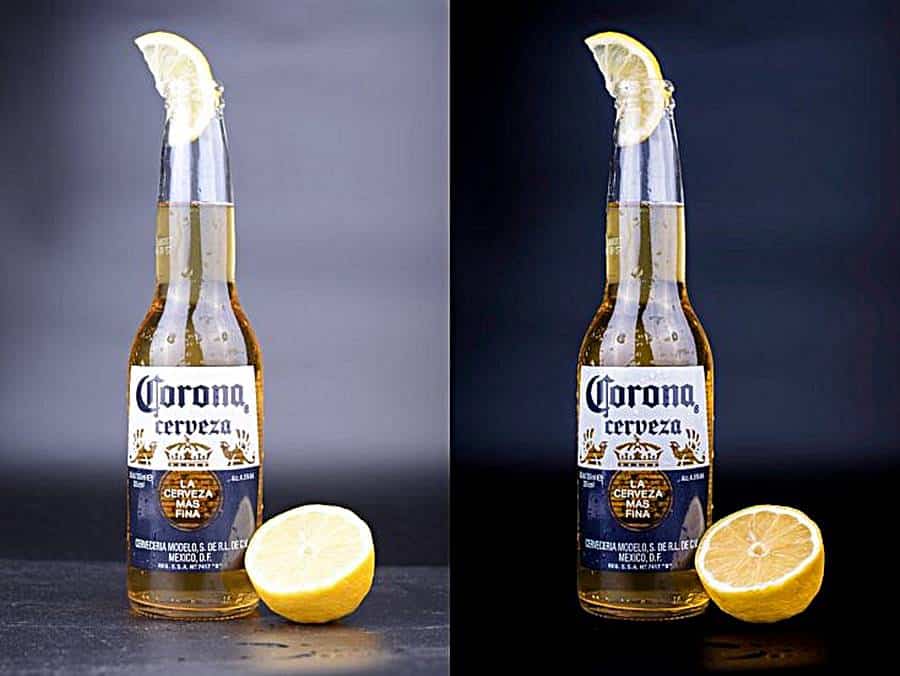
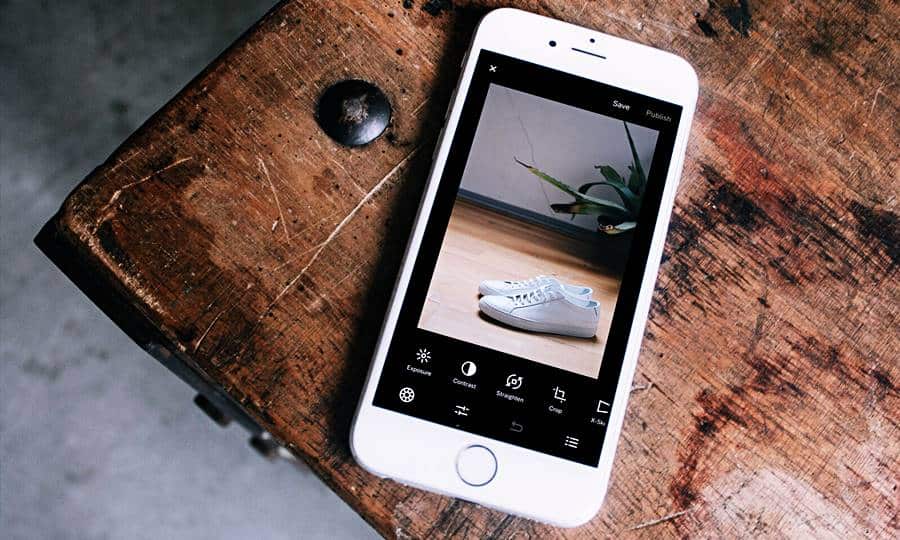
As good as the photography was, don’t rule out at least a quick editing process for:
- Adjust white balance
- Set the level of whites and shadows
- Apply a light unsharp mask
- Even, if necessary, a small reframing
These adjustments will finish polishing a good product photograph and make it ready to show to all potential customers and leave them speechless.
10: Repeat the Process with Multiple Photos
I’m not saying go back to number 1 and start over; what a scare, right?
What I mean is that to achieve a good product photograph, you will have to discard a few, so when you decide to carry out a session of this type, try to take different images by varying the described parameters of lighting, position, perspective, etc… to achieve a wide range of possibilities.
Once you have all these variants, edit the best ones and, finally, decide on several of the photographs that best present or allow the product to be sold.
A Practical Case: The Mini Model
After these ten tips, I’m going to give you a practical case, what do you think? These are the steps I followed to achieve the cover image: a mockup of a mini. Do you want to see how I got to her? We see it in simple steps.
- Preparation of the environment, including background and selection of lighting.
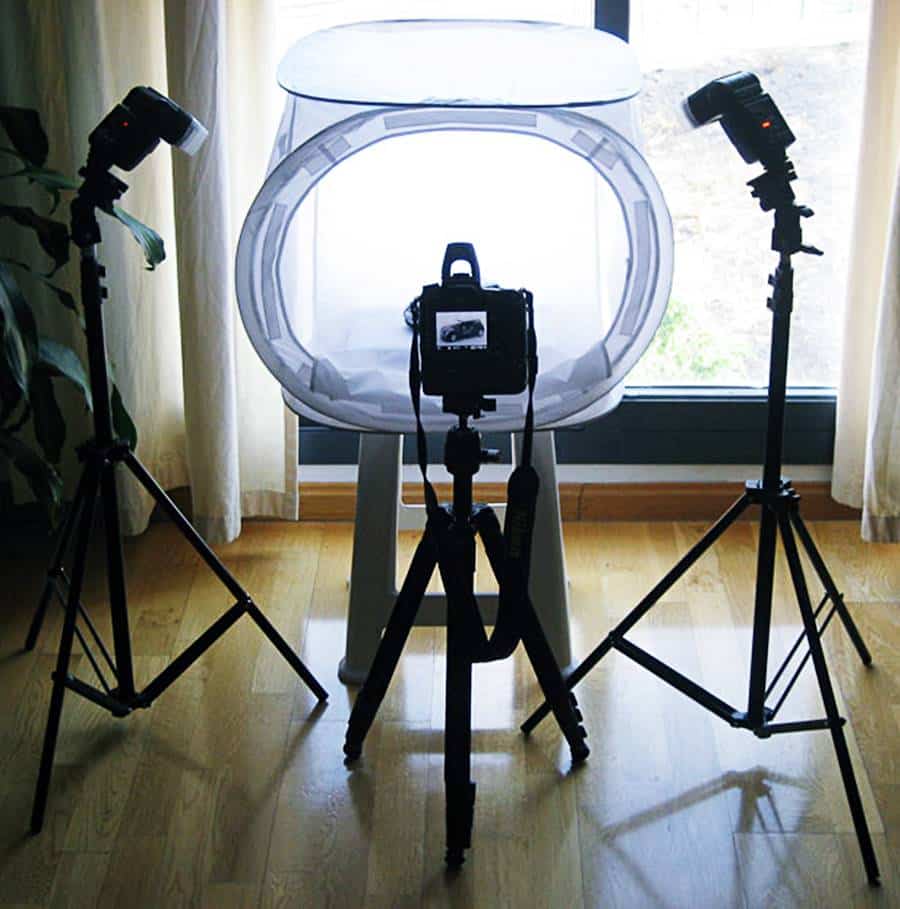
Since I have a great softbox, I decided to use it (the size of the photographed object allowed it). Of course, I made the most of the exterior light (I took the photos between 3:00 p.m. and 4:00 p.m. on a summer day) to adequately illuminate the background and two external flashes for frontal lighting.
You May Also Like: Lenses for Portrait Photography: 10 Best Portrait Lenses Chosen by Experts
In addition, as you can see in the image above, I used a tripod to provide stability to the shots and to be able to handle a fixed frame. Finally, and to finish with the accessories section, I opted for my Nikon 50mm f/1.4G lens (the highest quality lens I have).
- Cleaning the model and varying its position in front of the camera.
Once all the equipment was ready, I cleaned and prepared the model and did different tests until I placed it as I wanted in front of the camera. These two aspects are nonsense that seems unimportant, but you later remember if you have not done them correctly.
- Choice of outlet parameters.
With everything ready, it was time to adjust the parameters of the shot. For this, I started by properly exposing the white background (without flash lighting). To do this, I opted for the following settings: f/8, 1/20 sec, ISO 100, Flashes OFF.
From this image, I began to introduce the external flashes (varying their power) and play with the aperture value until I achieved the result that most convinced me.
So I got to the following parameters: f/11, 1/10 sec, ISO 100, Left Flash 1/16, Right Flash 1/8.
- White balance correction and white and shadow adjustment.
I already had the image; now, it was just a matter of making minor adjustments. The first thing I did was refer to the white balance of the shot from the gray cards.
As a result of this information, I corrected the white balance setting in Photoshop. Also, I took the opportunity to adjust the level of whites and shadows and improve the saturation a little, reaching the following result:
Not bad, don’t you think?
