Based on our experience, we’ve compiled basic tips and tricks for shooting with a wide angle lens to make your photos more interesting and recognizable, both compositionally and meaningfully. By the way, such lenses are installed in all smartphones, which means that these tips will be useful to all fans of mobile photography.
Landscape, architecture, narrow spaces and streets of old towns, travel, street photography and even portrait photography. Wide-angle can be used in any genre and direction. However, quality photography can be both a nightmare and a pleasure, depending on how you learn to apply the tips and tricks below correctly.
Content:
- What is a wide-angle lens?
- Interesting foreground.
- Closest focusing distance.
- Distortion.
- Converging lines.
- Shooting point.
- Exposition.
- Sun bunnies.
- Shadow.
- Depth of field.
What is A Wide-Angle Lens?
First of all, in photography, there is no clear reference relationship between lens category and focal length. There are certain conventional boundaries that each photographer can in some way “adjust” for himself personally. If we take the notorious Ken Rockwell, then he distinguishes for himself as many as three categories only for wide-angle lenses:
| Lens Category | Full Frame (FX Nikon, Canon) | Crop 1.5x (APS-C Nikon DX) | 1.6x crop (APS-C Canon) | Crop 2x (Olympus, Panasonic 4/3) |
| Ultra-Ultra Wide | 12-16 mm | 7-11 mm | 7-10 mm | 6-8 mm |
| Ultra Wide | 17-21 mm | 11-14 mm | 11-13 mm | 11-13 mm |
| Wide | 24-35 mm | 16-24 mm | 15-21 mm | 15-21 mm |
| Standard | 40-58 mm | 28 mm | 28 mm | 28 mm |
In this article, for ease of perception, we propose to simplify everything and dwell on the following: by a wide angle we mean any lens with a focal length less than 24 mm (in full-frame equivalent).
1. Choose an Interesting Foreground
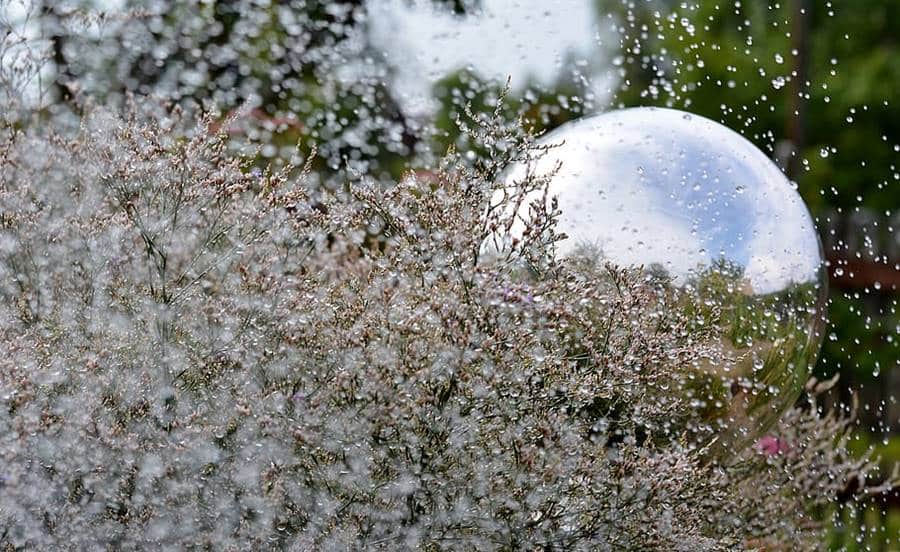
The wide-angle is able to place a significant distance in front of you in the photo and so that the viewer is interested in looking at your photo, so that he does not get bored of the huge empty space – he needs to show something in the foreground. This is especially useful for landscape photography.
2. Shoot at Closest Focusing Distance
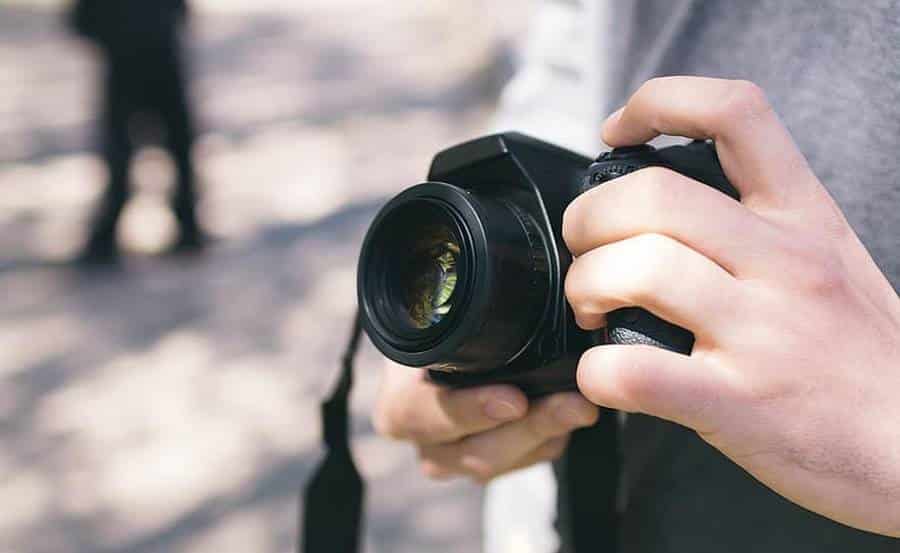
As a rule, “wide” lenses allow you to focus much closer than standard, let alone telephoto lenses. Really close! On average, this is 20-24 cm and this distance is considered not from the front lens, but from the matrix of your camera, i.e. there will be a distance of about 10 cm to the photographed object. It turns out something like a wide-angle macro, and even often with a blurred background.
3. Use Distortion to Take Advantage

When framing the shot as you shoot, make sure that the distortion of wide-angle lenses works to the advantage of your future photography and your vision. The closer to the edges of the frame and closer to the lens are objects, the more distortion they are subjected to. This will be most striking for human figures.
This does not mean at all that wide-angle portrait is impossible. Quite the opposite, you can get very interesting and effective pictures. If you want to keep the subject’s normal proportions, just place the subject in the center of the frame.
4. Use Converging Lines
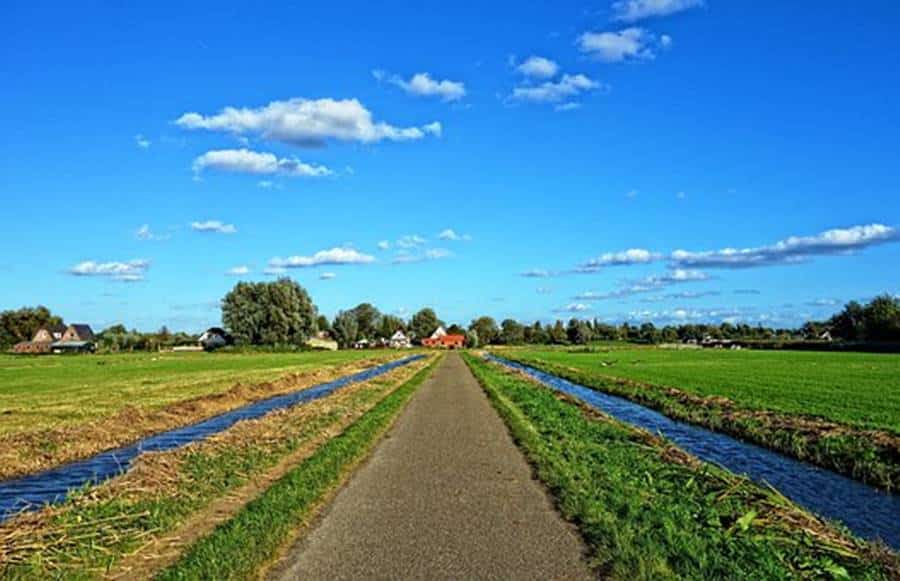
Converging lines are a very powerful and often used compositional technique. Lines make the viewer turn their eyes to where you want them to go and end up at the intended point or at the intended subject of photography, which is the central semantic point of your photograph. Very often this technique can be found in wedding photographs taken indoors or on city streets.
A wide-angle lens further enhances perspective, stretches out all the lines, and with a little practice, you can find them just about anywhere. By the way, the lines do not have to be straight, for example, a path, tree trunks, riverbanks or streams are also great.
5. Change the Shooting Point

This tip works great for all other lenses as well. By changing the shooting point, you have a chance to show the viewer an unusual point of view, which is always interesting and makes you stop your eyes. Try to take a few shots of ground level, then raise the camera high above your head, a couple more shots, and then watch the result. Please note that the lines that are present in your frame and which we wrote about a little earlier have lengthened even more.
6. Monitor Your Exposure
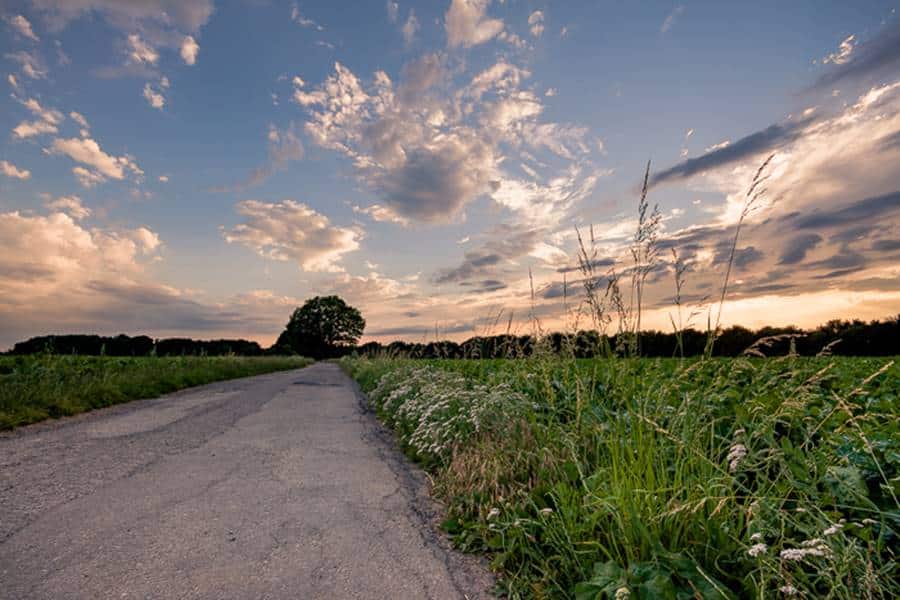
Since there is a large area in the frame, in which there can be both dark and light areas, it can be very difficult for the camera to understand what is the main subject of shooting. This part rests entirely with the photographer, who does not have many ways out of this situation.
Make an exposure correction, thereby overexposing / underexposing a certain area in the photo and then trying to correct it in the editor.
Compose the frame in a different way, excluding the object that is knocked out by the exposure.
If we are talking about shooting a landscape, then option 3 appears – it is necessary to use a gradient filter, which will reduce the brightness of the sky in the photo. In this version, you will thank us again, because In our articles, when choosing the best wide-angle ( for Canon and for Nikon ), we pay attention to lenses whose front lens does not rotate when focusing.
Shoot during working hours, right after sunrise or shortly before sunset. In addition to giving you beautiful, low-diffused light that looks great in the photo and is loved by everyone, it will also reduce the difference in exposure of the earth and sky.
7. Have You Ordered Sun Bunnies?
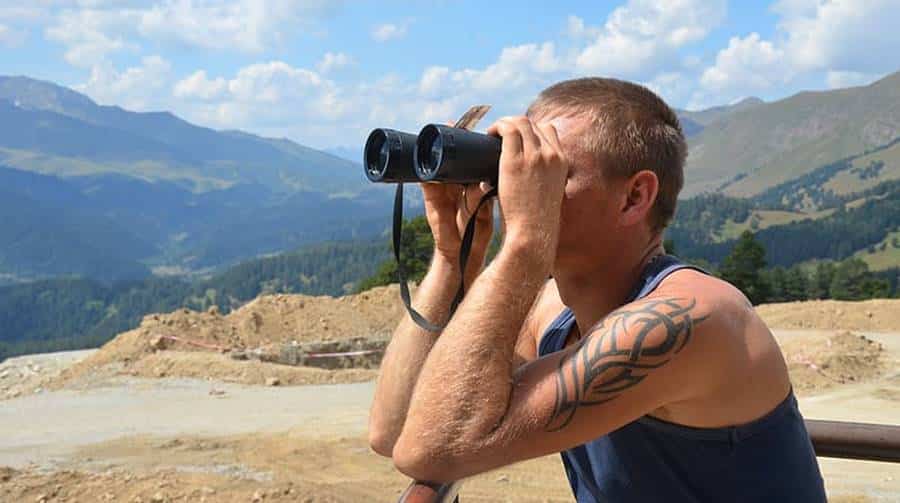
Wide-angle lenses are quite susceptible to this kind of backlighting when you shoot against a light source (called backlighting). As a result, a sun hare can easily appear on your photo, which will be almost impossible to remove during post-processing.
If you don’t want to see hares in your photo, then you need to remove it at the time of shooting and this is quite simple to do. It is necessary to change the shooting angle little by little and it disappears by itself. If there is no light source in the frame, then you can try to cover the lens from it with your free hand. However, remember that this hare-shaped technique can be used to your advantage, it all depends on whether you like this effect and whether it will be appropriate in the photo.
8. Where Is Your Shadow?
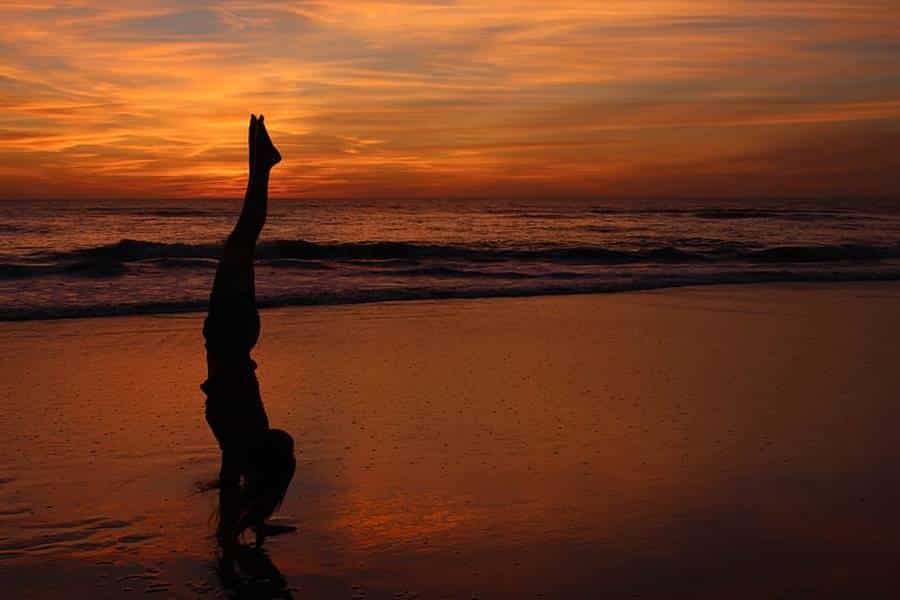
When you photograph with a light source behind you (which is more than half of all your photos), it is very easy to overlook the fact that your own shadow will be present in every photo. Be sure to follow this and change the point of view if necessary.
9. Consider Depth of Field
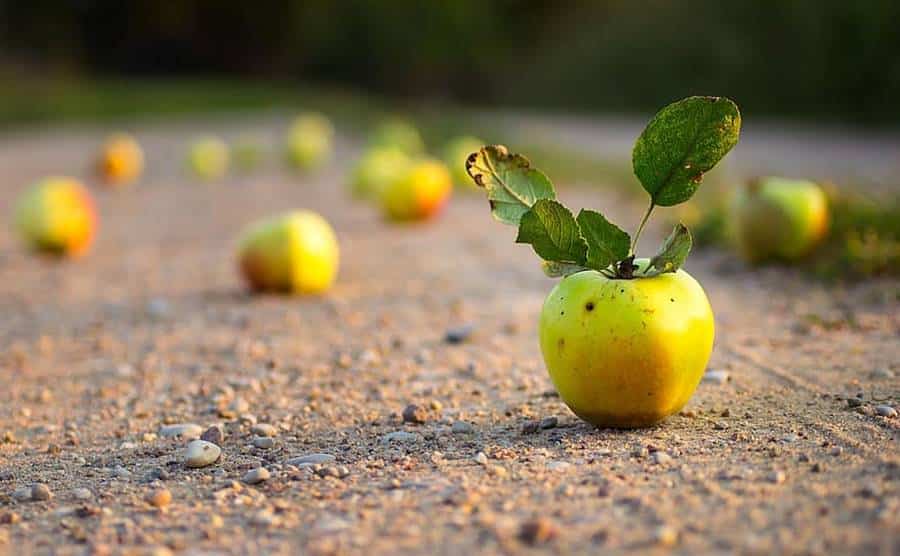
Another feature of wide-angle lenses is their very large depth of field, i.e. DOF – depth of field. For example, let’s take Nikon or Canon amateur camera series (Nikon D3000 +, D5000 +, D7000 + series; Canon 1000D +, 550D +, 70D + series, etc.), put on a wide-angle and set the focal length to 16 mm, aperture at f / 5.6 and let’s focus on an object that is 2.5 meters away from us. The depth of field will start from 1.2 meters and go to infinity! If you want to play around with the depth of field on your own, just write the words “depth of field calculator” in the search engine, and it is best to verify this on a real lens.
Friends, in conclusion, I would like to once again draw your attention to the fact that all of the above techniques and tips can both harm and spoil the photo, and can be used to create an atmosphere, spectacular pictures and greater involvement of the viewer. The result of your shooting with a wide-angle lens will completely depend on you, your experience and your creative vision.
If you know any useful trick and we forgot to mention it, you want to tell and draw attention to it – be sure to write about it in the comments.
Do you have a boyfriend or girlfriend who likes to take pictures? Share these tips using the sharing buttons.


