Today we’ll discuss types of lighting in photography. One of the main components of photography is light because there will be only a black screen of the camera without it. The presence of light is good, but when the photographer can use it to enhance the frame’s look, it is even better.
Lighting is an essential principle in photography, which is the basis; therefore, every photographer must learn everything about it as early as possible. In this article, you will know what types of lighting in photography exist and how to use each of them to improve the frame.
It is light and shadow that are the primary visual means of both the photographer and the videographer. To control the light and shadow effects, determine the direction of light rays, adjust their intensity, create a system of contrasts and choose the general tone of the frame – the main task of a professional photographer or videographer. All of these components of the lighting solution are an integral part of the composition of the frame.
Types of Lighting in Photography
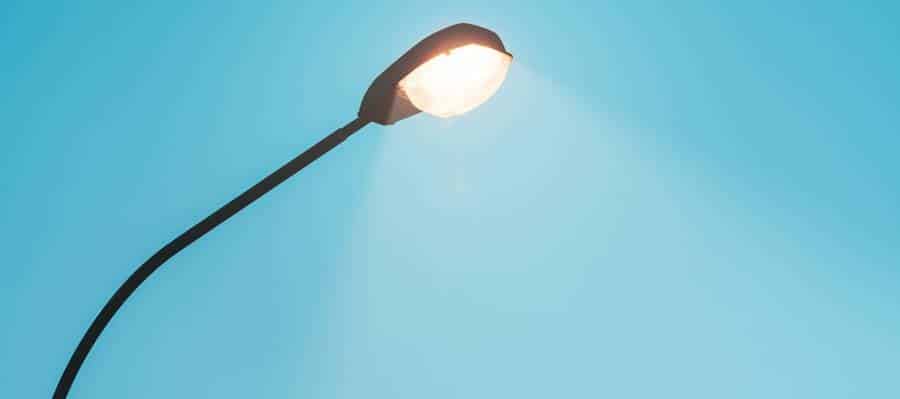
In photography, lighting refers to the way the light hits your subject. When the light flux hits the object, areas are created: illuminated and shaded. It creates a contrast that allows you to display the actual shape in the image. Its type determines the clarity or blur of the falling shadows, how voluminous the object will look, the distinguishability of small details. Each variety is suitable for different purposes, creating an effect ideal for a particular type of shooting.
There are five types of lighting in photography:
- Painting;
- Filling;
- Backward;
- Background;
- Modeling Lighting.
According to the definition of light sources, it is necessary to understand how and for what lighting is used in photography and video shooting.
1. PAINTING LIGHT
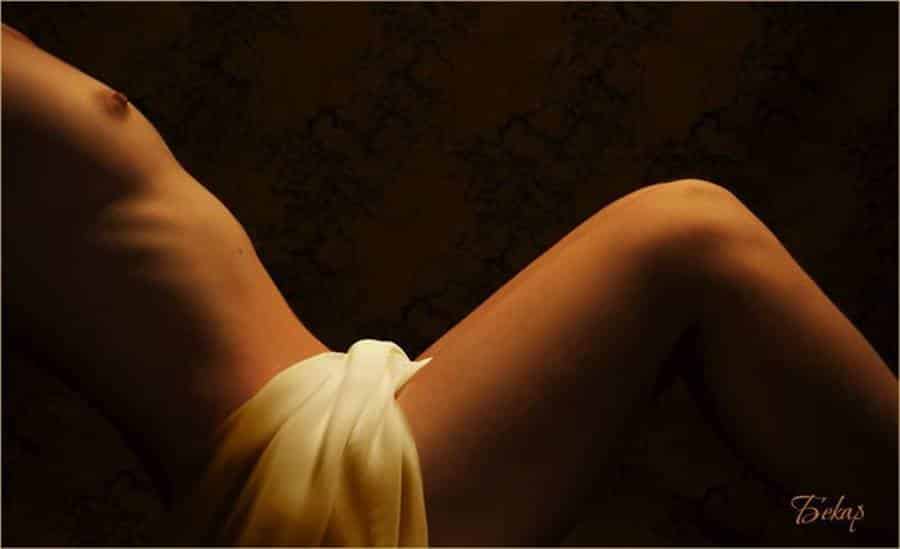
This kind of light is the main one in photography. Drawing is called a directed light flux, which creates a base that reveals the volume of an object, its relief, and the surrounding space. When using it, the complete gradation of cut-off tones appears. Depending on how the photographer uses it, the light can be either hard or soft.
When artificially creating such lighting, the light source should be placed at an average distance from the object, not too close and not very far. The optimal distance will be about 2 meters, but it can vary depending on the object’s size. It is also better to place the lighting device at a slight angle and above the camera. Thus, you will get a frame with the optimal volume and relief of the photographic subject.
In natural light, the source of the drawing view can be the sun’s rays passing through an opening that combines the sun’s rays into a single beam. These can be windows, doors, gaps in the crown of trees, etc.
Since the key light flux is the main one, it is used for any shooting. Its flexibility allows you to create soft shadows, suitable for portraits, family photos, etc., and hard transitions, ideal for shooting subjects with precise geometric shapes.
Pros:
- Versatility;
- Getting excellent gradation of tones;
- High-quality selection of volume, relief, and surrounding space.
Cons:
- Some complexity of creation in vivo.
2. FILLING LIGHT
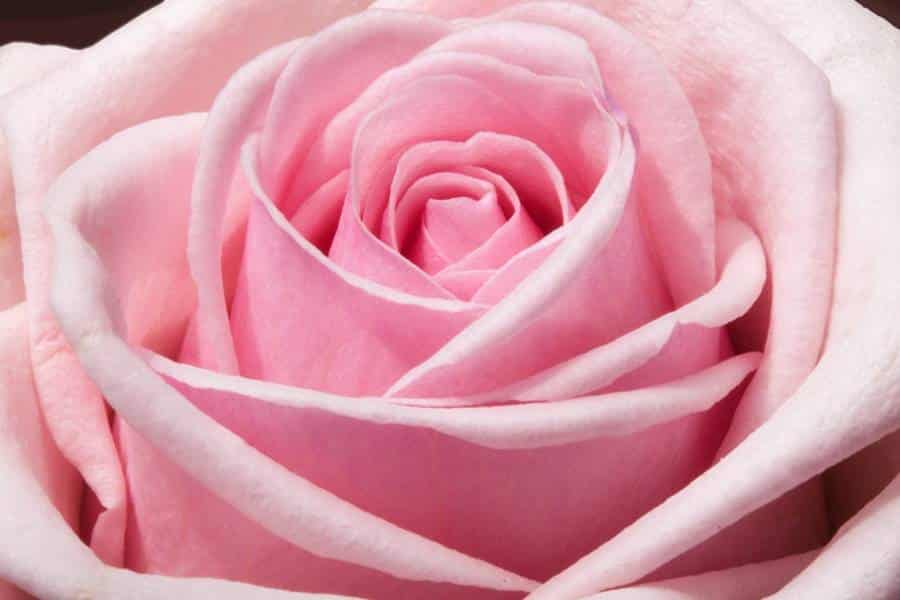
This kind of light fully lives up to its name: the light seems to fill the entire space between the object and the camera. To create this kind of lighting, you need to place the light source straight from the camera to the model. Fill light is often used in conjunction with the painter, in which case it illuminates all the frontal areas where the painter does not fall. The contrast of the photo directly depends on the strength of the luminous flux.
Fill light is a stream of light directed from the point of view along the lens’s optical axis and illuminating areas on which the key light does not fall.
When such lighting is applied on its own, it becomes tonal. It means that the fill light determines only the tonality of the photo; there are practically no shadows on it. Thus, the nature of the image can be conveyed exclusively by adjusting the power of the light flux and the color scheme of the frame itself without giving the primary role to contrast. You can provide a positive character to a photo with the help of bright and light objects, a powerful light flux. To evoke the opposite emotions in the viewer, you must do the opposite.
In general, fill light should be used when you want to soften the contrast from the subject. This type of lighting is excellent for creating portraits, as it makes the cut-off transitions smoother, the volumes more expressive, and gives realism.
Pros:
- The ability to control the tonality of the photo;
- Soft cut-off transitions;
- Expressiveness of volumes.
Cons:
- The minimum number of shadows for single use.
3. BACKWARD or CONTROVOE
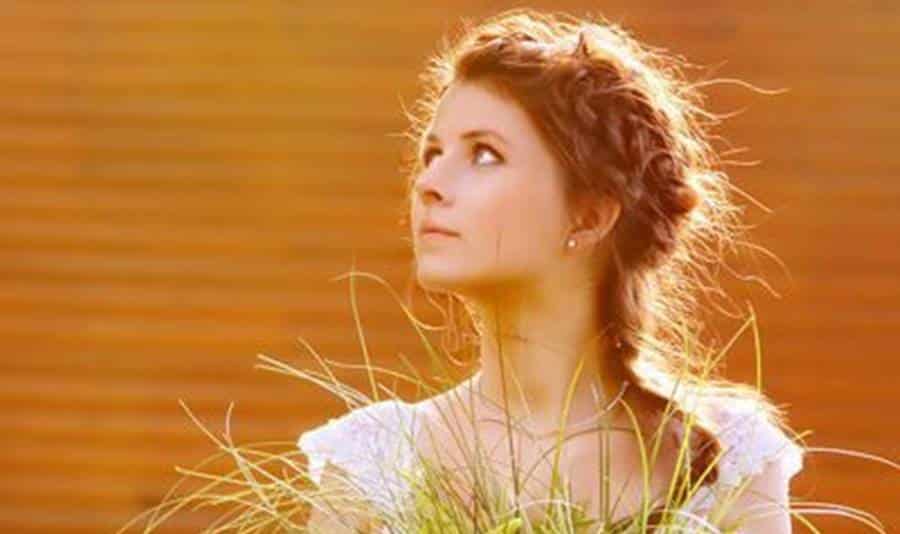
This type of lighting is also called contour lighting. The light source is located behind the object when using it, and the light flux is directed towards the camera. Thus, the subject is backlit, which creates a soft border. Thanks to this kind of light, the model looks separated from the background using the proper depth of field.
Backlight (contour) light is created by a source behind the subject in front of the camera and directed towards the lens to make the object more picturesque and well-rendered space by creating a light border.
Many aspiring photographers believe that taking pictures in front of a light source is a mistake. But in fact, this is an exciting technique that makes photography more picturesque. Contour lighting itself is pretty tricky to work with since the subject itself may turn out to be too dark, unnecessary glare and overexposures may occur. It is best used when the subject is not as crucial as its silhouette. Backlighting is excellent for portraits to emphasize the subject’s profile. Full-length shots also look great when the light brings out the curves of the body.
Pros:
- The object is separated from the background;
- The perception of the depth of space is improved;
- The outline of the object is effectively emphasized.
Cons:
- Difficulty in work;
- Possible darkening of the object, the occurrence of unwanted lighting effects.
4. BACKGROUND LIGHT

This type of lighting differs because the light flux is directed not at the object or the camera but the background. The background lighting creates a soft light transition behind the model so that she does not blend in with the background.
The background light is a beam of light that is directed towards the background. The position and intensity of the background light depend on the nature of the interior and the primary intention of the videographer.
This type is often used for studio portraits. The background light helps separate the subject from the background and shows the depth of field in the photo. It can be said that it acts the same way as a counter, only much softer. Backlighting is excellent for romantic portraits. It can also be used to highlight essential background details in a photo.
Pros:
- No difficulties in work;
- Gently separates the subject from the background;
- Depth of space in the frame is displayed;
Cons:
- Almost impossible to get your hands on when shooting in natural conditions.
5. MODELING LIGHT
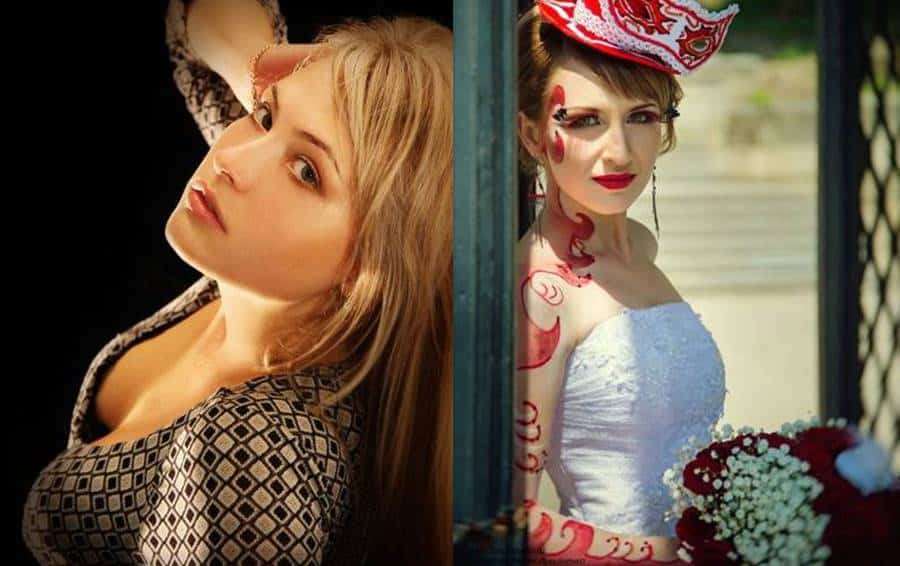
This view is used to highlight a specific area of an object in a photograph. The modeling light is used as an additional light to accentuate highlights or soften a shadow transition from the leading light. If you need to pay attention to any detail of the subject in the photograph, a narrow luminous flux is directed to it, thereby emphasizing.
The modeling light is a luminous flux directed at a detail of an object, the pictorial meaning of which must be revealed and emphasized.
The power of the luminous flux of the modeling lighting must be set less than the main one so as not to interrupt it. This type of light can be used for absolutely any shooting; it all depends on the photographer’s idea.
Pros:
- The ability to highlight the required detail.
Cons:
- It is extremely difficult to create in natural conditions.
Lighting is an essential part of any photographer’s job. With it, you can create an endless variety of effects. Using each variety, you can achieve specific results; the main thing is to understand the principles of operation and the location of the light source relative to the object and the camera. By practicing a different combination of types of light output, you can learn how to get genuinely breathtaking photos.
The interaction of all light fluxes and the number of lighting devices in each specific light scheme can vary in an almost infinite number of options, depending on the artistic intent and the nature of the objects, space, and interior of the scene being shot. At the same time, in the arrangement of lighting devices (as softboxes), one should not forget about the vertical plane: the light on the subject can fall both from above and from below.
You may also like to read: All You Need to Know About Light Painting in Photography?
Frequently Asked Questions

Q1: What is split lighting?
Answer: The name speaks for itself; split lighting divides the face into equal halves; one half is fully lit, the other is in the shadow. This type of lighting is most often used to create a dramatic image when photographing a musician or artist.
Q2: What is hard light?
Answer: Hard light is direct and can often be intense in brightness. This type of lighting creates solid shadows and high contrast. Highlighted areas can be pretty fierce in harsh lighting conditions, so special attention should be paid to exposure. Hard light can be stylistically applied to almost any genre of photography; however, for many viewers, it may be less appealing than other types of lighting.
Q3: What is a flare?
Answer: Pay attention to the photo of the child above. The light source used in the picture is reflected in the eyes of the baby. It is what is called “flare.” Without glare, the eyes will appear dark and lifeless. You should always make sure that there is at least one highlight in the eyes. As a rule, it makes the eyes brighter, gives them sparkle and life. You can also read – Lens Flare: All About Camera Lens Flare and Dealing with It.

