In this article we are going to discuss the modern video techniques for shooting and their violations for the best videos. Anyone who picks up a camera automatically enters the world of video and cinema. Unfortunately or fortunately, this world is very different from the real world. There are rules for connecting real impressions and what somehow turns out to be recorded by the camera. All of these rules are not hard conditions. They are more like code. Spectators see some code on the screen and understand what the operator wanted to say. This code is a product of our European culture. Only within there does it matter.
Shooting with a camera is a kind of trick. If we want the viewer to understand the content, we need to obey certain rules. These rules have been developed throughout the history of European civilization. In the beginning – artists, then photographers, then film and videographers. However, violation of these rules does not always lead to visual “marriage”. Sometimes our “trained” viewer perceives the violated rule as another code. In this case, the operator receives additional means of expression. Let’s try to understand the shooting rules, expanding them with some “violations”.
Technique #1 – Always Shoot from a Tripod
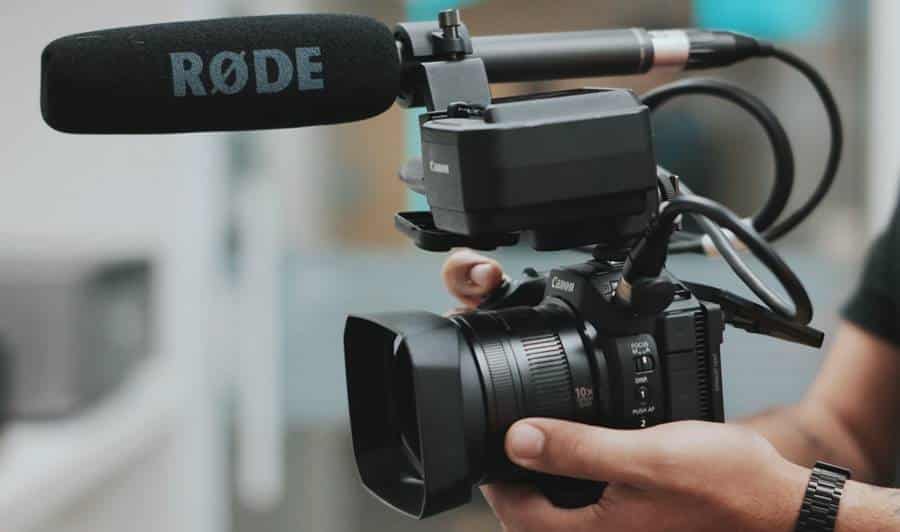
There are good reasons for this requirement. The picture is better even on inexpensive cameras and in poor lighting. The fact is that when encoding the final video, from 80% to 97% of the information is removed from the file. Basically, a stationary background gets “under the knife”, and the main object is saved in an acceptable quality. When shooting handheld, the background moves constantly. An encoder cannot efficiently compress such a background. As a result, the quality of the entire image drops.
“Violation 1” – Change the Shooting Point
There is nothing more boring than recording from a still camera. Simply rearranging the tripod makes shooting a lot more fun. It is desirable that the shooting points do not interfere with the line of movement of the object. For example, if you shoot a person walking from the right side, he will move from left to right on the screen. If you cross the line of his movement and continue to shoot him from the left side, then in reality he will continue to move in the same direction. But on the screen, its movement will already be from right to left – that is, in the opposite direction.
“Violation 2” – Remove the Camera from the Tripod
The camera can fly. Our eye understands this. It is important that the flight is smooth and free of “turbulence”. If during the flight the camera moves from one object to another, it is advisable to start earlier and finish later. That is, the camera starts shooting before it “approaches” the first object and continues to shoot after “flying” past the second object. During editing, the “extra” pieces will be replaced by other frames.
“Violation 3” – Shoot While Walking
If everything is filmed in this manner, then the audience will have to give out packages, like on an airplane, but: It is in this manner that you can show the scene through the eyes of a walking animal or person. For example, we shoot from a tripod as a dog enters the room. We stop shooting. We remove the dog. We go into the room with the included camera. Camera at dog’s eye level. We aimlessly shoot “left, right and everything else”, and then “go” to the bowl, approach it close to it and turn off the camera. We bring the dog, put it to the bowl and remove it from the tripod. In this case, the visual “marriage” will simulate the movement of the object. If you are very interested in this technique, do not forget about the packages during the show.
“Violation 4” – Turn the Camera in All Directions
This technique should be minimal in duration. More often than not, it is good at showing falling, struggling, and other states of disorientation. If in one frame you can see how something was thrown at the operator, then the superposition during the editing of the “twisted shooting” will create the effect of a hit. The speed of “spinning” can convey the weight of the thrown object.
Technique #2 – Shoot at Eye Level of the Subject and Parallel to The Horizon
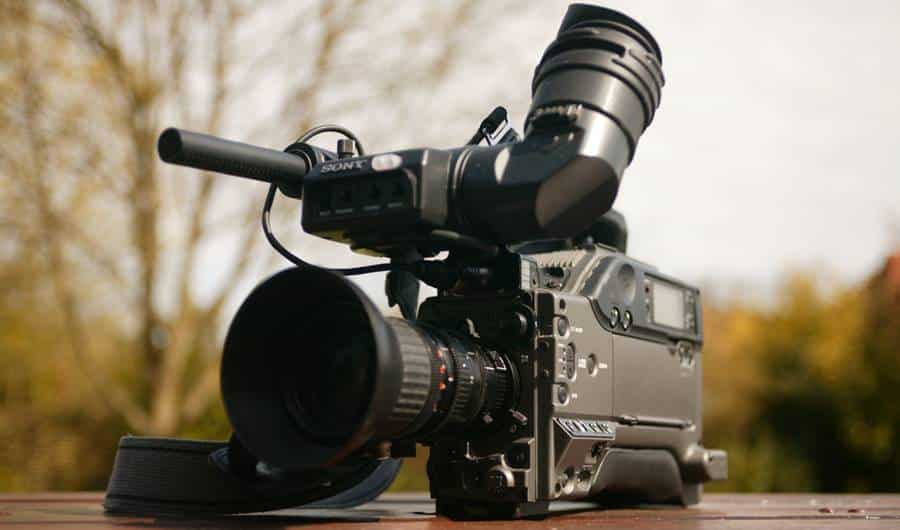
Shooting above eye level downplays the subject and makes them wrinkle their forehead. Shooting below level – belittles the viewer and gives the subject a haughty expression. Even if all this is not very noticeable, the footage is not very comfortable. When the camera is tilted to the horizon, the screen image can remain in the correct orientation. The result is the feeling that the video can be shot in portrait mode. On a TV or monitor, such “lying” shots will look terrible. Especially if they lie on the left, then on the right side.
“Violation 1” – Shoot from Below
Such shots convey the dynamics of movement well. When shooting from the floor, even a child on a tricycle will look like a cool biker. You need to try not to fall under the trajectory of any movement yourself.
“Violation 2” – Shoot from Above and From The Side
This technique creates the feeling of an extended gaze. This is how surveillance cameras are filmed. People behave in front of such cameras not very usual, and this creates a stylistic effect.
“Violation 3” – Shoot at An Angle of 20-30 Degrees
This technique is called the “Dutch corner”. This is often filmed in video clips and youth television programs. This technique greatly increases the dynamics of the frame. Even if the object is stationary, there is a feeling that it is about to fall and roll. If a scene is filmed from that angle, it is better to keep filming it from that angle.
Technique #3 – Do not Use Zoom Unless Absolutely Necessary
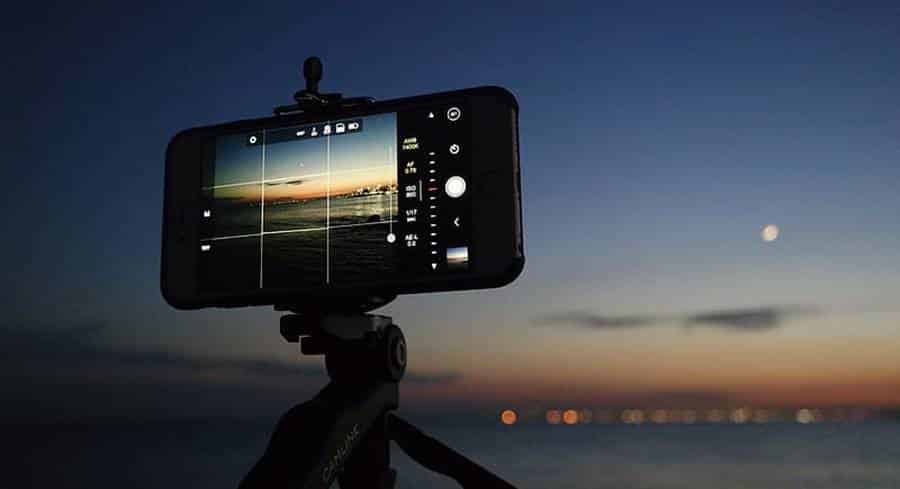
Zoom (zoom in and out) in the hands of a beginner often turns into an even bigger nightmare than shooting without a tripod. Zoom is a technique for emphasizing attention. But in order for it to work, a very clear “aiming” is necessary. The cameraman rehearses the zoom movement several times so that the first and final frames clearly direct the viewer’s attention. For beginners, the zoom “zooms in” on anything, and “drives off” anywhere. As a result, the main message of such filming is the powerlessness of a person in front of space and technical capabilities. What’s more, high-zoom zoom combined with tripod-free shooting creates the largest degree of image shake.
“Violation 1” – Shoot from a Distance, But with A High Magnification
This shooting technique can greatly reduce the area of the background and blur it. When shooting a specific object (a person, a statue, a car), this creates an interesting artistic effect.
“Violation 2” – Slightly Move the Zoom from Time to Time
When shooting a person speaking, the frame quickly becomes boring. Taking small zooms from time to time can add dynamism to your shooting. It is important that the zoom “jump” forward and backward at the same distance. It is important that the leaps take place between the blocks of meaning in speech. It is important that these jumps do not disturb the composition of the frame.
“Violation 3” – Shoot with Excessive Magnification
An interesting subject for shooting can be not only the characters themselves, but also their parts. Taking pictures of people talking can be much more interesting by shooting only their hands or just their legs (shoes). The speaker can have interesting shots if you shoot the lower part of the face, and the listener – when shooting close-ups of only the eyes.
Technique #4 – Shoot Only in Good Light

When shooting, there are always two pictures – one that the eye sees and one that the camera can see. These two pictures are very different. In good light, even the simplest cameras shoot quite well. If it is bad, even very expensive cameras do not shoot well enough. If you need to save money when buying a camera, you can simply buy additional lighting or try to shoot in sunny weather. It is good if the object is illuminated by 3 sources, one of which illuminates the “main side”, the second removes strong shadows from the other side, and the third one shines from behind and from above, giving volume and separating the subject from the background.
Violation 1 – Shoot in Partial Lighting
If the background is completely darkened, this is not so bad when shooting a specific subject. Sometimes a single flashlight can create an interesting artistic effect. You just need to monitor the quality of this effect. Occultists love to be photographed with harsh lighting of the face from below, and bodybuilders – with harsh lighting of the muscles from above. The face of an ordinary person in such conditions can turn out to be quite specific.
“Violation 2” – Shoot Against the Light
When shooting this way, the subject is very poorly lit with subtle details. You can enhance this effect and get a crisp silhouette with no detail at all. With this kind of shooting, you can focus on the background, gestures or spoken words. Our eye is accustomed to the fact that anonymous revelations are filmed in this way. Consequently, the interest in such personnel is obviously higher.
Technique #5 – Shoot with Adjusted White Balance
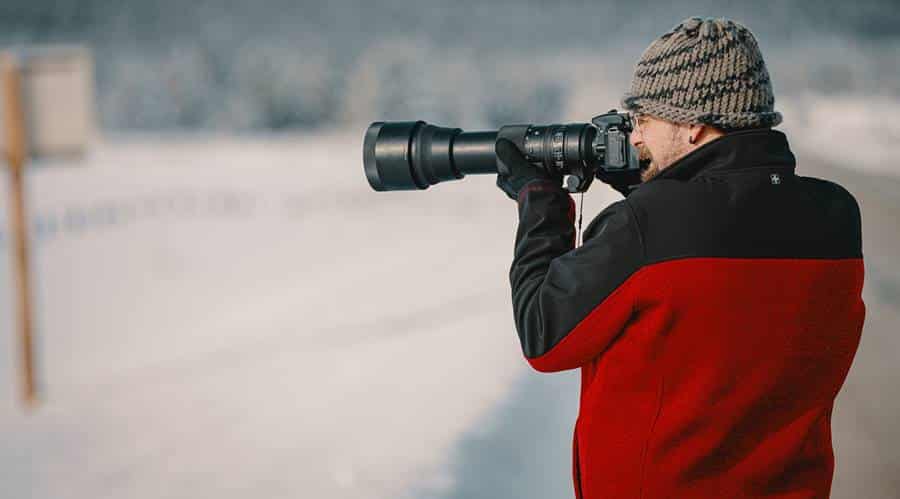
White balance avoids “red” and “blue” frames. An incorrectly adjusted white balance makes indoor shots with a strong red bias. This can be easily seen from white objects, which range in color from pink to burgundy. The same thing, only when shooting outdoors, it takes pictures with a shift towards blue. Correcting such a “defect” during editing can greatly reduce the quality of the final video. It is recommended that you adjust the white balance every time you turn on the camera. More precisely, to check it.
“Violation 1” – Adjust the White Balance with A Slight Shift Towards Red
Our eye is better at accepting warm colors than cold ones. A slight shift towards red makes the skin color more pleasing to the eye.
Violation 2 – Adjust the White Balance with A Large bias Towards Blue
When shooting outdoors, you need to switch the balance to “incandescent” mode. In this case, the color will strongly shift towards blue. You get the effect of night shooting, but with clearly distinguishable details and without digital noise.
You may also like to read: Smartphone Video Recording: Dos and Don’ts to Shoot Professionally
That’s all for now. In one of the old horror films, an old shaman woman says the phrase: “The rules were not created to be broken.” There is a cultural message hidden in her words – the rules allow creators and viewers to see the same thing. But the rules themselves are not static. They are constantly evolving and sometimes begin to refute themselves. It is important to follow these changes in order to create interesting footage, but not too far ahead of these changes so that the footage remains understandable to viewers.

