On a crisp autumn afternoon, Clara, an aspiring photographer with a passion for crafting, found herself in her cozy home studio, staring at a cluttered workbench. Her latest challenge: creating a DIY softbox. With a smile and a determined glint in her eye, she set out to transform a few ordinary materials into a professional lighting tool that would elevate her photography to new heights.
The Vision Takes Shape
Clara’s journey began with a clear vision. She wanted a softbox that could provide even, diffused lighting, perfect for capturing the subtle textures and rich details in her portraits. After researching various designs, she decided on a simple yet effective method that used materials easily found around the house.
She gathered her supplies: a large cardboard box, some aluminum foil, white fabric (a shower curtain or old bedsheet would work), and a basic lamp with a daylight-balanced bulb. The process was straightforward but required a touch of creativity and patience.
Building the Frame
The first step was to create the frame of the softbox. Clara started by cutting the large cardboard box into a rectangular shape, which would form the base of her softbox. She carefully measured and cut the cardboard to fit snugly around the lamp, leaving a space for the light bulb to shine through.
With the cardboard frame ready, Clara attached it to a sturdy piece of wood she had lying around, ensuring that it was stable and could stand on its own. She then used duct tape to reinforce the edges and keep the box firmly in place. This would be the heart of her softbox, holding everything together.
Adding Reflective Power
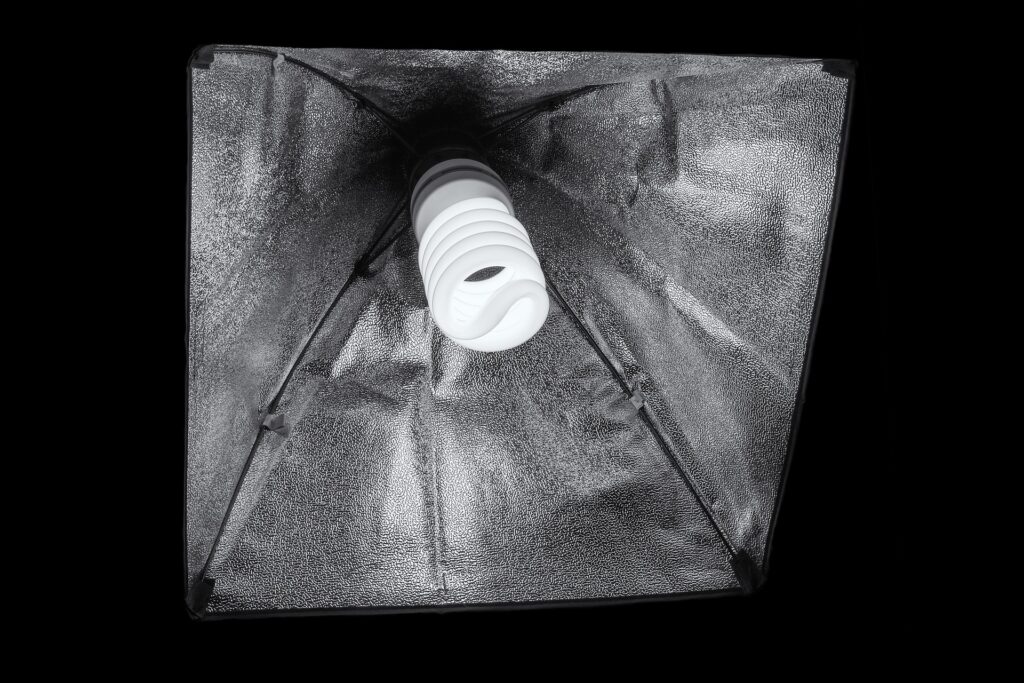
Next, Clara turned her attention to enhancing the light output. She covered the inside of the cardboard box with aluminum foil, securing it with glue. The foil acted as a reflector, bouncing light evenly around the interior of the softbox and helping to eliminate harsh shadows.
She took care to smooth out any wrinkles in the foil, ensuring a reflective surface that would maximize the efficiency of her softbox. With each piece carefully placed, Clara could already imagine the beautiful, soft light it would produce.
Crafting the Diffuser
With the reflective layer complete, Clara moved on to the most critical component: the diffuser. She cut a piece of white fabric large enough to cover the front of the cardboard box. The fabric would soften the light, giving her photos that coveted, even glow.
To attach the fabric, Clara used clothespins to secure it to the front of the box. This made it easy to remove and clean if needed. She also made sure the fabric was stretched taut, avoiding any creases that could create unwanted shadows in her photos.
Assembling the Softbox
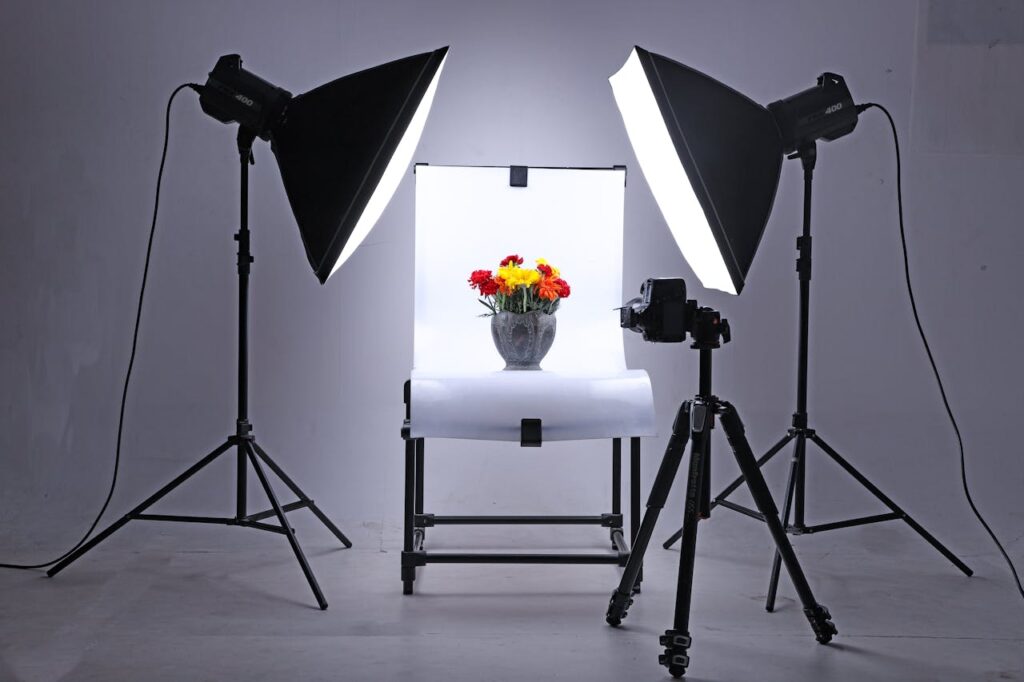
With all components prepared, Clara carefully assembled her softbox. She positioned the lamp inside the cardboard box, ensuring that the bulb was centered and facing the reflective surface. The fabric diffuser was then secured at the front, creating a seamless barrier between the light and the outside world.
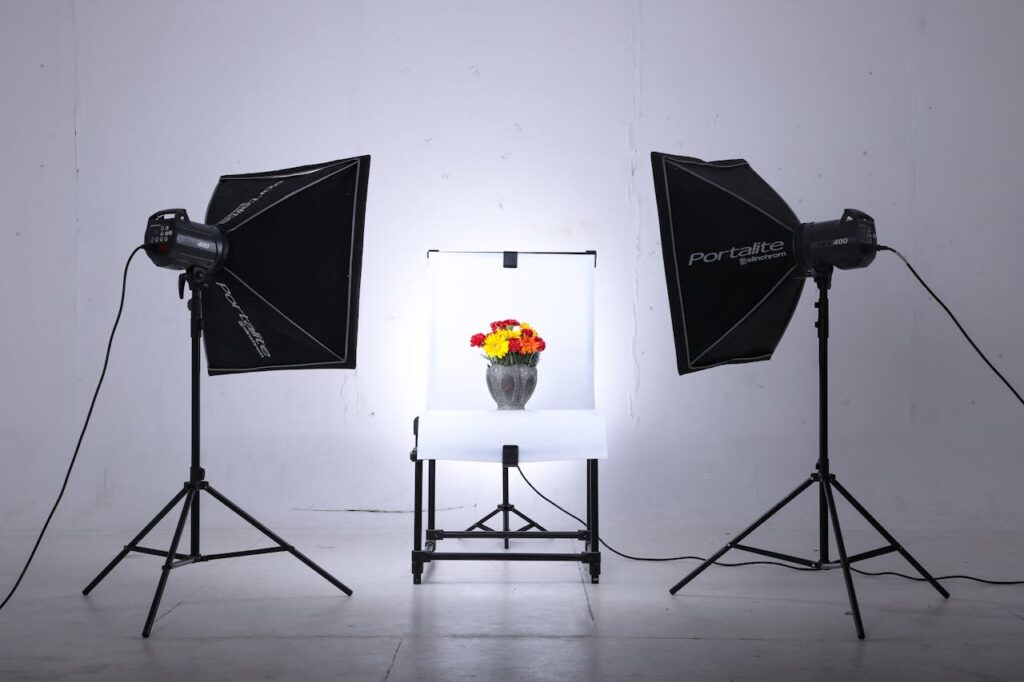
As a final touch, Clara tested the setup. She plugged in the lamp and adjusted the positioning of her DIY softbox to achieve the desired lighting angle. The light spilled out softly and evenly, just as she had hoped.
Testing and Tweaking
Eager to see the results, Clara set up a small photoshoot in her studio. She took a few test shots, experimenting with different distances and angles. The softbox provided beautiful, diffused lighting that minimized harsh shadows and brought out the details in her subjects.
However, Clara also noticed a few areas where she could make improvements. She adjusted the position of the lamp for optimal light distribution and considered adding a secondary layer of fabric for even softer light. Each tweak brought her closer to achieving the perfect balance of illumination.
A Sense of Accomplishment
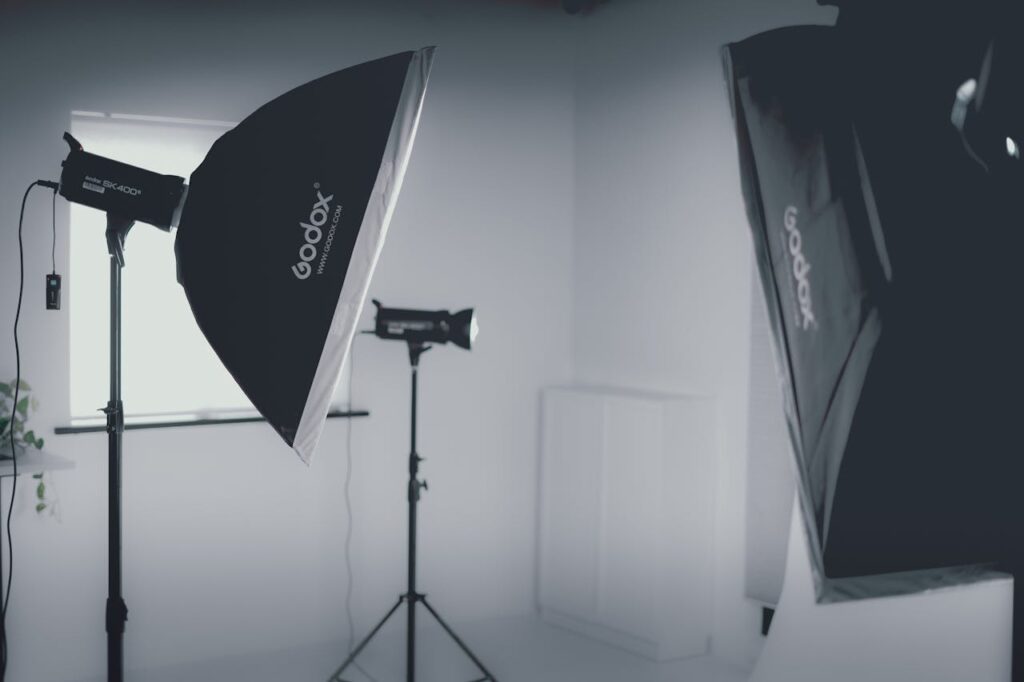
As the sun dipped below the horizon, Clara looked around her studio with a sense of accomplishment. Her DIY softbox, born from a simple cardboard box and a bit of ingenuity, had transformed her lighting setup. It was a testament to her creativity and resourcefulness, proving that great results could come from everyday materials and a little bit of hands-on effort.
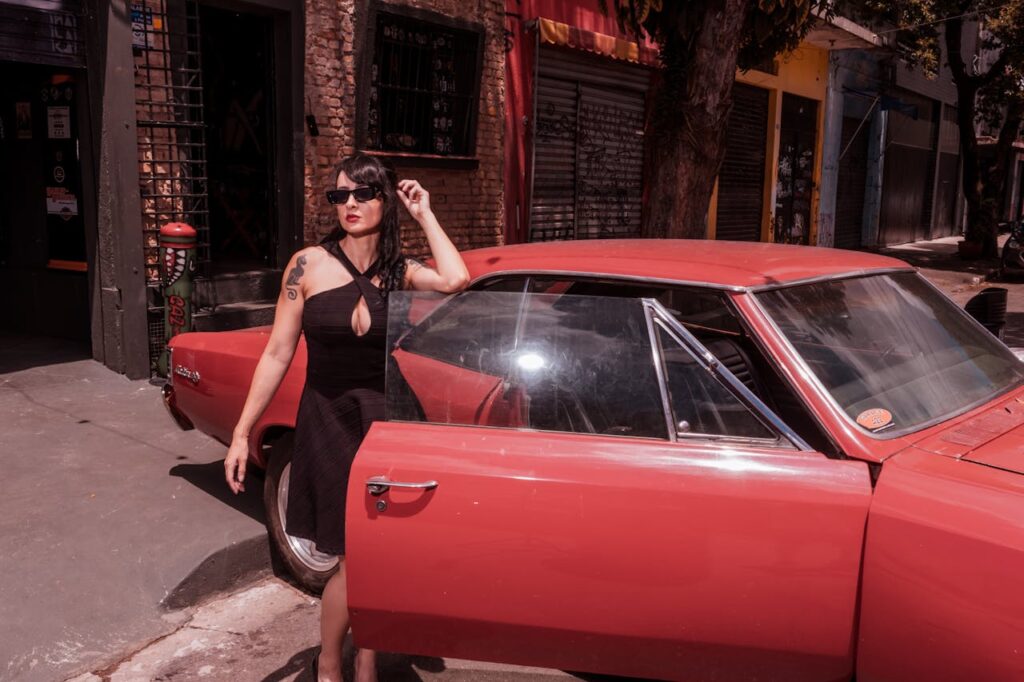
In conclusion, building a DIY softbox is not only a practical way to enhance your photography but also a rewarding creative project. Clara’s journey from concept to completion showcased the power of imagination and the joy of crafting something truly functional. With her new softbox in hand, she was ready to capture the world in a beautiful, diffused light, one photograph at a time.