Editing astrophotography in Photoshop allows you to enhance the captured data, bring out details, and create visually appealing images of the night sky. Here’s a simplified guide on how to edit astrophotography in Photoshop:
- Open the Image
- Launch Adobe Photoshop and open the astrophotography image you want to edit.
- Adjust Levels and Curves
- Go to Image > Adjustments > Levels or Image > Adjustments > Curves.
- Use the histogram and adjustment sliders to fine-tune the brightness, contrast, and tonal range of the image.
- Adjust the black point, white point, and mid tones to bring out details and enhance the overall tonal balance.
- Reduce Noise
- Use noise reduction techniques to minimize the noise in the image.
- Duplicate the background layer to create a new layer.
- Go to Filter > Noise > Reduce Noise and adjust the settings to reduce noise while preserving details.
- Apply additional selective noise reduction using tools like the Noise Reduction filter or the Clone Stamp tool.
- Enhance Details
- Use sharpening techniques to enhance fine details.
- Duplicate the background layer again.
- Go to Filter > Sharpen > Unsharp Mask or Smart Sharpen.
- Adjust the settings to bring out the details without introducing excessive artifacts or noise.
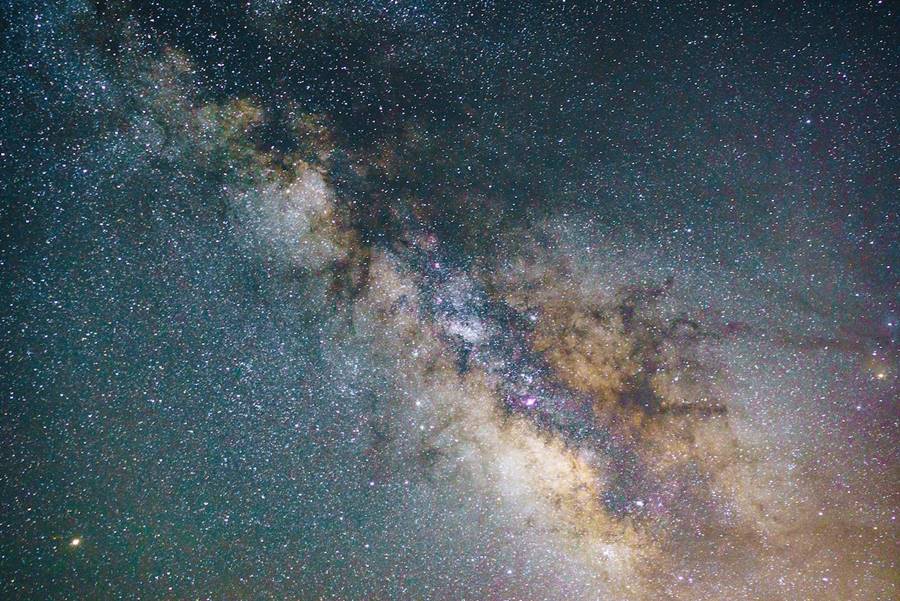
- Adjust Colors and Saturation
- Use the Hue/Saturation adjustment layer to fine-tune the colors and saturation.
- Go to Layer > New Adjustment Layer > Hue/Saturation.
- Adjust the sliders to enhance or correct the color balance and saturation.
- Use the targeted adjustment tool to selectively adjust specific colors if needed.
- Dodge and Burn
- Use dodge and burn techniques to selectively brighten or darken areas of the image for added depth and dimension.
- Create a new layer and set the blending mode to “Soft Light” or “Overlay.”
- Use a soft brush with low opacity to paint with white (dodge) or black (burn) to lighten or darken specific areas.
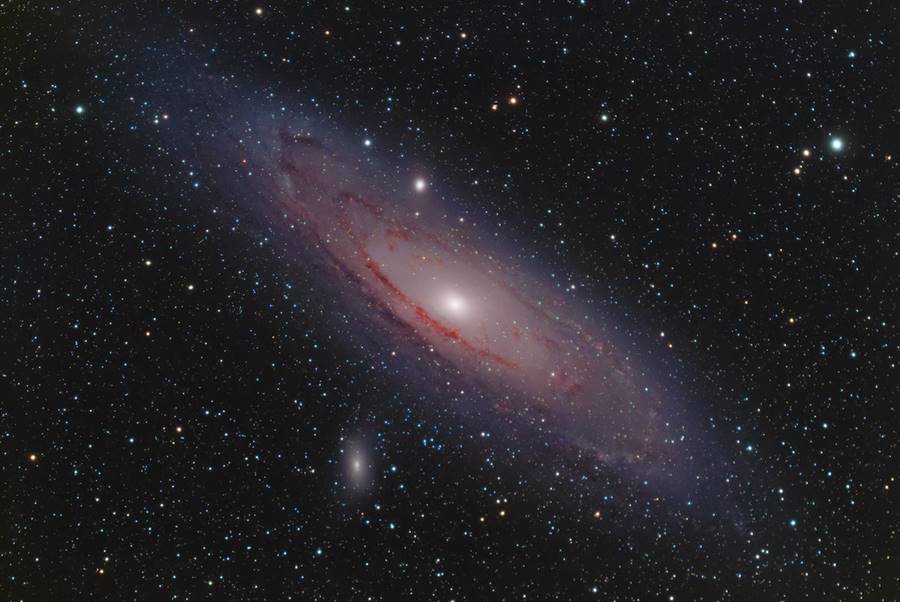
- Final Touches
- Review your image and make additional adjustments as needed.
- Consider applying vignetting, cropping, or resizing to refine the composition.
- Fine-tune any other adjustments like levels, curves, or color balance if necessary.
- Save and Export
- Save your edited astrophotography image as a high-quality file format (e.g., TIFF) to preserve details and dynamic range.
- Export a web-friendly version (e.g., JPEG) for sharing on websites or social media platforms.
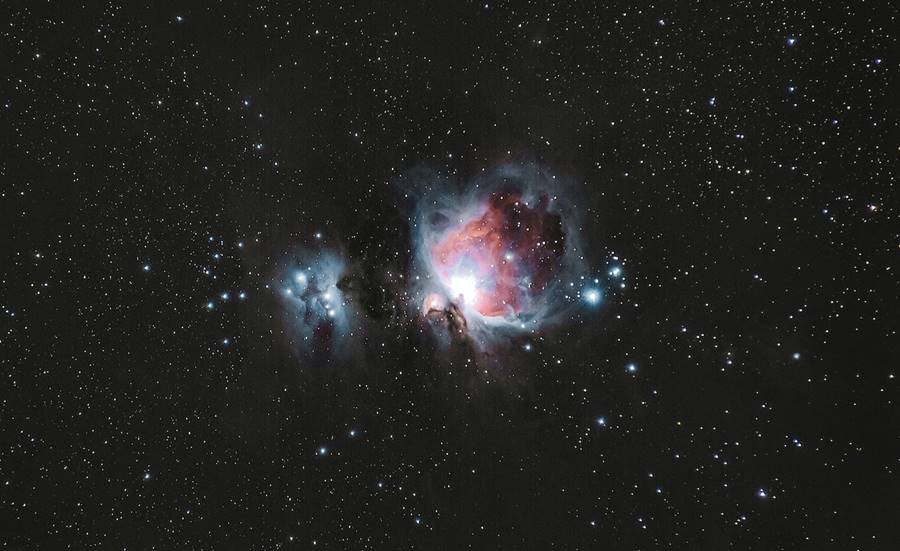
Remember, astrophotography editing is subjective, and the techniques you use may vary depending on your personal style and the specific characteristics of the image. It’s essential to experiment, practice, and refine your editing skills over time to achieve the desired results in your astrophotography images.
