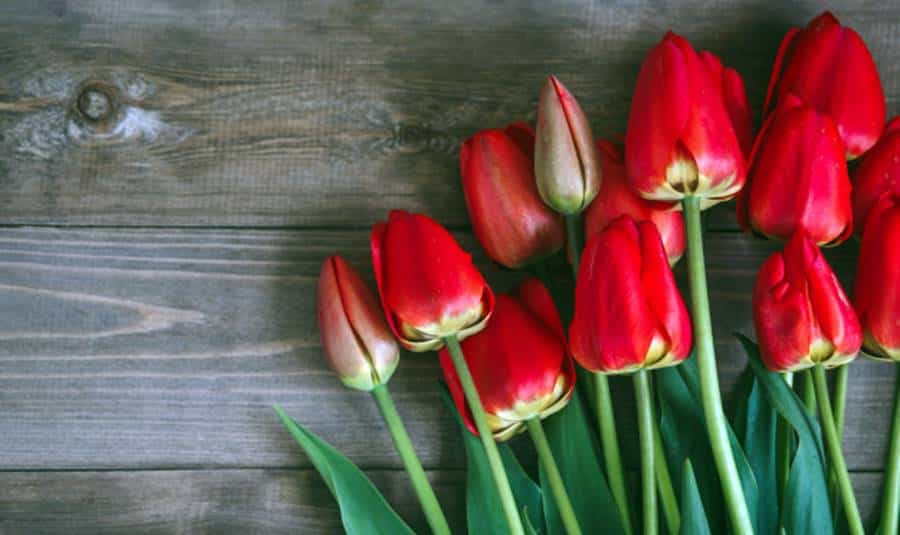
Glad to see you on my blog. Today’s topic is “Photography Backdrop DIY,” and you’ll read “how to make a photography backdrop at home.” My first tulip blossomed, and it made me happy in a pot for a week; yesterday, I decided to give it to my beloved, but I tested it on a new background for food photos. I did them slowly, in the evenings. A couple of evenings and done.
Now you can take pictures with such backdrops at any time of the year, anywhere. First, they are needed for food photography, but they are suitable for any subject shooting.
Food, against such a background, will look like a five-plus star. You will see later; I will make new releases using these backgrounds. You can shoot with a regular phone when you are just starting, and it will turn out well.
More than enough for blogging. When all the photos are yours, then the blog’s value is higher, and such projects are faster and easier to develop. But we’ll talk about this later. There are many nuances and secrets that I would like to share soon. Don’t miss it.
I decided to add the article to describe the nuances and essential points in more detail. Although there is nothing complicated there, and everyone can handle it or turn to any carpentry, they will do the same for you. But I still recommend painting with your own hands, those backgrounds that you like.
As a result, I got four different backgrounds, although there are only two countertops. Just each one is painted with a different color on each side (double-sided).
How to Make a Photography Backdrop for Food Photography?
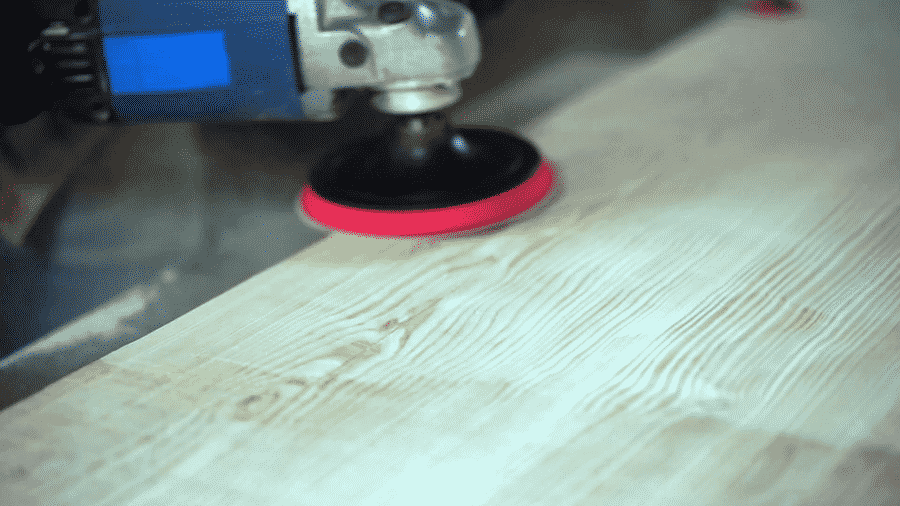
You may have noticed that using a drill, the process is more laborious, and at the same time, the pattern does not turn out the way I wanted. Therefore, I decided to use the grinder, putting on a nozzle on it.
Glasses are required in work, as small burrs from the nozzle can get into open areas. Be careful.
The process with the grinder is faster. And the pattern itself turns out to be more expressive and smooth at the same time. You do not need to do anything additionally with the tree (like sanding, etc). You need to run the grinder for 5 minutes, and you’re done. Take the next plank and repeat the process.
It turns out these are boards for a future food photoshoot with texture. At the same time, note that you do not need new boards, but any, even old and worn out, will do. The pattern can be more expressive and natural.
In my case, the board is 25×150 mm, the dimensions in length each made 90 cm. That is, four panels in a row, and you get a tabletop measuring 90 by 60 cm – the most optimal option. And most importantly, the lungs. I’ll show you below.
By the way, it is not convenient to handle boards in the air, especially if using a grinder. You can still use a drill, but it’s still better to put it on the table and at the same time fix it.
Please note that several self-tapping screws are screwed in so that the boards are not mobile during processing. At the same time, it’s okay that you get an extra hole from the self-tapping screw. It will not affect the quality of the countertop in any way, and it will not be visible.
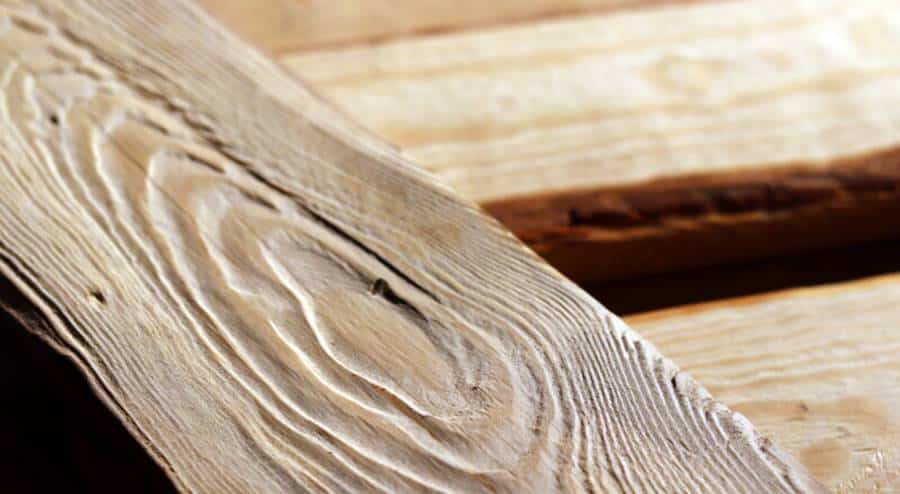
Moreover, the boards already have natural (from bark beetle) and nails (panels were previously used, not new).
It generally turns out engaging with the bark beetle since it forms a natural pattern, and then, having processed it a little, it turns out very beautifully.
Next, we collect one board from the other to get the optimal tabletop. Above is a board with a pattern from a bark beetle, and I decided to put it on to fasten the tabletop, loosening it with a saw along the length. One part will be on the left, the other on the right.
I admit right away that I liked this assembly method the most. Not only is it more accessible than fixing it from the end. It also looks more natural and beautiful.
It is going to be a dark countertop. See the result for yourself, click on the class, and express your opinion if you liked this method the most.
In simple words, we cut that patterned board from the bark beetle along the length and fix one part and the other to the tabletop. I make all the boards closely, and if there are small cracks from unevenness, it’s okay. I will say even more; there is no need for exact dimensions and similar troubles. Everything is done!
In the photo on the right, another method of fastening is the end.
Let’s start painting.
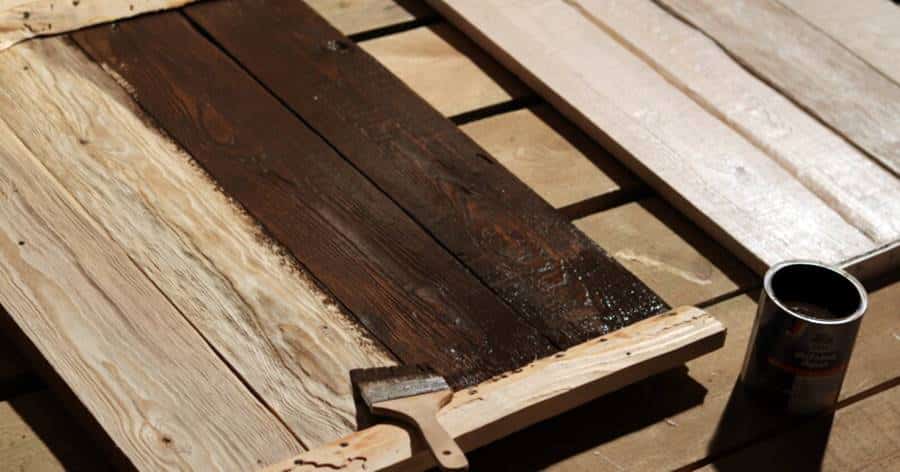
I choose colors at Amazon. There are them for every taste and color – all acrylic, water-based. No oily. These look like a test!
Choose the colors and manufacturer that you like. Dark like – acrylic paint impregnation for wood. I painted it two times, but I confess, when I painted it for the second time after drying – the pattern from the tree (light) began to disappear, painting over with paint. It was decided to wipe off the second coat with paint.
Apply a different color with the rest of the countertops (more precisely on the other side).
It turned out four countertops, each with a different color. But I bought only three cans of paint. At the same time, I tried to take the smallest ones so there would be no more. 4 colors – turquoise, not found. And I decided to take the navy blue color scheme and mix it with white paint – which gives a slight shine. In the photo, you will see the results.
And here’s what the background turned out to be from a dark brown. How do you like this result?
Background for Photographing Objects

It’s time to check how the photos will turn out.
I will say right away that I am not a professional and a complete ignoramus in photography. At the same time, I tried to photograph a couple of times, and you can see the results below:
In the background, the same turquoise or slightly blue color is formed by the color scheme.
Taking pictures from different angles – the photos are different and convey their colors. I train only).
Who would have thought that an image is taken in a room that is still unfinished? Look, in the background, the background is entirely different.
or here’s a picture of a not pretty background:
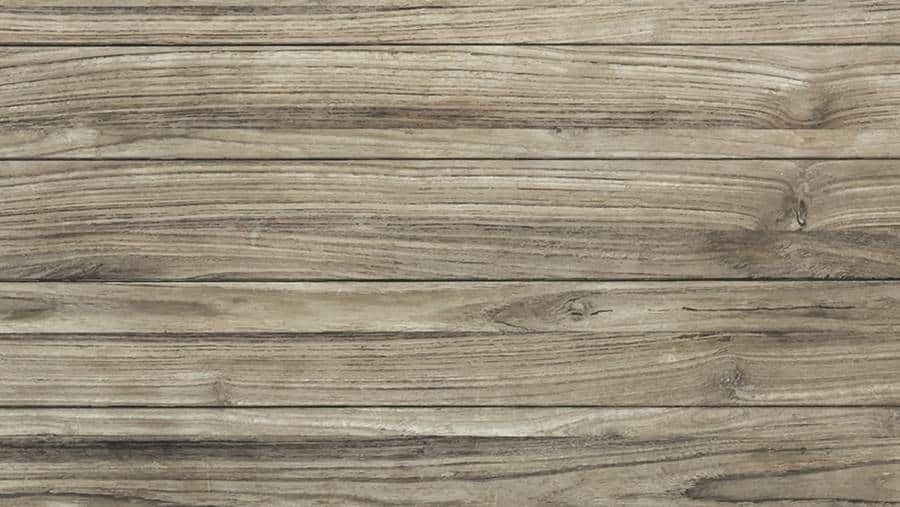
but if you aim the camera at the background you have taken, no one will guess where you are photographing.
A few more test frames, and you can have a little party. I am pretty satisfied with the result. And how do you like the countertops? Are you planning to do the same?
Of course, the aqua color turned out to be a very good background. Please rate:
- There is also such a color made for metal. Looks good too, but not suitable for every topic. Well, I think, for something New Year’s, it will look very much even nothing. And what do you think?
- Again, more tests are needed to figure out which dish will look best on which background.
In my opinion, a dark background looks best, and you can judge it yourself:
- But here, there is probably a little secret: the flower is rich and bright, and the yellow color, of course, against a dark background, looks super.
- In general, photography is deep science and interesting. But for standard food photos, you don’t have to go deep into the intricacies of the image. You can start taking beautiful pictures from scratch, and the first thing that can help you with this is a lovely DIY background.
That’s all for me. I would be grateful for your criticism, and of course, if you also liked the background, then this flower is for you. Click the Class button, and it will warm your feed and the feed of your friends for a long time.
You may also like to read: Backgrounds for Food Photography: How to Choose Your First Background?
By clicking the class, this flower of the first tulip will go to your page. I am sure no one has anything like this, but you will. Thank you.
