The easiest way to organize a photo studio at home is to buy a ready-made studio lighting kit. But in the beginning, it can be challenging to sort out from the variety of studio lighting kits, not to mention the range of prices for them. In this article, we will look at the basic studio lighting kit for a beginner photographer, the cost of which will not require you to sell a kidney.
I will analyze how the kit meets the criteria for choosing a lighting kit for a beginner, the pros and cons of the lighting kit, and what we would like to add to it (or maybe vice versa, remove it).
Criteria for Choosing Studio Lighting Kit for A Beginner
What criteria should a lighting kit meet for a photographer who is just starting to work with artificial light? I proceeded from the requests of those who are just starting to work with artificial light:
(A) – It must be a turnkey kit; it must contain everything you need to get started: light source, diffuser attachments, reflectors, and stands for the lamp and reflectors. When buying a set, you will probably want to start shooting right away and not sit and figure it out, which is insufficient for full-fledged work.
The Basic Studio Lighting Kit Includes:
- Illuminator;
- Octobox with honeycombs;
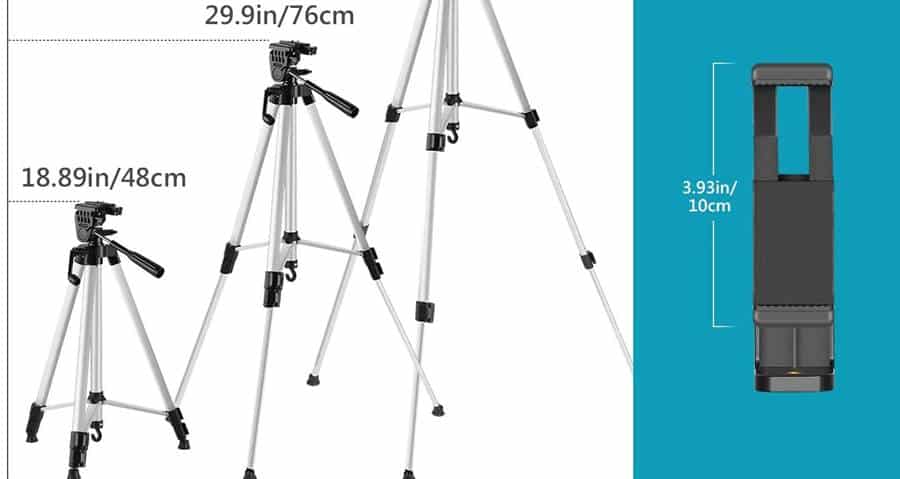
- Light stand;
- Reflector;
- Holder and stand for reflector;
- Background stand.
We’ll take a closer look at what’s included in the kit below.
(B) – Price. It is a highly subjective indicator, but I proceed from the fact that a novice photographer should correctly allocate his resources, not overpaying for professional-level equipment, which he will not be able to use one hundred percent, and not buy low-quality equipment frankly.
A studio lighting kit costs about $200, which, in my opinion, is quite adequate by current standards. You can pay much less by collecting a kit on Amazon, but this is not the best option. Frankly, cheap equipment cannot boast reliability and quality. Secondly, it will take several weeks on average to wait for an order from Amazon, especially given the pace of delivery.
(C) – Ease of Use. Firstly, it is good if the user can immediately see all the lighting effects that he uses in practice. And secondly, in my opinion, setting up and preparing for work should still require a minimum input threshold. Therefore, I tend to use constant light: a beginner will be able to see all the effects of lighting immediately, and also, he does not need to deal with synchronizers, channel groups, etc. I will talk a little more about the advantages of constant light for a beginner below.
Neewer Continuous Lighting Kit
The basic studio lighting kit includes one permanent 5600K LED illuminator, which does not require any special knowledge and skills to get started. Of course, classical lighting schemes require two or three sources, but for a beginner photographer, one source is enough to start, which will allow you to master the basics of working with light.
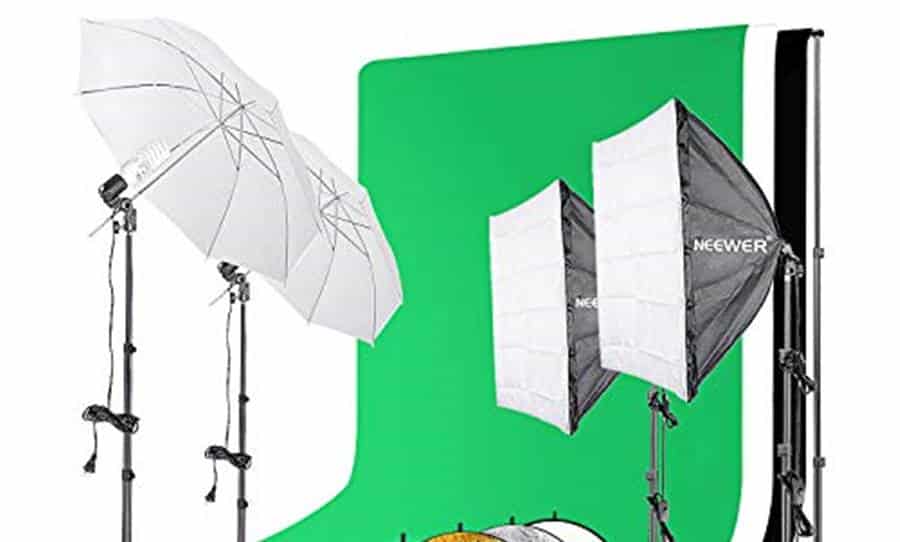
In the future, you can always buy an additional source, but spending money on two at once, having no idea about working with light, may be inappropriate.
Light Source
The 100W permanent LED illuminator looks like a reasonable choice for a beginner. As I said, pulsed light can create unnecessary difficulties – you need to deal with the synchronizer pilot light, shoot only with a closed aperture, set a shutter speed limit. Of course, if you have experience shooting in a studio, you can safely purchase an impulse light source.
However, suppose you do not have such experience and knowledge. In that case, a permanent illuminator will allow you to immediately see where and how much you are shining, making the task much more accessible. Constant light has another advantage – it is suitable not only for photos but also for video shooting.
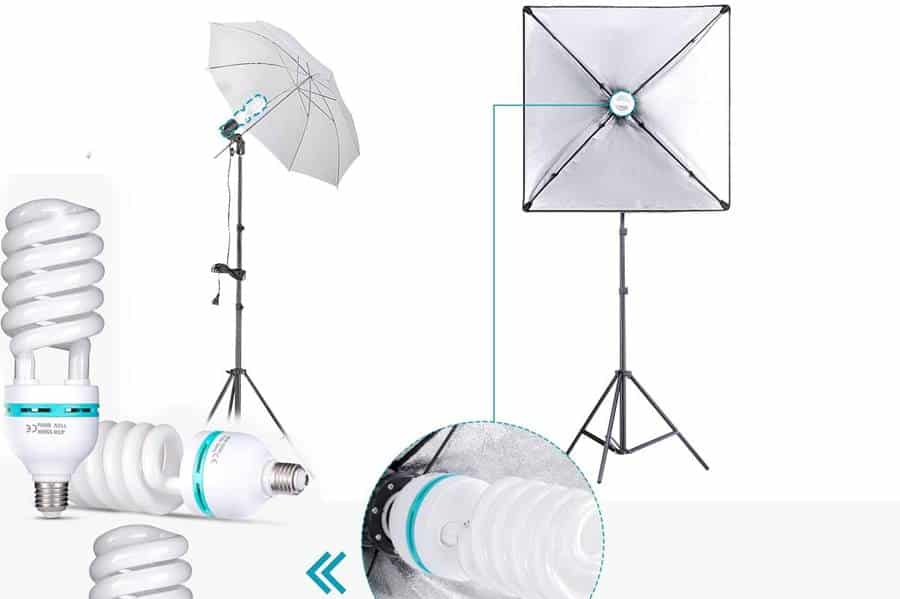
The lamp power of 100 W allows you to get high-quality portraits in almost complete darkness at the following settings: aperture f/2.5, shutter speed 1/160 sec, and ISO 125. The light temperature of 5600k is approximately the same as daylight, so it can be easily combined with natural light if you have a large window at home.
The power is adjustable from 1 to 100, allowing you to match the brightness to different situations and ambient lighting accurately. At the same time, the lamp’s color rendering index (CRI) is 95, which means that the illuminator allows you to reproduce colors (a CRI of 90 and above is considered a good indicator) accurately.
Of the minuses of the device, one can name the absence of even the simplest reflector in the kit, which would allow creating a concentrated beam of light. Still, this disadvantage is partially covered by the presence of honeycombs for the octobox in the kit.
You will also find an LS003 2.6m light pole with air damping in the kit. The air cushioning prevents the illuminator (and the attached octobox) from falling quickly when the clamps are loosened, which can save not only the equipment but also your fingers.
Octobox
An octobox is used to soften the light. Octobox is an octagonal softbox that allows you to get a soft “streamlined” light. The light passing through it creates natural round highlights in the model’s eyes. In the standard set, you will find a 120 cm octobox (not a quick-fold). It is a reasonably large modifier – its size allows you to shoot the model in total growth, and if necessary, the combs in the kit will enable you to concentrate the beam of light better.
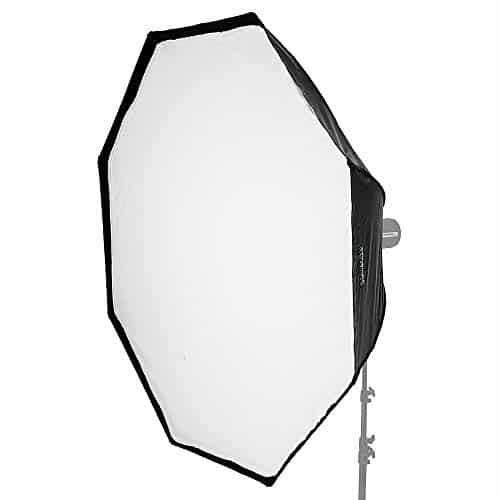
At the time of writing, a kit with a 120 cm octobox is available only on order, and there are options with a slightly larger and slightly smaller version – 150 and 95 cm.
Reflector
A reflector is a handy device in photography. It is good to use it to shoot portraits and illuminate objects in subject photography. The studio lighting kit includes the RF-02 5-in-1 reflector: translucent, white, silver, gold, and black. It is a truly versatile set: a translucent reflector can be used to soften hard light, white to highlight the shadow side of an object and reduce contrast, silver to create bright highlights, and black to add shadows and increase contrast.
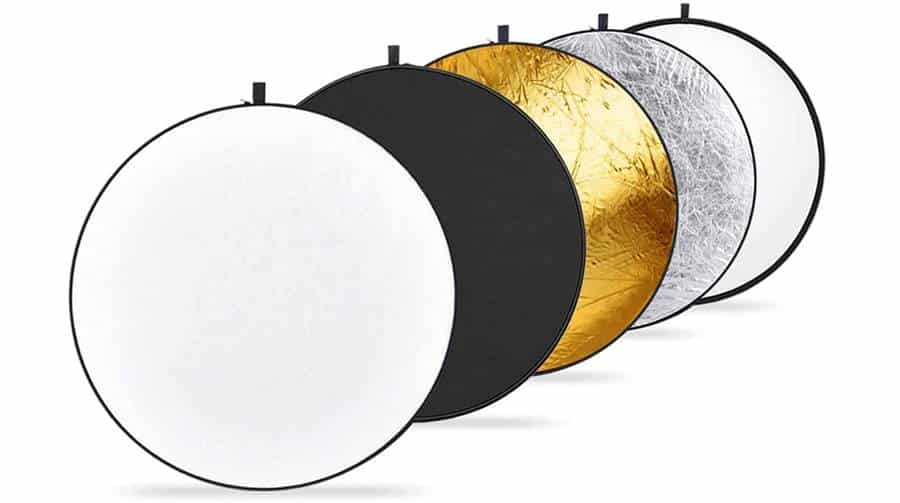
Another plus of the RF-02 is its round shape. These reflectors are perfect for portraits as they create nice round highlights in the model’s eyes.
The kit also includes a holder that allows you to fix the reflector in different positions – from below or to the side, vertically or horizontally.
Background Holder
The guys from the manufacturer included a BT2 crossbar stand to fix the background. It is a miniature and not very wide stand (2 meters high and 140 cm wide), which is better for sitting portraits. With full growth, it will be possible to shoot only low people. Plus racks in its compactness, it will fit in almost any room.
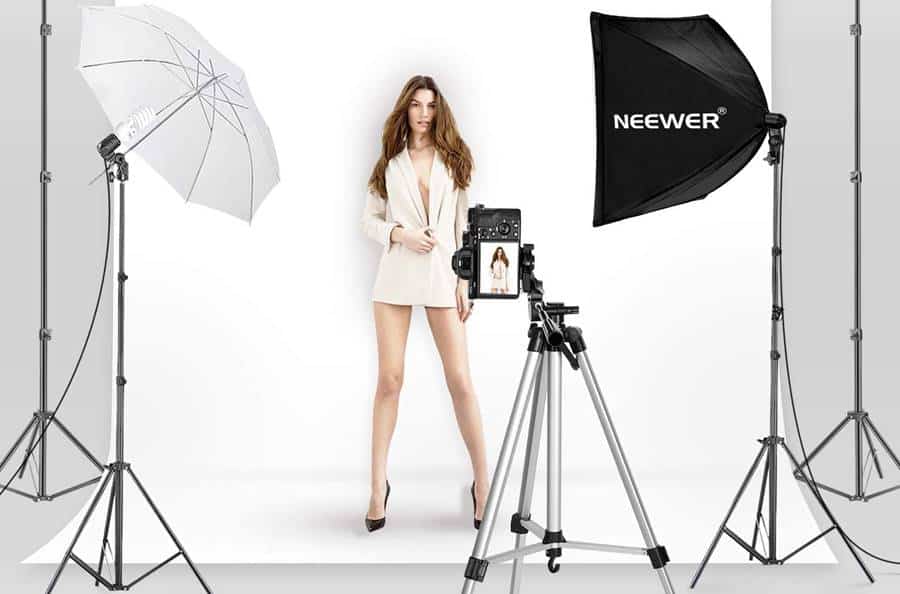
The stand is intended primarily for plastic and paper backgrounds. Still, it will also withstand light fabric backgrounds weighing up to 1 kg (although it is unlikely that you will be able to find a heavy background less than a meter and a half wide).
Conclusion
Lighting your home studio is the first step towards your photo freedom. In my opinion, any basic kit for a beginner should be inexpensive, easy to use, and allow you to start shooting without delay. Neewer Continuous Lighting Kit is indeed a basic set – it has only one light source, while the light is constant, not pulsed. You can buy it on Amazon for $219.
However, such a kit can be an excellent start for any beginner – it is easy to figure out. However, despite its simplicity, it offers a lot of creative possibilities: the octobox comes with a honeycomb for additional control over lighting. There are reflectors in five different colors and a holder to fix it at different angles. It is a versatile set suitable for different scenarios and various genres of photography.
