Welcome, my friends to ‘DIY Softbox’. Today I finally got to the publication of an article, which, to be honest, I planned to write for you much earlier, but crawled to it just now. But be that as it may, I am sure that many of you will find it useful, especially if you want to save money on purchasing special lighting for photography and do some work with your hands.
Today, we will make a softbox for photography and shooting videos with our own hands.
Not so long ago, I posted an article – “A Guide and Lighting Schemes for Beginners in The Studio.” I talked about the importance of using additional light sources when photographing or shooting videos indoors. I highly recommend you to read it.
What is A Softbox?
A softbox is a light attachment designed to create soft, diffused lighting without harsh glare, used in studio photography, or videography. Simply, it is a lighting device on a stand, on which we use a specific fabric that will soften and diffuse the light, i.e., make the lighting less harsh.
In the photo below, we see a very recognizable model, and on both sides of it, there are two lighting fixtures with softboxes.
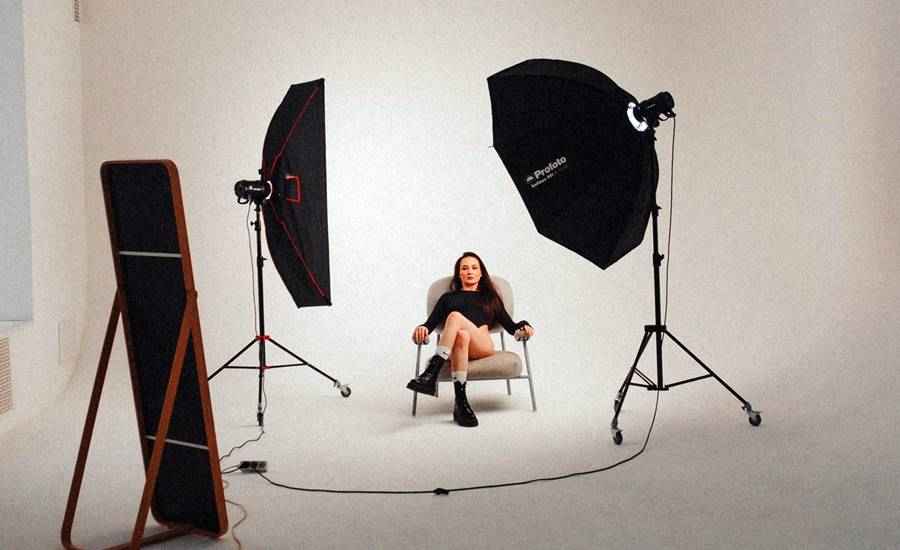
I think this is understandable? Ok.
I won’t discuss why it’s sometimes essential to use softboxes when shooting video or photography. I won’t tell you now – read the article on lighting, and the link I gave above, and you will understand everything yourself.
In this article, I want to share with you my own experience of creating homemade softboxes, which come out very cheap in terms of the final amount.
So, let’s begin.
DIY Softbox
To make a softbox yourself, you need the following components and tools:
- Thick cardboard (you can take a large box),
- Food foil,
- Glue stick (preferably a couple),
- Scotch,
- White loose fabric,
- Buttons or stationery clips,
- Ruler,
- Scissors,
- Stationery knife, and
- Compass.
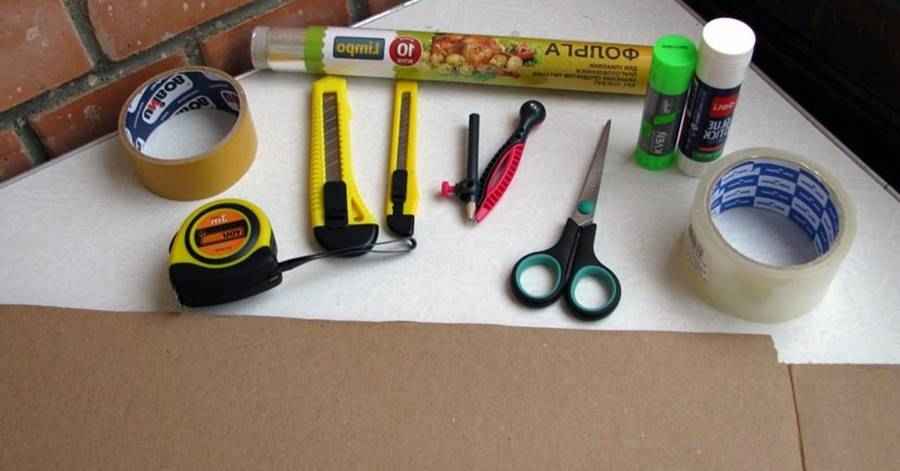
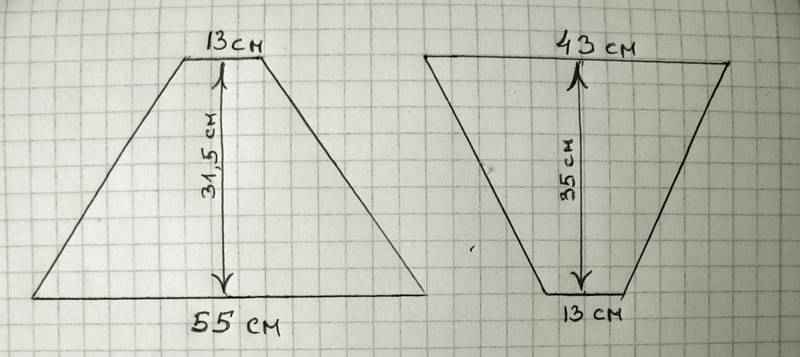
Next, cut out four sides from cardboard (two of one and two of another size) and the inside of the following sizes:
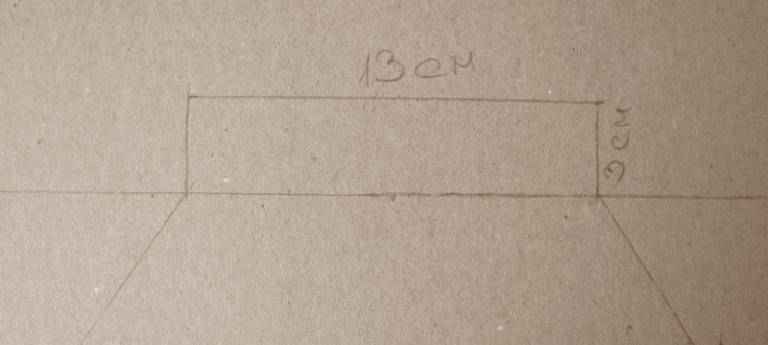
I also made these collars for the subsequent attachment of softboxes to racks.
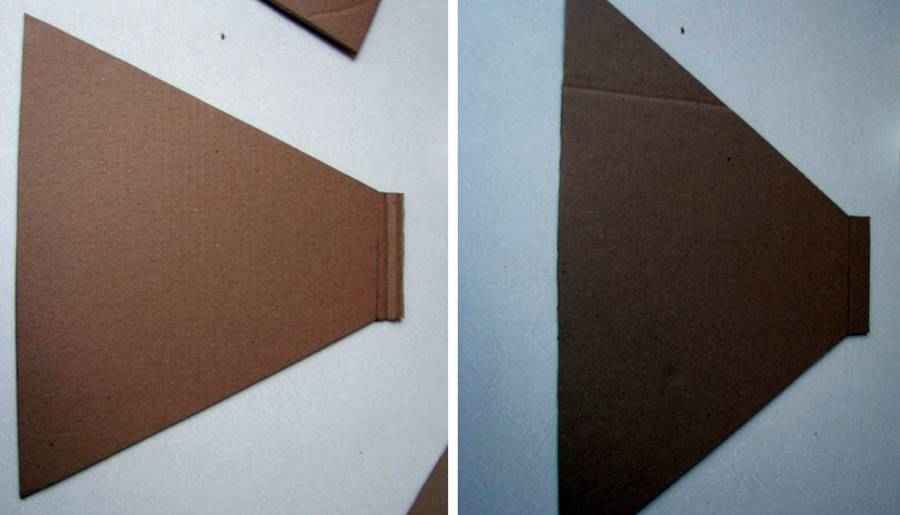
So, we got four sides of one softbox ( remember: two sides of the same size and two of the other).
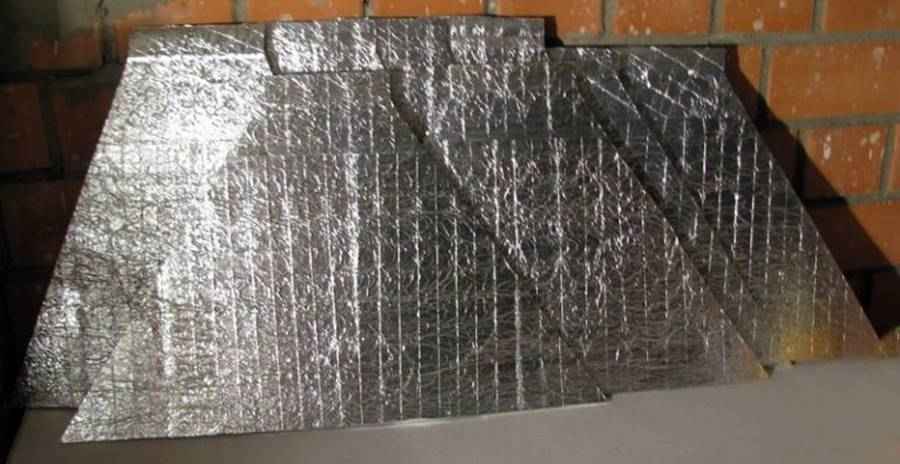
The next step is to take the food foil, fold it several times, and paste it over each part on one side to use a glue stick. As a result, something like this will turn out ( I have more of them in the photo because I did two softboxes at once).
Next, we glue all sides with adhesive tape (however, remember that when gluing, the sides should alternate in size, i.e., glue through one – wide with narrow, and so on).
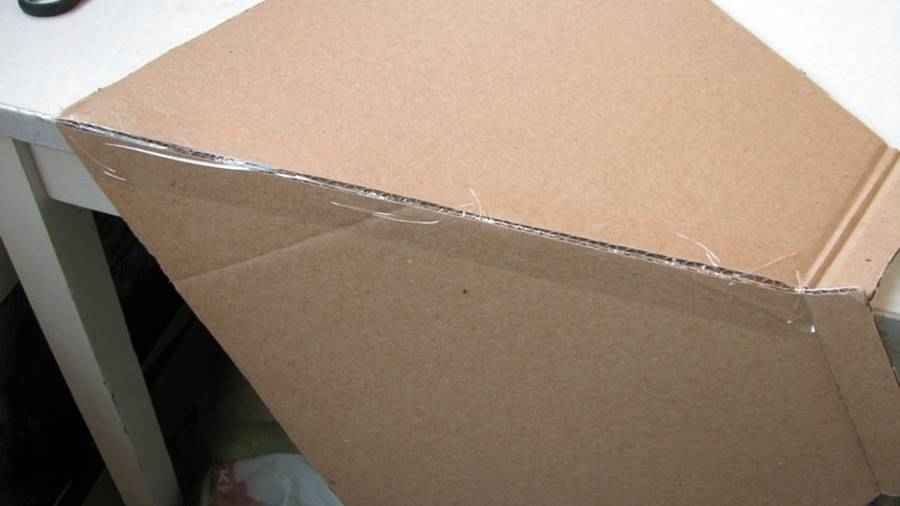
For the possibility of increasing the service life, I pasted over all the edges of the future softbox with adhesive tape (the foil can be significantly frayed along the edges). We also cut out the central part (13×13 cm) and made a ’round slot’ in its very center for subsequent mounting of the cartridge.
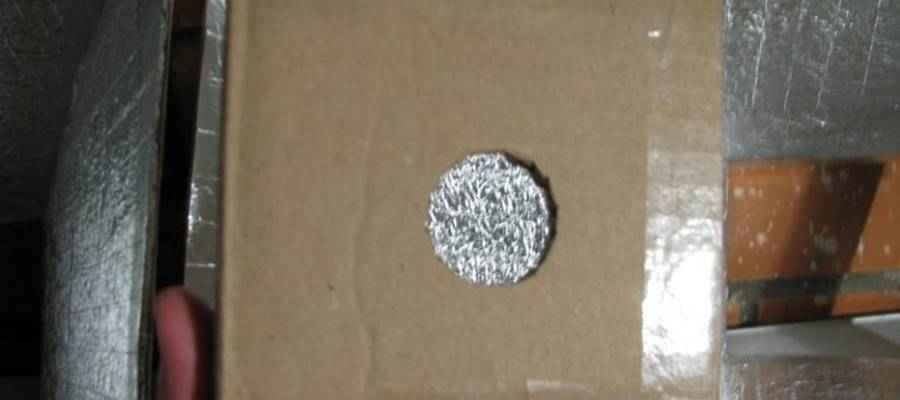
We also cover it with foil on one side.
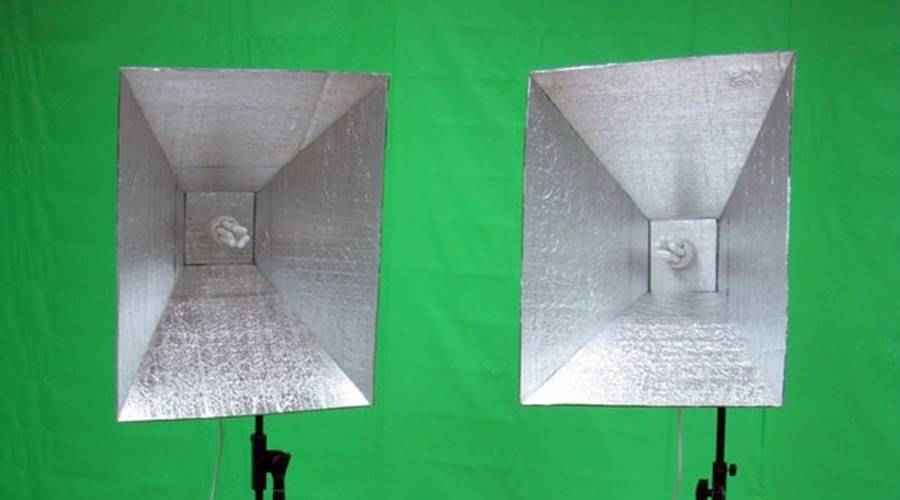
Next, we insert this part into the center of our box and get an almost ready-made softbox for shooting video and photography.
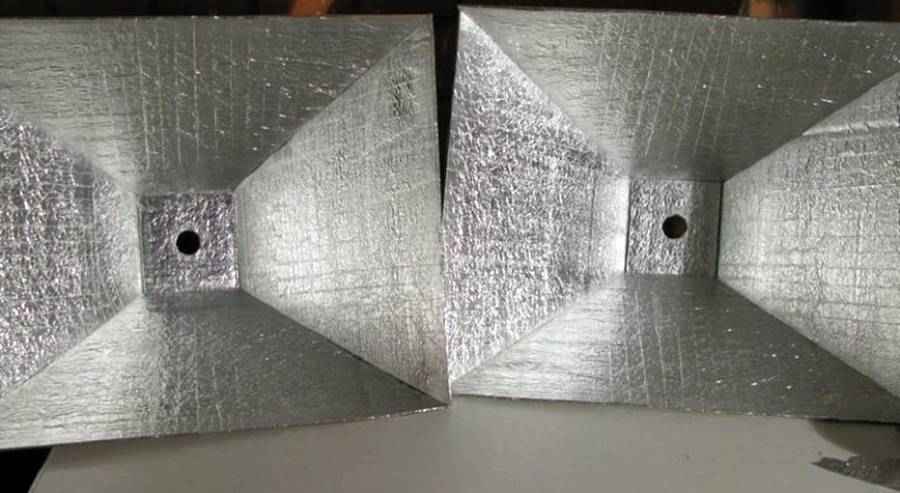
The next step is to develop racks and attach the softboxes we made to them. And also, of course, insert an electric cartridge with the ability to connect to the power network and screw in the lamp.
I note that the lamp should be a cold white glow.
Now we take our white (necessarily loose) fabric to transmit light and fix it on our softbox. I got something like this.
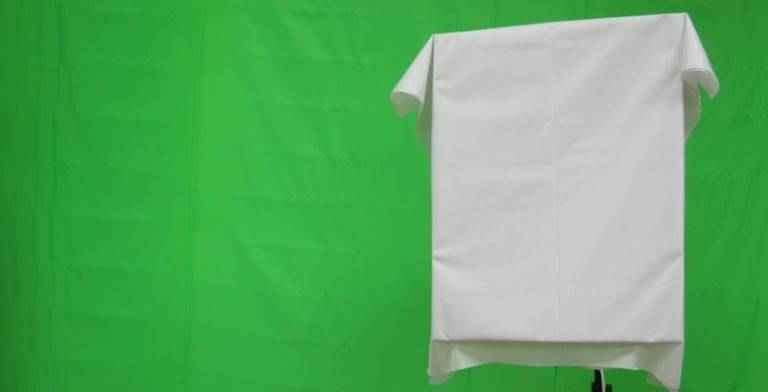
Well, that’s all – our softbox is ready!
And here is a photo that I took with the lights completely turned off in the room and using two light sources with softboxes.
Well, here’s an exciting experiment I came up with. A little ingenuity, time, and work – and you can achieve an excellent result!
Of course, this method of making softboxes has its pros and cons.
The main plus is its absolute cheapness. The disadvantages include its non-separability, fragility, time-consuming manufacturing. And the main disadvantage is the ability to connect only one lamp.
Practice shows that buying a softbox with sufficiently high lighting power is better. I had two 23W lamps – this is not enough. In addition, when connecting one light, there is no way to play with lighting; there is only one option: ON-OFF.
For more serious, exciting, and mobile tasks, I would, of course, recommend buying just such a pair of softboxes inexpensively from Amazon.
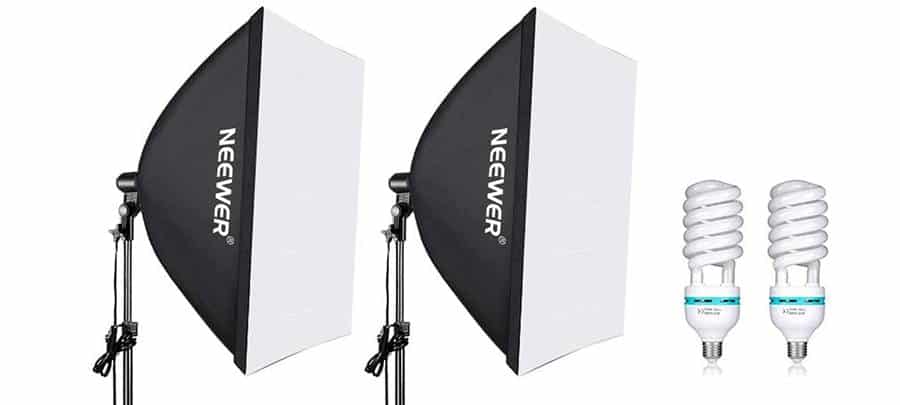
Their undeniable advantages:
- they are collapsible,
- pretty well made,
- each one goes for three lamps,
- the ability to turn on a different number of lamps (you can play with light),
- they are relatively inexpensive (compared with the prices of similar things),
- there are two of them for this price.
Well, that’s probably enough. Everything that I wanted to tell you in this article, I told you. Then it’s up to you to decide how to proceed – to make softboxes yourself to save money or buy them. In any case, I wish you success in your work and improve the quality of your work.
