It is a step-by-step guide for those who dream of making a movie or filming on 8mm, 16mm, or 35mm film: figuring out where to get it, what to shoot, and developing and digitizing.
After the release of Tarantino’s The Hateful Eight on a 70mm copy, Kodak announced plans to release a new Super 8 camera by September.
After a series of statements from eminent camera operators and directors about the need to support film production, it is evident that the topic is gaining relevance. And perhaps we will soon see a new life of a departed technology.
Meanwhile, a generation of cinematographers has already grown up who have hardly worked with film at all. For them, we have collected helpful, sometimes even textbook advice.
Filming on 16mm or 35mm
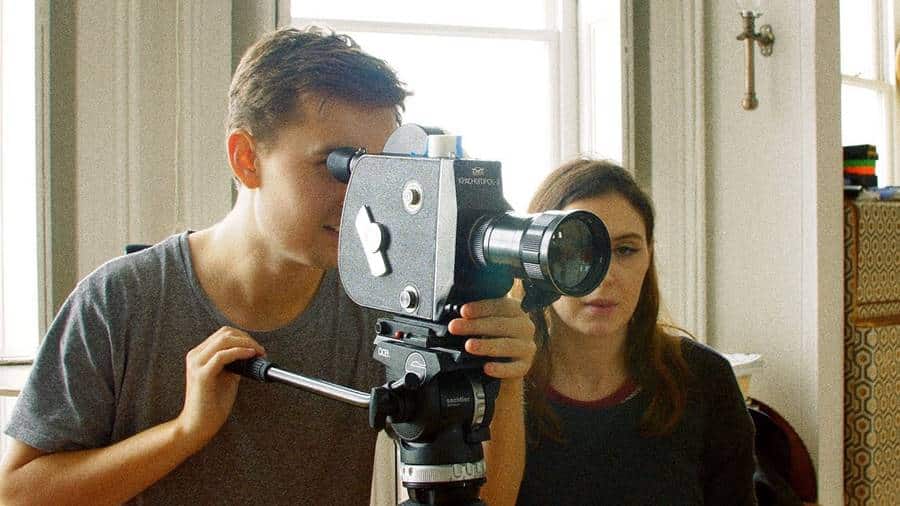
The very first question that film enthusiasts and lovers face is: where can I get it? There are several ways to solve this problem.
1. Order from the Local Branch of Kodak
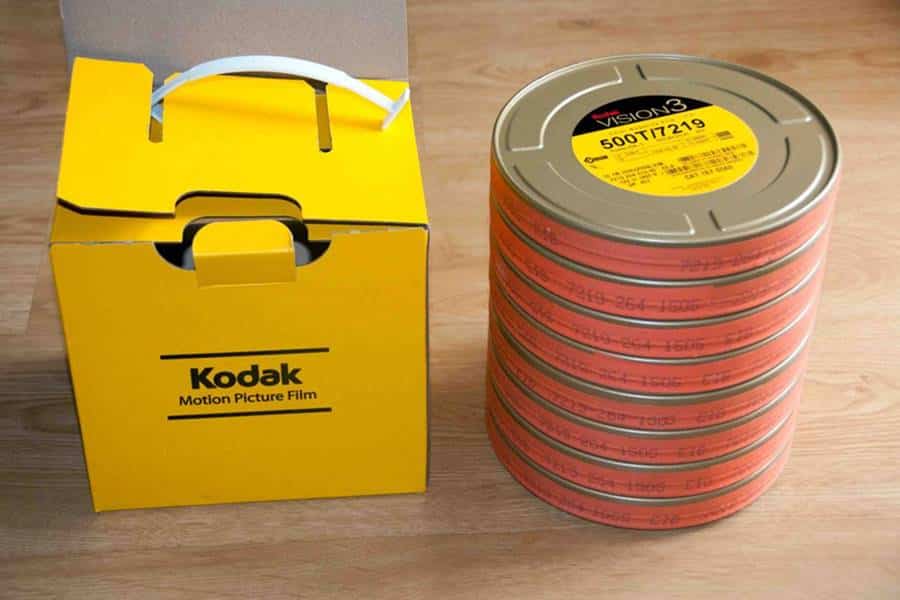
For volumes, type of film, cost, and delivery time, you can contact the company’s nearest office directly. 16mm ($1.52 per meter excluding VAT) is always in stock, 35mm ($2.72 per meter excluding VAT) is delivered from Germany on order within ten days.
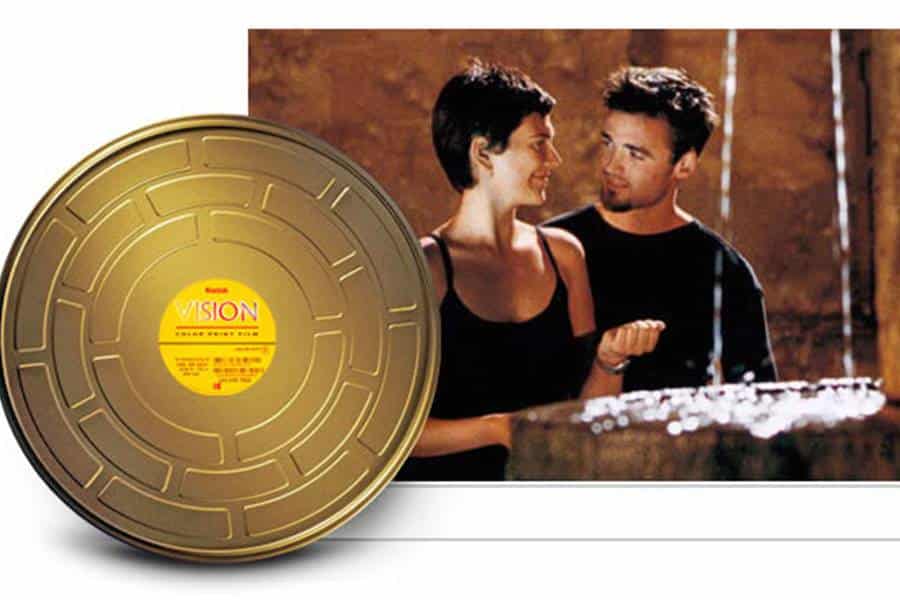
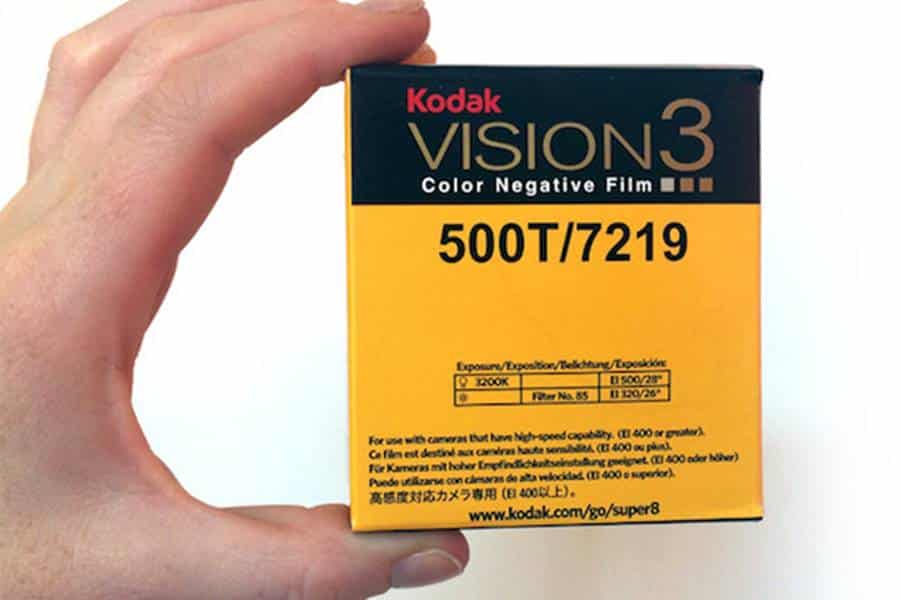
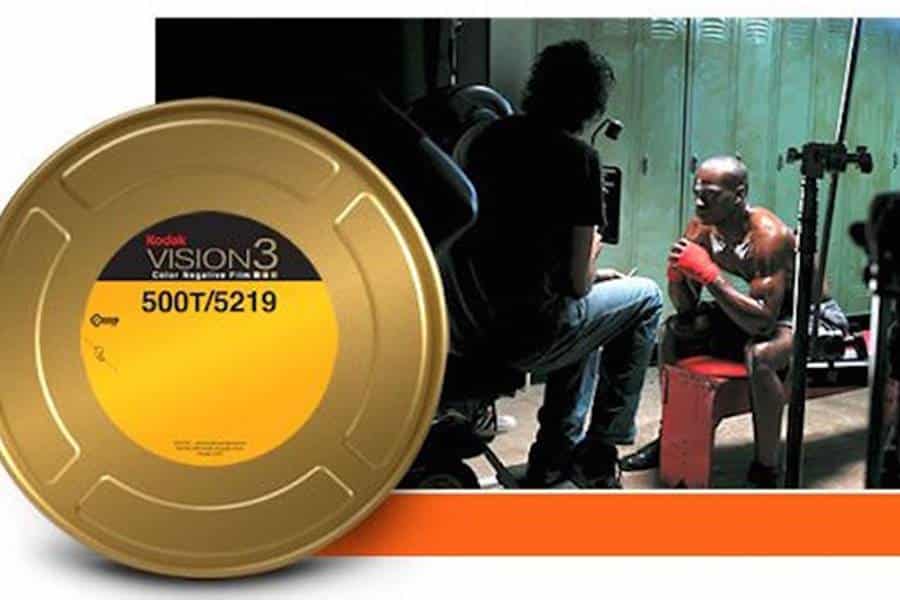
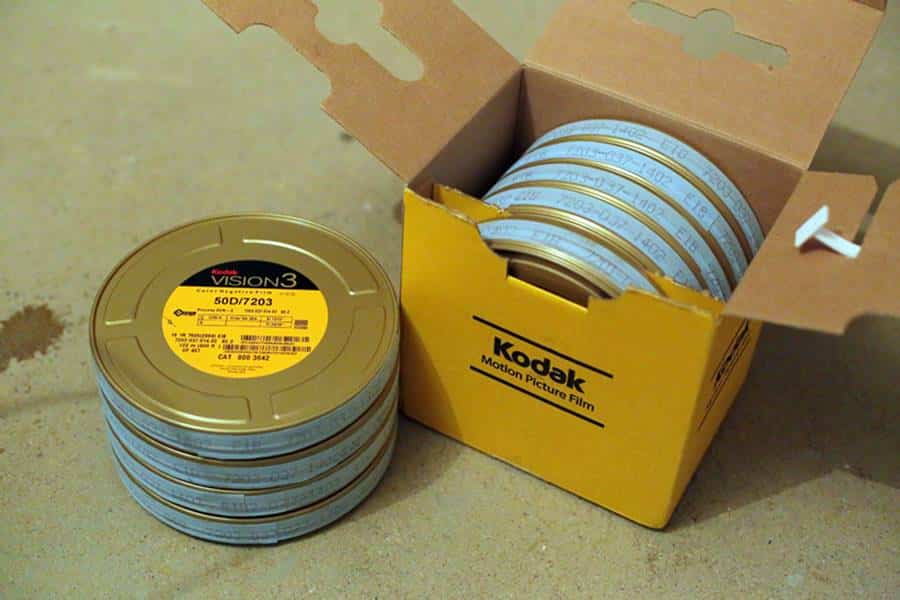
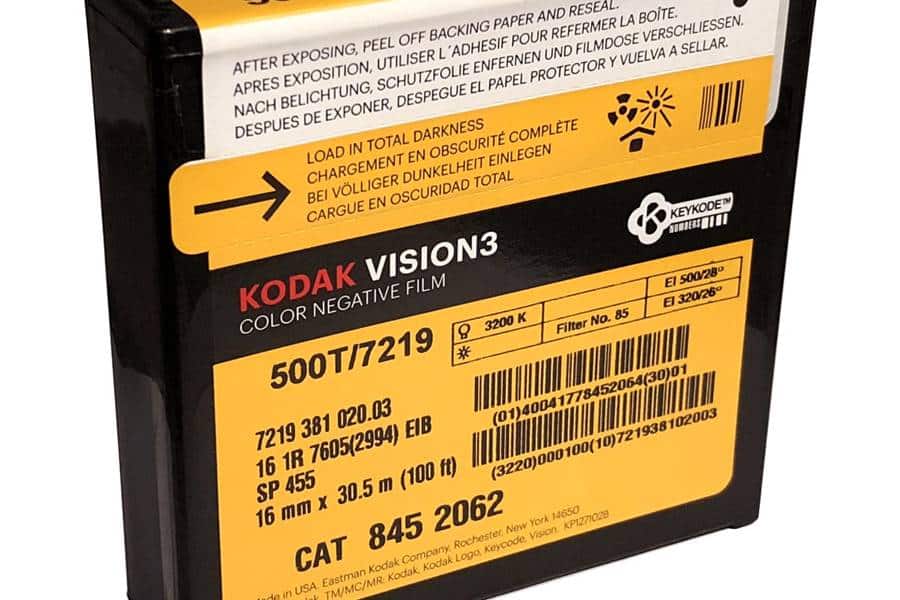
According to the price list, discounts are provided depending on the ordered quantity and type of project. Film types: 35mm – 5203 (50D), 5213 (100/200T), 5207 (250D), 5219 (500T) – unwinding of 122 and 305 meters (4 and 10 minutes, respectively); 16 mm – 7203 (50D), 7213 (100 / 200T), 7207 (250D), 7219 (500T) – unwinding 122 meters (10 minutes).
2. Check Advertisements on the Internet
Information appears on online marketplaces or in movie forums. For example, in New York, you can buy four cans of the 35-mm film “Kodak Vision 3 500T/5219” at the price of $50 per spool. Another option is to place an ad in the Facebook groups; they say that it works.
3. Take the Remains of the Film from the Shooting
It used to be easier with this, but now it is a problem to find friends-filmmakers who had something “lying around” from the filming of a full-length film. But you can try your luck by posting a call for help on thematic Internet sites.
How to Choose the Right Type of Film?
Explains Wesley, a cameraman: “There is a subtle nuance in the “skin tone” (skin color) between Fuji and Kodak; it is expressed in the mentality. It is in European culture that healthy skin color is tanned. And Fuji is an Asian film, and they, Asians, have a pale tone, because according to their philosophy, if you don’t work on the street, you are not tanned, which means you are rich. Fuji is a little green, and Kodak, on the contrary, is warm”.
Films differ in sensitivity (ISO) and balance (incandescent versus daylight) – an evident separation in cinema. Differences in ISO also show up in grain. Let’s say at ISO 50, the picture will be crystal clear, and at ISO 800, the image will be “noisy.” Moreover, the film does not make a noise like a digital camera – film noise is chaotic.
The advantage of the film is that if something goes black, it will not make noise because there is simply no information. The digital has to highlight dark objects specially.
In general, the film does not give a gray material, there is a particular contrast, and it is curvilinear compared to the number. Therefore, beautiful, deeper shadows and lighter colors are obtained without loss of information.
Camera
The second obvious question is: what to shoot with? Few rentals in New York rent film cameras. We found only three: CSI, Adorama, and Iron Clad. They offer various models of ARRI cameras: Arriflex 416, Arriflex 35BL, Arriflex 435 Xtreme, Arriflex 235.
You can also shoot on the classic Russian camera “Konvas,” on which more than one generation of student operators grew up. On the other hand, rental companies are also ready to discount the camera, but you will have to spend money on lenses.
You may also like to read: 16mm Film: All About Famous 16mm Film in Modern Filmmaking with Small Budgets
Loading Film
In filming courses, they teach this, but since there is no practice later, the skills are forgotten. First, you need to remember that the film must be stored in the refrigerator not to lose its properties; otherwise, chemical processes begin in its layers that significantly change the properties.
Loading a film into a cassette is a crucial moment. It is necessary to act clearly and accurately and to the touch, so if there is no experience in this matter, it makes sense to invite a mechanic.
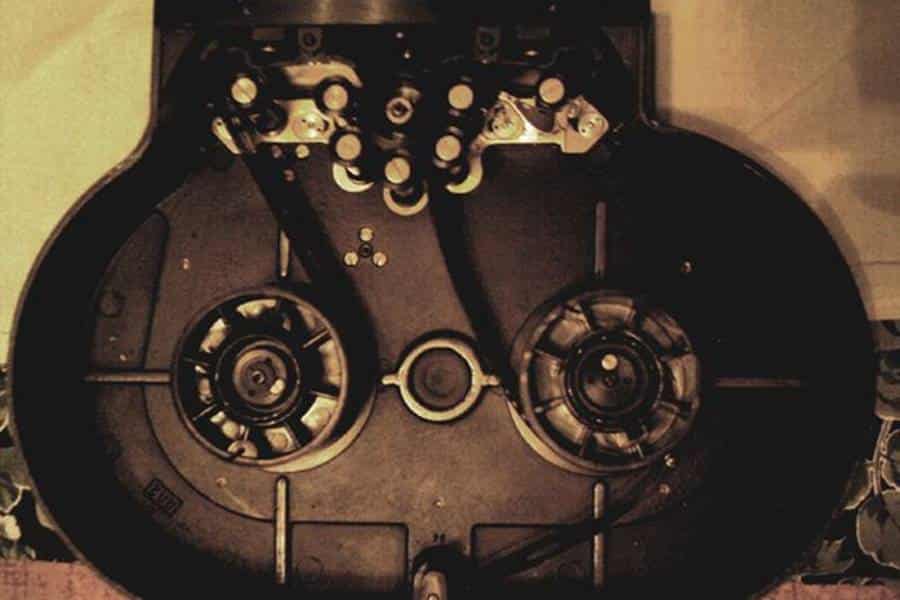
In “Konvas” and “Kinor,” the system seems simple, but it is easy to make a mistake. Everything is more straightforward with ArriFlex cameras. In “field” conditions, a black cloth box with sleeves or a camper van with a dark room is used to charge cassettes.
If you still want to take a chance and install the film yourself, we recommend watching how this is done in the following video.
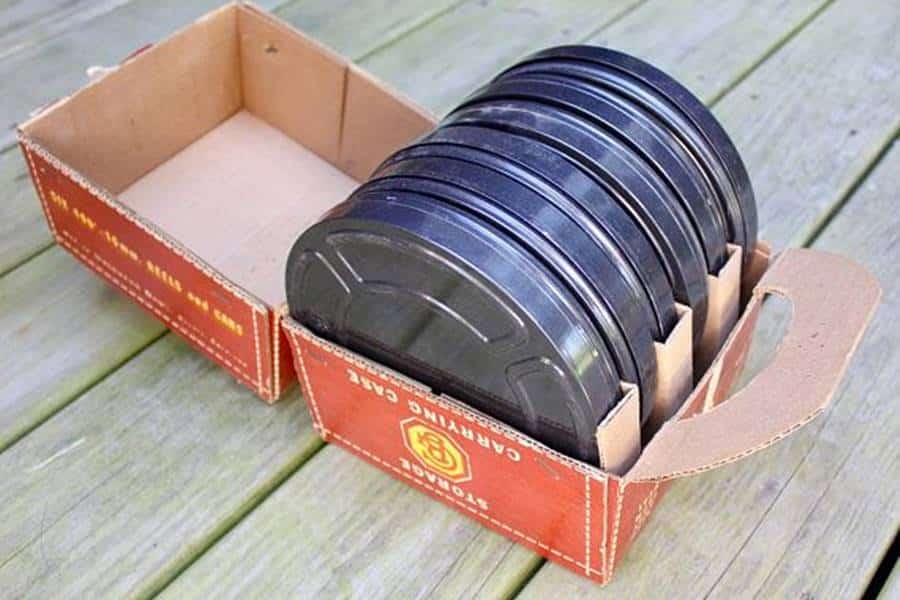
After reloading, it is essential to pack the footage carefully – put it in a tight black bag, an iron box, sealed with tape in diameter. You should immediately indicate the development parameters on the lid – whether “push” is needed, that is, a change in sensitivity relative to the nominal value.
Filming
Filming on film is more expensive and therefore more responsible than digital; thus, the requirements for the group are increasing.
We’ll have to sweat with the installation of the light, which will differ from the figure both in the schemes and in the calculation of the exposure. Because of the increasing cost of a shift, the director is unlikely to afford many takes, which means that the importance of rehearsals is becoming more significant.
Film cameras are noisier; therefore, the sound engineer will have to adjust if he writes sound on the set.
Check the Gate
After each scene, it is advisable to remove the lens and use a small flashlight (Maglite) to check the camera shutter for dirt. This process is called “Check the gate.” It is needed to control the quality of shooting.
Dust and all the more hairs can easily ruin the material. Such an operation will cost one exposed frame. Cleaning is done with a particular pear, and try to refrain from the urge to blow – saliva in the camera will not improve the picture either. If the contamination is significant, it might make sense to reshoot the scene.
Development and Digitization
There are three large laboratories in New York where you can develop and digitize 16mm and 35mm films. After creating the negative, it is cleaned of tiny dust particles using ultrasound; then telecine is made – a video of the negative, scrolled on a unique device. The quality of this recording is sufficient to edit a film without color correction.
After you have done the editing, you need to send the project to the laboratory in EDL or XML format and references. It would help if you also decided in what form you want to get the final film (HD, SD, MXF, DCP, positive on film, etc.); the cost of the work will depend on this.
For example, in CineLab, the cost of digitizing one roll of 16 mm film (122 meters), including development, preparation of a negative for digitization with ultrasonic cleaning, telecine, and recalculation of a file into a particular format (for example, ProRes), starts from $185 (with standard discounts).
If you plan to get DCP (Digital Cinema Package) at the output, you need to do frame-by-frame scanning of the film to get DPX files with a higher 2K resolution (the estimated cost of such works is around $5500 per reel). You can not scan everything in a row to save money, but make editing and select the necessary frames with time codes.
After scanning, the file goes further for assembly, is rechecked, and sent for color correction. Then the operator gives the render to DCP or any other movie.
Let’s look at two quiet budget formats of film shooting.
Filming on 8mm
It is, of course, cheaper and easier than working with 16 or 35 mm. However, this format is not quoted by professional filmmakers due to its low resolution. Nevertheless, you can do exciting experiments with 8mm film: shoot clips, use in short and full-lengths as inserts, or use in credits. It is also worthwhile to practice before working with more serious cameras.
Large rentals and studios are not interested in the 8mm format. Still, several small companies are ready to provide a camera, film, subsequent development, and digitization for a relatively small amount. The price of the issue is approximately the following: when you buy a roll of 8mm film ($250), you can get a camera for free. One coil (120 meters) is enough for seven minutes.
We managed to find 8mm cameras “Quartz” (format “Super 8”) and Carena Variogon Zoomex from the available ones. One shift will cost around $350 to $400 (for comparison, a professional and modern 16mm camera Aaton X-Tera Super 16 will cost $1000 per shift).
Carena Variogon Zoomex
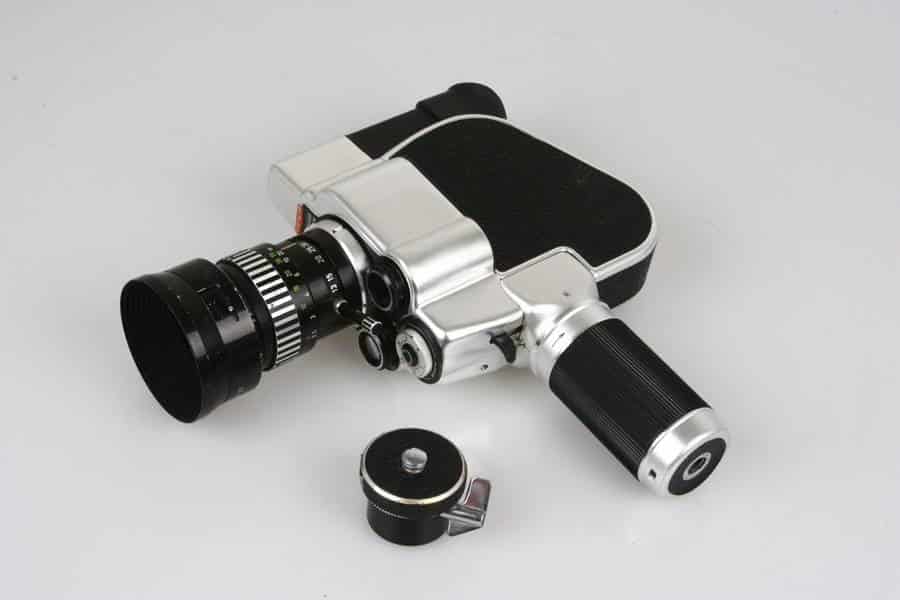
Once the finished material is shot, it can be developed and digitized at a private company specializing in the digitization of film and photographic films.
Depending on the type of film and the quality of digitization, the total cost of working with one reel will cost around $2500, excluding color correction and restoration.
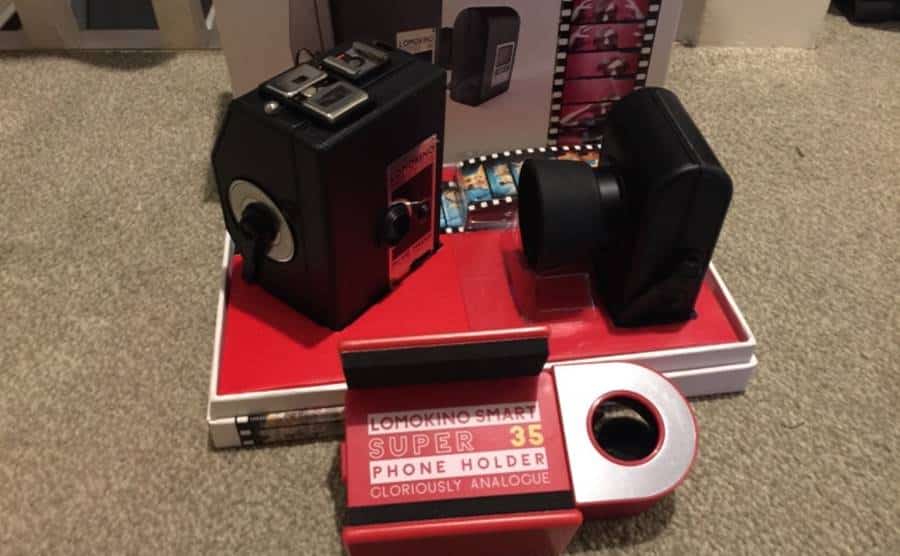
Lomokino
This option will appeal to film photography fans and those who dream of shooting a spectacular short video on film but do not want to bother too much and spend money.
The Lomokino is an extraordinary camera that captures stop motion at three to five frames per second on a standard 35mm film.
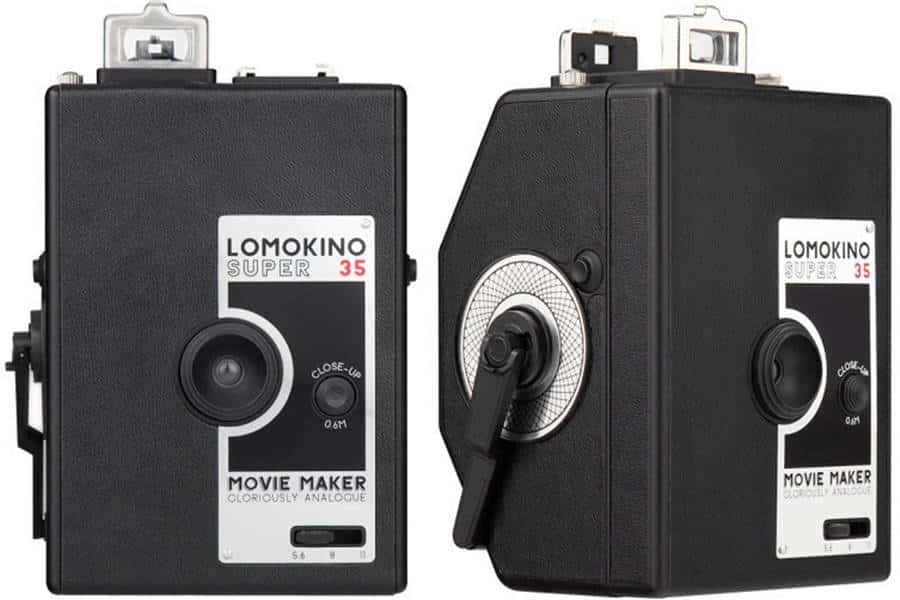
There are four narrow film frames in Lomokino (24 mm x 8.5 mm exposure area) for one regular film frame. The device is equipped with a manual tape drive (the shutter operates at a speed of 1/100 second).
It has three aperture modes (5.6, 8, and 11), two focusing modes (1m to infinity and 0.6m for close-ups). It is possible to connect a flash via a hot shoe and put the camera on a tripod.
Loading the film is quite simple; you can see how this is done in the training video. For shooting, it is better to take a sensitive film with an ISO above 200.
Indoors, you can only shoot under additional lighting. Regular 35mm film at 36 frames is enough for 30-50 seconds of video, assuming that you will turn the knob at a speed of three to four frames per second.
The film, like in cameras, is rewound to the spool. Film development can be done in a traditional darkroom. You can also ask to scan, but not everyone undertakes this since the interframe space is narrow and not every scanner sees the border.
If you plan to shoot on Lomokino seriously, it is easier to buy a film scanner (a used Epson V330 will cost five hundred to thousand dollars) and digitize yourself. The resulting frames can be imported into any editing program.
Whichever film or camera you choose, in any case, a rewarding experience awaits you, which will affect your work with digital, as well as a unique tactile contact with the media, which is simply necessary for a movie gourmet. Enjoy filming, have any question or comment about filming write me, I will try to help you as soon as possible.
