The sepia effect is usually obtained when processing photographs in a graphics editor. But this is not the only way. If your camera has a sepia mode, you can take the classic approach and take several pictures in this mode or use a dedicated lens attachment.
What is Sepia?
Sepia is a lovely color reminiscent of dry autumn leaves. It was initially a natural coloring matter obtained from the ink sac of sea mollusks. Sepia was used not only by artists but also by photographers for toning pictures in brown, mixing sepia into reagents, adjusting the intensity of the color, and achieving soft or deep tones. As a result, the photo took on a brownish tint. In addition, sepia also prolonged the life of photographs, so most of the old pictures that have survived to this day are taken in brown.
Everything is much simpler today. Photographers put on a special filter on the lens or use the “sepia” shooting mode, which is found in most modern cameras, or process the images in a graphic editor. Sepia is the most popular effect that simulates antiquity, vintage and retro style.
Light Filters – “Sepia”
If you use a color-correcting filter labeled “Sepia,” the image will be toned, in brown tones, as if aged, “antique” look. Filters of two types are produced – EURO SEPIA and RETRO SEPIA (the designation is on the filter rim).
The RETRO SEPIA tip has a more pronounced effect. Using any of the Sepia filters will require a two-stop increase in exposure. When working with the “Sepia” light filter, you need to consider that some colors that differ in a color photo will merge into one light brown color in a sepia photo. Studio photographs, portraits, interior pictures are pretty good.
Sepia Shooting Mode in A Digital Camera
The sepia effect can be obtained without the use of filters. To do this, you need to switch the camera to the appropriate shooting mode. Press the “Menu” button and select “sepia” in the color mode settings. The display will match the chosen setting.
But before looking for sepia in the settings, study the instructions for your camera – if nothing is said about this mode, then it is not. It would help if you looked for sepia in the section “Multifunctional recording mode,” subsection “Color modes” (they control the way the image will be – color or black and white). Set the color mode before shooting.
You may also like to read: Lights for Photography: Effects of Natural & Artificial Light Sources in Photography?
Sepia Effect in Photoshop
The easiest way to get the sepia effect is to edit the picture in a graphics editor. Below we’ll see how to get the sepia effect in photoshop graphic editor.
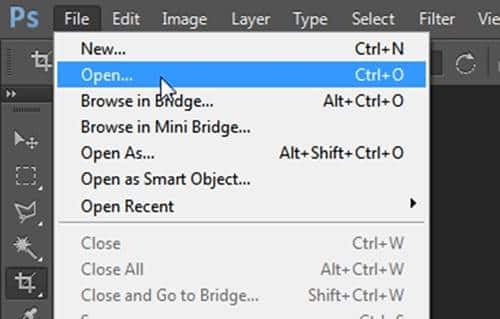
Open the original image (color shot) File – Open.
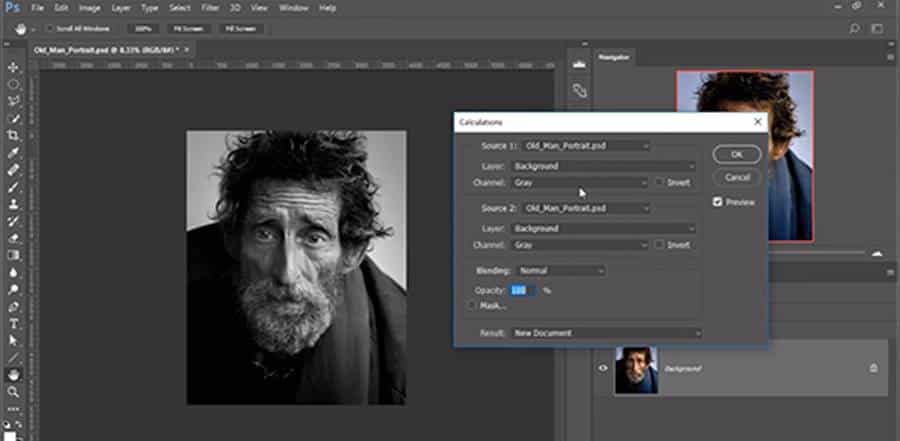
Convert to black and white image: Image – Adjustments – Desaturate (or in another way, which you know).
We need to apply the sepia effect: filter Image – Ajustiments – Photo filter – select sepia from the drop-down menu. Move the slider to adjust the shading.
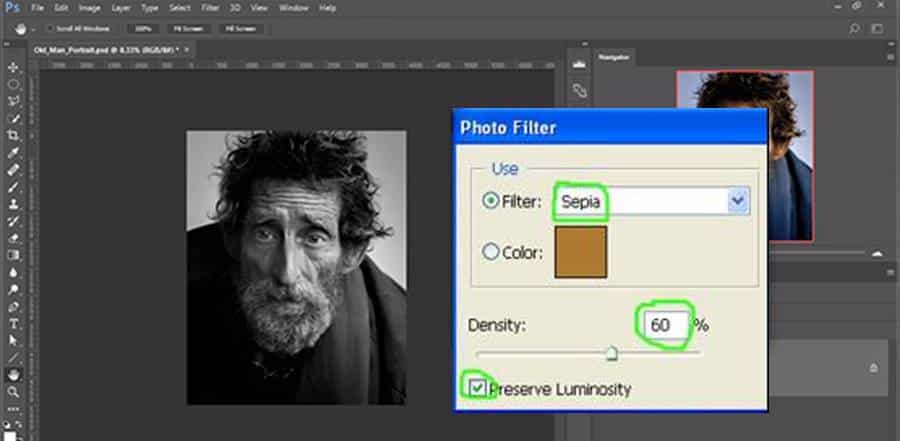
To add realism to your photos, dim the brightness, contrast, and saturation, you can do the following:
- Image – Adjustments – Brightness/Contrast, check Use Legacy. Then Brightness/Contrast will stretch a gray veil over the image, which is exactly the result we need. Choose the value Contrast -20, Brightness +10, and click OK.
- Go to Image – Adjustments – Brightness/Contrast again, but now leave the Use Legacy checkbox unchecked. Decrease the contrast value as needed. That’s it. The sepia effect photo is ready.
- For those who don’t want to mess with the program’s settings, there is a way to get sepia through Hue/Saturation. Open Image – Adjustments – Hue / Saturation. In the window that appears in the Preset menu, select the sepia setting all. You will get the photo just tinted; then it’s up to you.
It’s important to remember that not every composition will look great, whether you’re shooting or post-processing your photos using the sepia effect. To stylize at the beginning of the last century, you need color and the whole atmosphere. Otherwise, the image will turn out to be unnatural and fake.

