Today’s topic is ‘how to do portrait photography.’ Staging good lighting is for professionals with both education and a ton of experience behind them. Still, a few simple tips can dramatically improve your picture if you’re an aspiring streamer, blogger, or photographer. And the recommendations below will help you stand out from the rest and attract more viewers.
Lighting is the Key for Portrait Photography
All About Soft and Hard Lighting
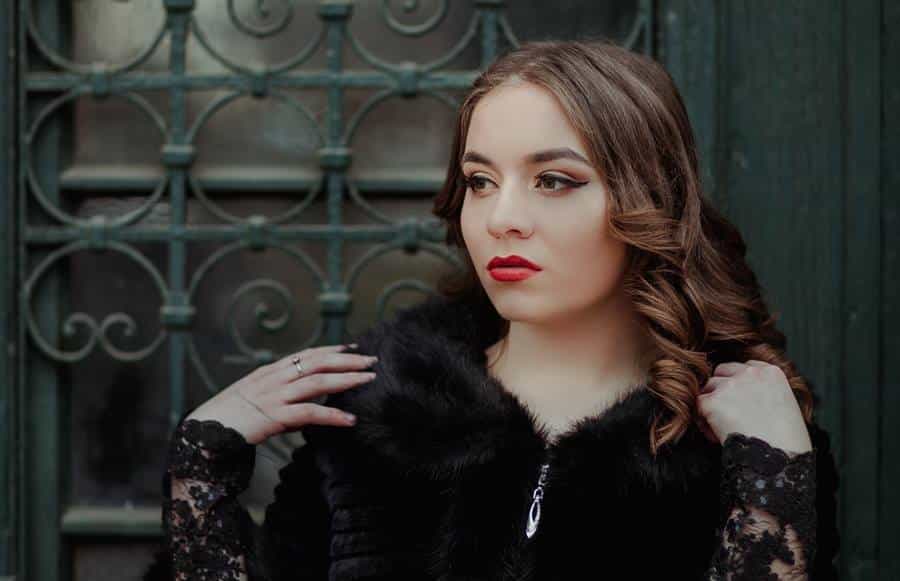
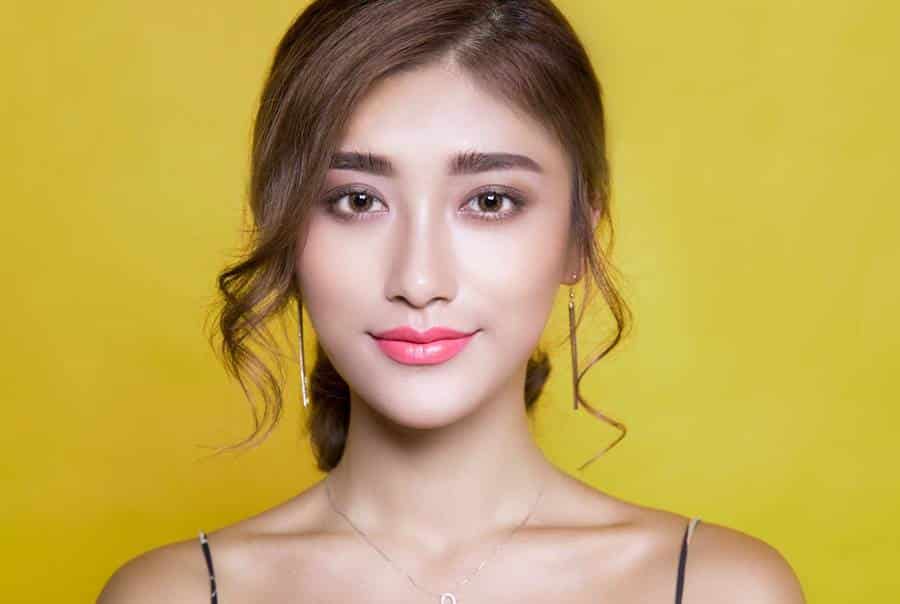
Correctly placed intense and directed light makes the appearance of beautiful people even more expressive. This rule also works in the opposite direction – with the wrong approach, harsh light can make facial expressions unpleasant, accentuate imperfections and uneven skin.
A common mistake that guarantees terrible results is shooting under a chandelier. You will get a harsh downward light that will cause bruising under the subject’s nose and eyebrows.
Beginning photographers and cinematographers are better off using diffused and soft light, which will suit any model and give, maybe not so interesting, but more stable result.
In the frame, you will get soft shadows and low contrast – the face will be more evenly lit, and the powerful shades will not add emotions to the face that you did not plan to show.
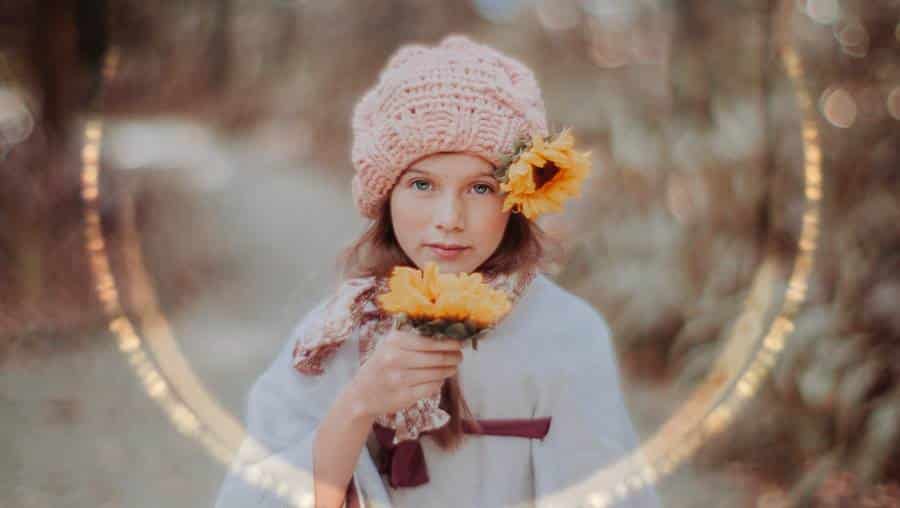
To understand the difference between soft and hard light, imagine a walk in the park. Let’s say the weather is clear, and the sun is at its zenith; you are in an open space.
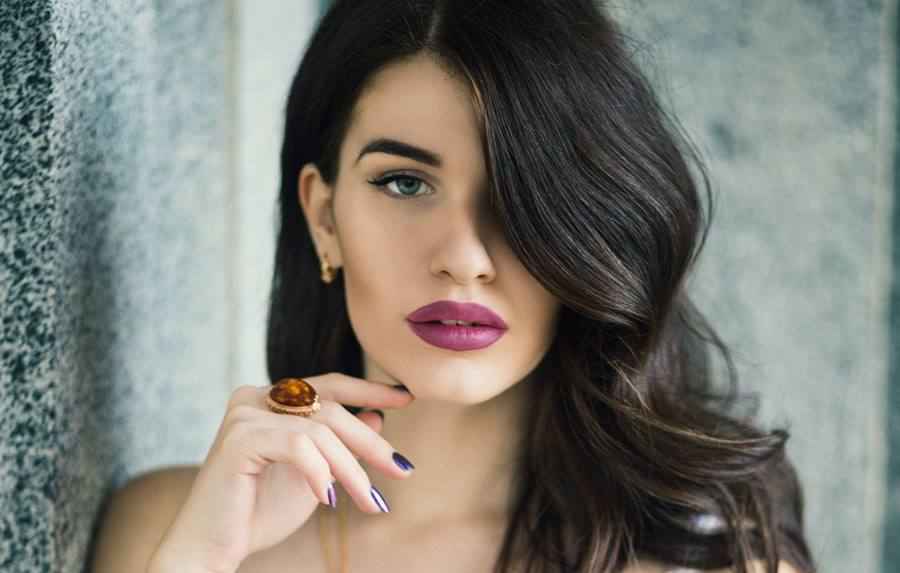
You were under hard light at that moment – a dark, distinct shadow formed behind you, and the same shadow appeared under the nose and eyes. If you take a photo, you will see all the skin imperfections.
Now imagine that the sun has disappeared behind the clouds. The space will be filled with soft and even light – the clouds will scatter the light beams, and they will not hit like a laser.
Photography can be done in both cases, but now the picture will turn out to be friendly, and novice photographers and camera operators will be able to cope with the light.
Equipment for Building Light Circuits During Portrait Photography
There are a lot of portrait schemes, and the set of tools for building them may differ. We will consider two options with one fixture.
Lighting devices are divided into pulsed and continuous lighting devices. The first ones flash for a split second while the camera takes a picture. They are not suitable for recording video and can be difficult for beginners because the flashlight is challenging to expose without taking a photo and evaluating the result. The latter, although less powerful, are more versatile and allow you to adjust the shooting settings in the process – you can externally assess whether a person looks good.
When choosing a flash, pay attention to not the cheapest products of Chinese brands. Perhaps, their devices are still inferior to the leading light manufacturers in terms of reliability, but they are affordable, and their quality has increased dramatically in recent years.
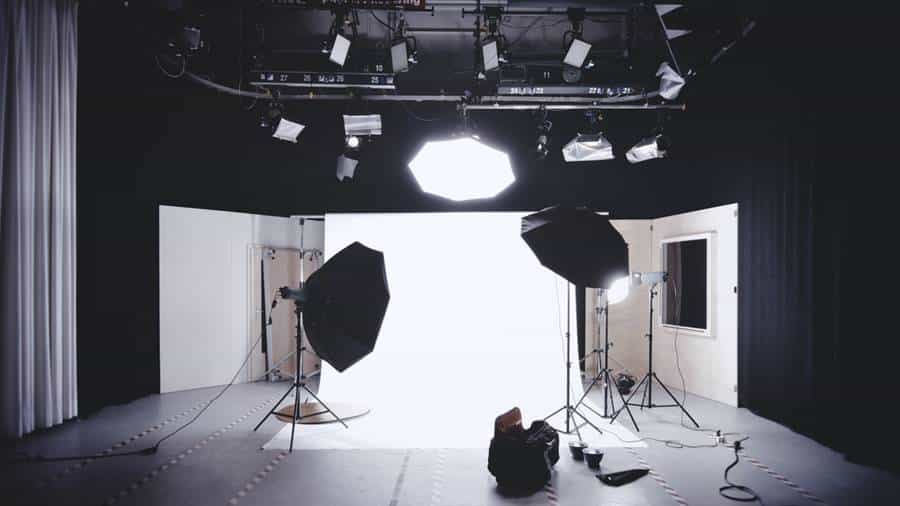
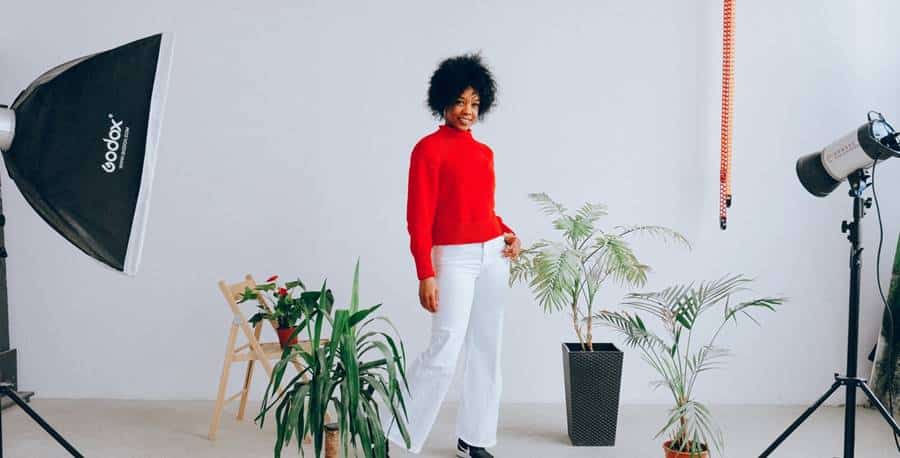
By default, the fixtures give hard light, so they are used with attachments: umbrellas, softboxes, octoboxes, and others. Despite the complex names and varieties, they have one mission – to scatter light on the way to the model. Nozzles vary in size, material, shape, and flow.
Also, photographers and operators use frost-frames as diffusers – unique frame structures on which tracing paper or white fabric is stretched. The larger the diffuser, the softer the light will be.
If the device is installed on one side of the face, the other will remain in the shade, even with soft light. The reverse side can be illuminated with another device, but you can use a reflector since we are talking about simple schemes. It is a unique surface that will catch the light rays scattered around the room (already reflected from the walls or the face) and concentrate them again in the desired direction.
Reflectors may vary in installation technology, shape, color, and size. The examples from the previous picture are pretty large, but they fit in a small bag when assembled.
The last factor is worth paying particular attention to – the larger the reflector, the more space the model will have to move without the risk of falling out of the light.
An analogy that you can keep in mind: to shoot a portrait up to your chest, you need a reflector with an area of two sheets of Whatman paper (or just two sheets of Whatman paper). If a white wall is at home or in the studio, it can also become a reflector.
Building Popular Portrait Layout
Building a portrait layout is easy. To create popular portrait layouts, we need three things – a light device that provides the main beam of light, the attachment that diffuses this beam and makes the light smoother and softer – eliminates ugly shadows and excessive sharpness.
And finally, a reflector that fills in the most shaded areas of the frame with light.
Portrait Scheme #1: Light at 45 Degrees
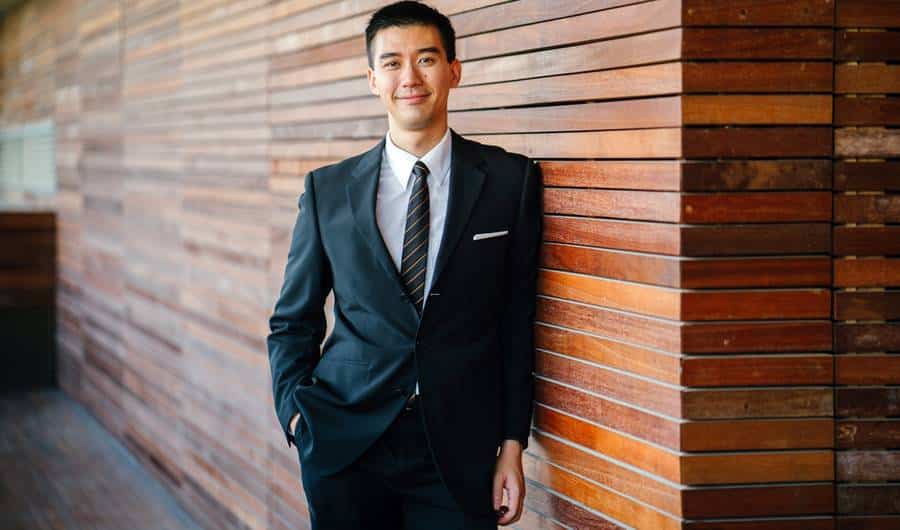
It would be best to place the camera in front of the model and the light fixture with the attachment above and to the side to build this setup. So that an angle of 45 degrees is obtained, the light should be directed towards the person in the frame.
On the other hand, and as close as possible to the model at approximately the same angle, you need to install a reflector – a special one from the store, those same two Whatman paper or a piece of white cloth that does not transmit light.
Due to the uneven illumination from different sides, you will not have the volume hidden – the light will not fall directly on the model’s forehead, and the frame will not turn out as dull as a passport photo.
There are many lighting schemes, but you can shoot any portrait with this one, and this is one of the most successful options for shooting video.
You can experiment with distances to achieve different effects, but make sure that the face does not lose volume and look flat. Also, ensure that shadow from the nose does not appear too long (otherwise, it will seem vast and sharp) and one side of the face is not highlighted much stronger than the other.
If you photograph a person in a white shirt against a white wall, you should ask him to move away from it so that more light falls on the model. And if the face shines, then turn the light a little to the side – so that it is directed not at the person but parallel to him. But first, give the model a matting napkin (sold in cosmetics and perfume stores). They often remove the oily sheen of the skin.
The equipment in the famous “Rembrandt Light” portrait scheme is similarly built. This lighting adds contrast due to the more distant location of the reflector – a shadow from the nose appears, falling on the cheek, forming a glowing triangle under the eye on the darkened side of the face. It’s not the best setup for everyday video, but an excellent choice for a dramatic portrait.
Portrait Scheme #2: Butterfly
In the butterfly, the lighting fixture is centered, just above the model’s face. If desired, the chin can be illuminated with a reflector, and the body contours with another device located at the back.
The device behind, as a rule, is placed at a high altitude, and the light from it falls on the head and shoulders. Soft lighting on these body parts creates a subtle glowing halo around the model, preventing blending into the background.

When shooting with this scheme, the space under the browbones and chin is filled with soft shadows – under the nose, such a shadow forms a shape resembling a butterfly. The scheme is suitable for models with expressive cheekbones and narrow faces.
Alternative Ring Lamps
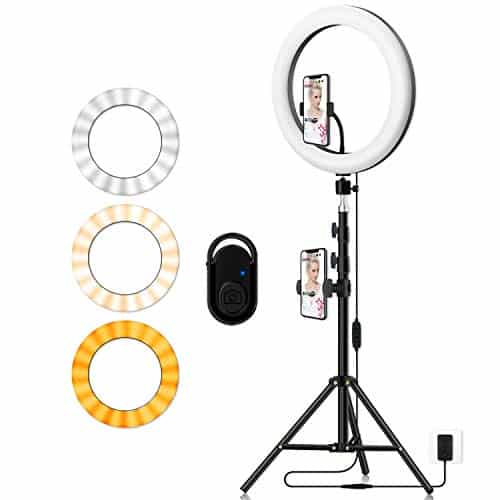
Ring lamps can replace circuit layout and storage of additional equipment. But here, too, there are nuances: to obtain high-quality lighting, the “ring lamp” must be large enough, and even better – it must support the diffusing nozzles. Budget options can give a too harsh light.
In terms of size, plans are divided into types, from distant to detailed. Let’s dwell on the relevance in classic home photography or blogging:
- Medium shot – the subject is shown just above or below the waist.
- Semi-close (also known as “milky”) – an image from the chest.
- Close-up – most of the frame is taken by the face.
Whichever plan you choose, the frame cannot be “cut” at the joints: feet, knees, hands, and elbows when shooting close-ups – on the chest or neck. If you are shooting a face close up, grab your shoulders and do not cut the crown. That said, too much headspace will make the person look low, so be moderate.
If you’re streaming or filming YouTube videos where you interact with viewers, eye-level shooting can be a winning option. It affects the effect of presence – it will be easier for the viewer to believe that you are talking to him as if you are at the same table in a cafe.
When shooting portraits, the camera can be raised slightly higher. So you get rid of the massiveness of the lower part of the face, making it more elongated or hiding the second chin.
People’s faces are not symmetrical, so try taking a series of half-face shots from different angles. It will help you figure out which side of the model is “working.”
Camera Settings and Lens Selection for Portraits
1. Focal Length
This indicator is responsible for the distortion of the shape of the face. Lenses with a focal length of 50 mm or more are suitable for shooting portraits.
How distortion works can be easily demonstrated using selfies taken with a smartphone in an upright position. A short focal length wide-angle lens gives a fisheye effect by stretching the lower face and enlarging the eyes.
Many people are surprised at how comprehensive their faces are when shooting with a regular camera with a portrait lens.
2. Excerpt
The shutter speed is responsible for the time during which the camera shutter opens. The optimal indicator for photography is in the range from 1/125 to 1/250 of a second – this is enough to expose the frame but not blur is due to a trembling hand or accidental movements of the model.
When shooting video, the shutter speed can be increased based on the frame rate and choosing a step close to multiple FPS. If you shoot a video with 24 FPS, then set the shutter speed to 1/50 of a second, if with 30 FPS, then 1/60, if with 60 FPS – 1/125.
When shooting indoors with household lamps, set the shutter speed in multiples of 50: 1/50, 1/100, 1/150 seconds, and so on. It will help get rid of the streaks from the flickering light bulbs.
3. Diaphragm
The aperture value indicates how much our lens is covered during shooting. The smaller the f-number, the larger the opening and the more light passes through the lens. It is similar to the work of the constricting and expanding human pupil, which automatically responds to light.
With the camera, you need to strive for the broadest possible aperture – later, this will help reduce the amount of noise in the frame and separate the subject in focus from the background.
Also, the aperture is responsible for the depth of field – the larger the number, the more objects will be in focus.
You can close the aperture if you are shooting yourself and constantly fall out of focus or emphasize details in the background. If the picture comes out too bright, you first need to lower the ISO and close the aperture.
4. ISO
ISO stands for light sensitivity. The lower it is, the better. It is believed that it is better to keep this figure within 1000. If we are talking about old cameras, then within 800.
These limitations are due to the process of lighting inside the camera – it works the same as in any photo editor when adjusting the brightness.
Along with it, the brightness of subtle noise rises in the frame – if you overdo it, the “noisy” pixels will become multi-colored and ruin everything. Even at the shooting stage, the cameras will try to identify and suppress this noise, but after a certain threshold, they cease to cope.
5. Color Temperature
Color temperature (or white balance) is responsible for the overall tint of the frame: if it is too “cold,” the image will “bluish” if “warm” – “yellow.”
Modern cameras are equipped with automatic white balance, and, as a rule, this is sufficient. To manually build the color temperature, start with a starting point of 5200 K.
It corresponds to that ideal scenario with natural light and light clouds. Then calibrate the temperature as needed, focusing on white objects in the frame, and if they are not there, you can use a sheet of paper. White should look just like it does in real life.
You may also like to read: Lighting in Filmmaking and Photography: A Complete Guide
You can move away from the actual white a couple of steps towards the yellow for an artistic effect. If you do it carefully, you will get a “warm” and cozy picture, as if illuminated by home floor lamps or the sun through beige curtains.
But it is correct to play not with the white balance setting but with the selection of lighting fixtures – some of them themselves give a “warm” and not ordinary white light.
Which device to choose in the end depends entirely on your genre. Casual videos are best shot with white, cloudy light. Evening and more “lamp” communication with the viewer – with the device, which is a little closer to the colors of the sun’s rays.
And in the diffusers and reflectors, there is often a replaceable fabric, and you can put beige (gold, red) if nothing has been done with the device itself.

