In this article, I will tell you some important beginner photography tips for newbie photographers and 43 ways to make a photographer’s life easier. Each person will undoubtedly face difficulties when taking the first steps in a new occupation, be it a job or a hobby. It seems that you do everything as it should, but the result is still not what you expect. And at such moments, you often want to give up everything and become very, very sad.
The main problem of a beginner in something is the lack of knowledge or the necessary information. Then everyone decides what to do: learn from his own mistakes or take the advice of those who have been in business for a long time. They have already filled their bumps and know how to act in certain situations.
When I first started doing photography, I naturally did not know everything that I know now. I made mistakes (many mistakes, even a lot), and looking back; I understand how it was possible to avoid them. But this is what helped me become a professional in my field.
Of course, it would be very cool if someone took the class at the beginning of my career and wrote me a short tutorial on how to avoid the mistakes of a novice in photography, communication with customers, and in many other situations.
But today, I can already tell myself about what a beginner photographer should and should not do. I based these recommendations exclusively on personal experience: mistakes and those situations that often baffled me as a beginner.
By the way, I also have an online photography course, where there are many theoretical and practical lessons for beginners and professional photographers.
As well as there I hold online workshops every month, where you will see live how shooting takes place, what camera settings are, how fantastic photos are created and where else do I answer all the questions. And it’s all for the price of two cups of cappuccino. 🙂🙂🙂
Beginner Photography Tips
I outlined 43 beginner photography tips from my course to make your photography journey smooth and easier for my readers. Let’s get started:
1. Always Take Your Camera with You
It is with this banal but precious advice that I want to start this article. Everyone has a mobile phone, but phone models are not as advanced as even the cheapest cameras with decent lenses.
And at the same time, mirrorless cameras, like my Fujifilm X-T4, fit easily into the hand and even into a small women’s backpack.
What if something interesting happens, and you have nothing to photograph it? Or you saw a stunningly beautiful location, but in the absence of a camera, it will have to be captured only in the depths of memory.
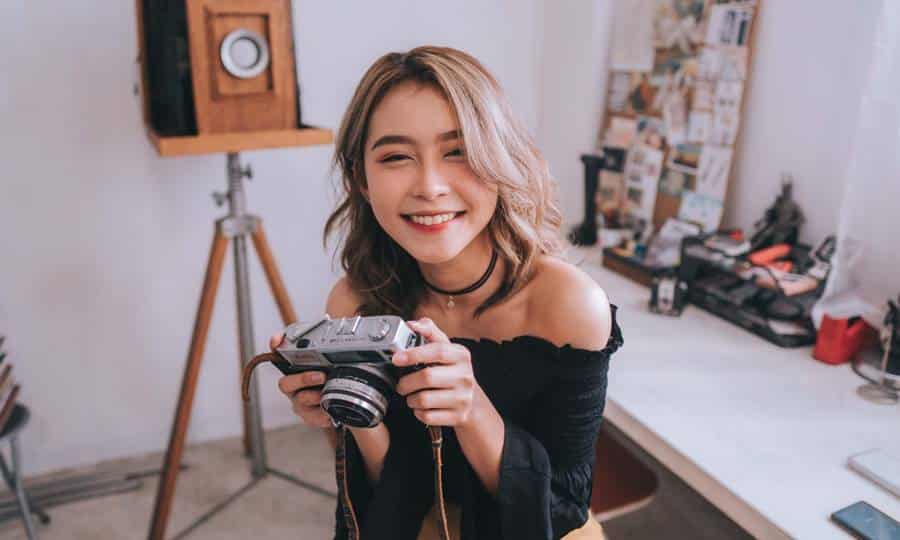
So again: always take your camera with you.
2. Read the Instructions
The camera requires the same attitude as any other technique. Therefore, the first thing after purchasing a camera is to inquire about its functions. The instructions are designed to be read and learned about all the intricacies of using the technique and its functionality.
And do not dismiss this point. Any manual for a camera contains the basics passed off as copyright information in any local photography school.
If you threw out your instructions in a fever, or if it’s in a language that you can’t read, don’t worry. Your way is to go to the manufacturer’s website, and in three or four transitions, you are the happy owner of the instructions for your camera.
3. Shoot in RAW Format
Imagine JPG is a printed photograph of the era of film cameras. The most you can do with it is draw a mustache on happy faces with a marker barbarously.
RAW is negative. It allows you to adjust color, contrast, brightness, shadows without losing image quality. With this format, you can save even a completely hopeless shot.
The only caveat, and you will soon get used to that there is no single step without nuances in photography, is that the RAW format is cumbersome. Approximately one megapixel in your camera is equal to one megabyte in a raw file format.
Accordingly, if your camera can set the raw + jpg option, use it – jpg for selecting photos, raw for processing.
4. Consider Buying a Tripod
Do you need a tripod? You can only understand this when you understand which style of photography you will devote your time to. A camera tripod is required for nature, night scenes, and product photography.
But in portrait or travel photography, it will be a burden. I only use a tripod when I shoot food or videos. And when I walk the streets of Rome or Barcelona, my tripod stays at home. I don’t need such a heavy burden in my walks.
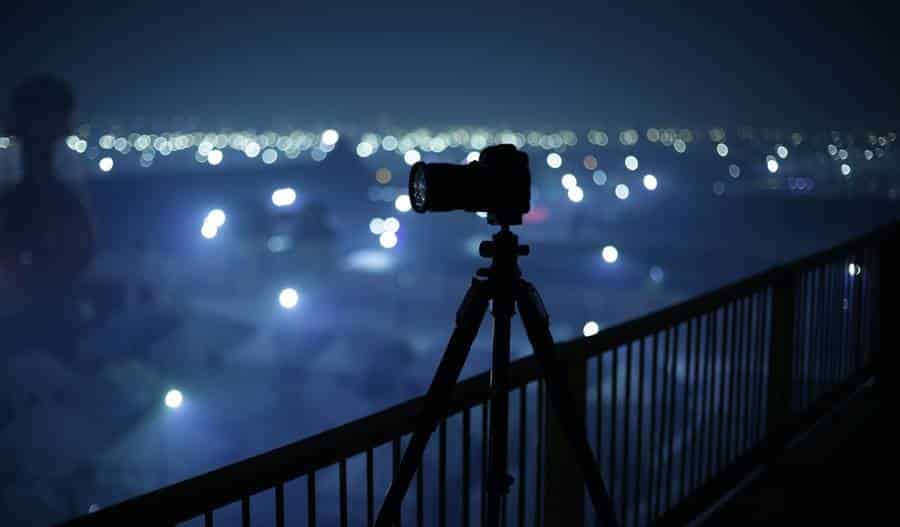
Therefore, when you start your journey in photography, do not rush to buy a tripod. Better get a friend who has one. And don’t forget, each type of photography has its tripod legs and heads.
5. Disable Camera Effects. Don’t, Turn On
Remember that if you are shooting only in jpg, the effects must be turned off. You will not be able to adjust them later during processing. At the same time, if you are photographing in raw + jpg, you can turn on any filter, be it sepia or black and white film from the era of Helmut Newton.
In Adobe Photoshop and Lightroom, you can return your raw to its original color or change the effect to a completely different one in one second. And also, add a preset – for example, VSCO or whatever.
6. Select a Camera with The Ability to Manually Configure all Parameters
In my photography class, I ask students to switch to manual mode. It is often labeled with the letter M. This approach allows you to understand exposure better and shoot creative photos without trusting the camera’s processor.
Yes, you will not always want it; yes, it will not always be convenient. But if you’re going to use GoPro, learn to shoot in manual mode. And only then, if necessary, for example, when filming children or a reportage, into semi-professional modes.
7. Lens Selection
Lenses can be divided into wide-angle, prime or portrait, and zoom lenses. Each of them serves its purpose. Do you remember that there is nowhere without nuances in photography?
Choose a lens based on what or who you intend to shoot. Wide-angle lenses are used for nature and interiors, portrait lenses for people. Therefore, first, decide the subject of photography, and then on the equipment you need.
And remember, you don’t have to buy the entire line of lenses first. A standard 18-55 mm base lens (available from almost all manufacturers, is cheap and usually included in the starter kit) and a creative fixed 50 mm lens with a 1.4 aperture will be enough. It is for the latter that you can make beautiful portraits with a blurred background.
And only then, after a while, will you understand what kind of lens you lack for shooting your preferences. And, I repeat, find yourself a friend who is unlucky enough to read this article and who has an entire line of lenses and from whom you can borrow a prime or zoom lens from time to time.
You may also like to read: Sony FE 50mm F1.8 Standard Lens: One of the Cheapest in Mount FE
8. Learn the Functions of The Lens
Stabilization, macro photography, etc. Knowing what you can do with a particular lens will make it much easier for you to take beautiful pictures.

There are lenses for different tasks, from photographing molecules to photographing exploding galaxies and black holes.
9. Shoot at Open Aperture
Remember this abbreviation: DOF. It is not a virus; it is the Depth of Sharply Depicted Space. It can be from one millimeter to infinity. Roughly speaking, it is the depth of field that is responsible for the beautifully blurred background. Instead, when the background is blurred, this is called shallow depth of field or shallow depth of field.
There are four factors responsible for depth. And one of them is an open diaphragm. The wider the aperture, the shallower the depth of field. And secretly, open aperture lenses are pretty expensive. But they also give a beautiful drawings. Use it… 🙂🙂🙂
10. Set the Correct White Balance
To not get excessively yellow or blue pictures, you need to correctly set the white balance – depending on where and how the shooting occurs.
This photograph illustrates how the mood and meaning of a photograph change as the temperature of the white balance changes. In this case, the correct temperature is 6500K. PS I hope my wife doesn’t kill me for using her photos so brazenly.🙂🙂🙂
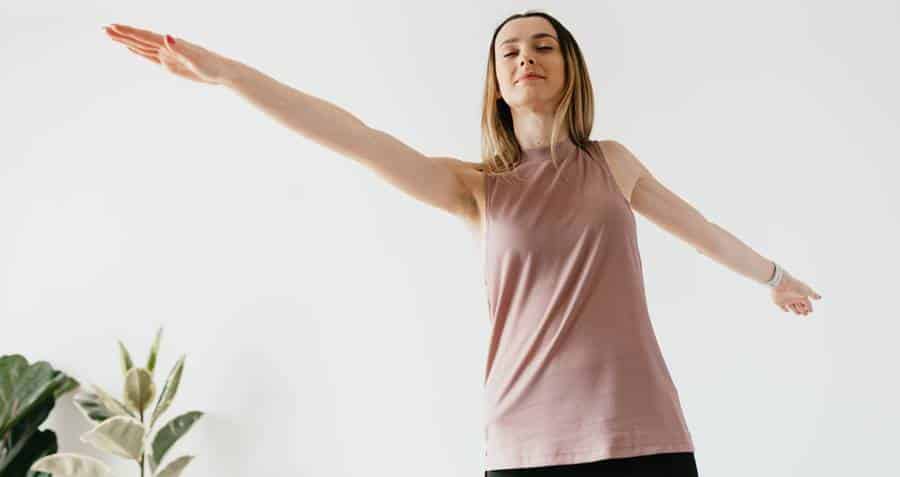
White balance can often be entrusted to the automation of the camera; it copes well with a wide range of different situations. Difficulties can arise only in a few cases: there are no white, black, and gray colors in the frame, you shoot at values up to 3000 or above 7000 Kelvin.
It is the flame of a burning candle and sunrise and sunset in the early stages, and fog on the other. But don’t worry, if you’re shooting raw, you can fix white balance in a matter of seconds in Photoshop and Lightroom.
11. Avoid Poor Lighting
Good lighting is vital to getting the perfect shots. Therefore, poorly lit rooms or ugly artificial light are not your stories.
Learning the art of controlling light is the main task of any photographer. It is the light that creates the pattern, and the sunlight is part of the composition. If you like photography, it means that most likely the photographer has set the light correctly.
In my photography for beginners course, I focus on the light in two large sections, and in many other sections, I discuss how light can affect color and composition and the plot and meaning of a shot. And below, I will discuss the most common mistakes beginner photographers make and how to avoid them.
You may also like to read: Lighting in Filmmaking and Videography: A Complete Guide
12. Direct Lighting Kills Volume
The built-in flashes of the camera often do this. Cover them with blue duct tape and never turn them on. Flat, not voluminous, and ugly. It is how you can describe direct light from a built-in flash or a flash that is worn on the camera and aimed at the subject.
Use a sidelight and a side-back light from the photographer. But do not forget, light creates shadows, and if you do not need deep shadows for the shooting scene, they can be softened either with the built-in flash or a reflector.
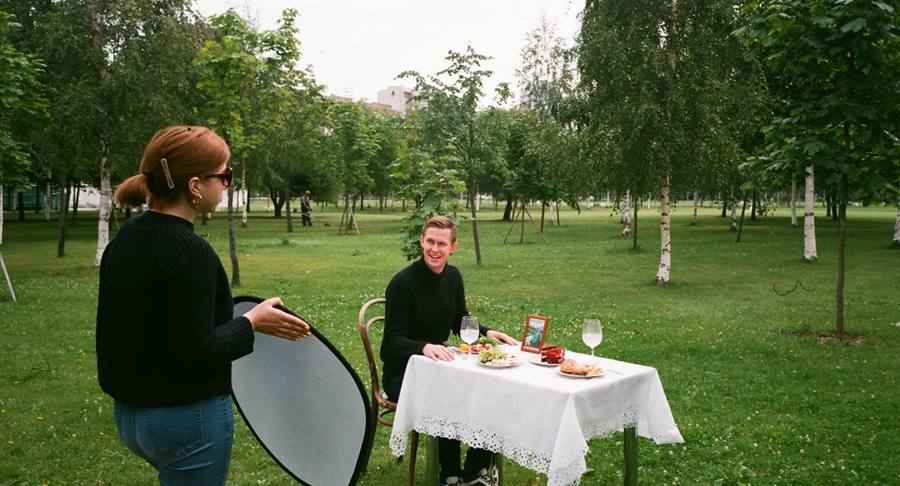
By the way, direct lighting from a large window is good. Many photographers love soft, enveloping, and almost shadowless light. Try to position your model so that you are between the large window and the subject. And enjoy the beautiful black and white pattern.
13. Use a Moderate Light
The operating time is half an hour before and after sunrise and an hour before and one hour after sunset: it is divided into “blue” and “golden.” Half an hour before dawn and an hour after sunset, the light is soft and bluish.
The golden time comes after sunrise, and an hour before sunset, the golden time comes – the sun gives a soft golden color. It is suitable for atmospheric and portraits photography, as well as landscapes.

It is the favorite time of any photographer. After all, it isn’t easy to get such beautiful photos at other times of the day. Try positioning your subject so that the sun is shining from behind the subject and enjoy the fantastic result.
14. Use a Removable Flash
Many photographers dislike the camera’s built-in flash. And in professional models, there is simply no built-in flash. Therefore, they use a removable one: On-camera or ring.
The camera flash is worn on top of the camera and is often used in reportage photography. Shooting events, weddings, birthdays – that’s what it is for. Unless you plan on filming such circumstances, there is probably no need to buy an on-camera flash.
The ring flash is worn over the lens and surrounds it. It is used for macro photography. The ring flash acts as a large window from the previous section for small objects, creating a beautiful, soft, light-shadow pattern.
15. Use Studio Lighting
The best way to study light is with controlled sources. Agree, you can’t control the sun, but studio light is easy. To do this, you just need to take a loved one or friend as a model and rent a photo studio.
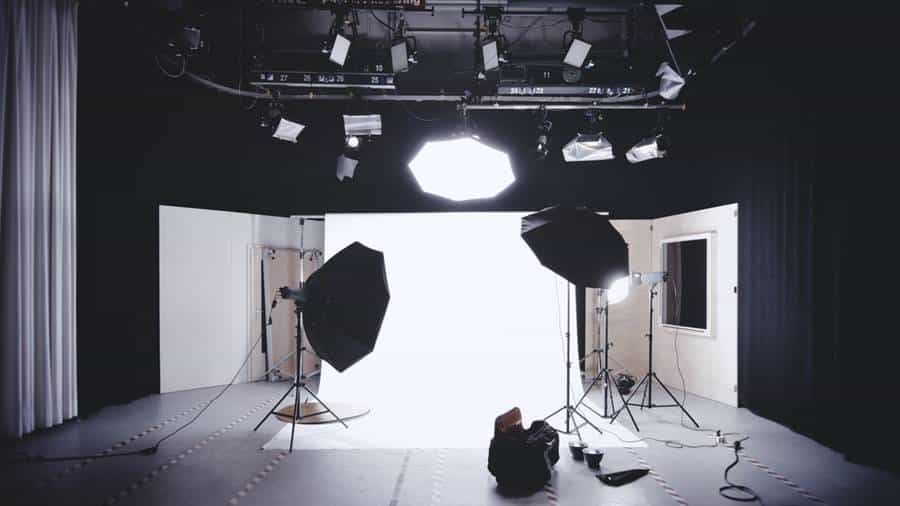
The professional photo studios provide good lighting. And if you are still at odds with properly exposing the light, the studio staff will help you with this problem.
Often in many large studios, there is a particular person who has the magic of correct lighting. 🙂🙂🙂
16. Don’t Shoot with Mixed Indoor Lighting
We’ve already talked about white balance in photography. So, each light source has its color temperature. It is measured in Kelvin.
An incandescent light bulb has a temperature of 3200 Kelvin, the sun at its zenith is 5200 K, a cloudy sky is about 7000 K. The higher the number, the colder the color. Therefore, when shooting indoors, you may encounter mixed lights.
An incandescent lamp (3200K) is lit in one corner, an LED strip (4500K) in the other corner, and the light from the window has a temperature of about 6500K. Accordingly, when shooting, you will face the fact that one part of your model’s face will be yellow, the other blue.

How to avoid this? In photography for beginners, I talk about the method used in filmmaking and complex staged photography. These are conversion filters that change the color temperature of the light source.
But for a beginner photographer, this method is difficult. So just turn off all the lights and move closer to the window – shoot with natural light from the window. If, of course, the shooting takes place during the day.
PRO TIP: Learn Composition in Photography
Composition, along with light control, is one of the essential pillars in photography. There are over hundreds of different rules, laws, principles, and properties of the composition.
But, the composition is not the rules; it is the ability to observe and see. We, photographers, call it watching. You have two ways to study composition in photography. The first is to learn the rules and follow them. The second is to watch paintings, other photographs, art objects, architecture, natural masterpieces.
Naturally, you need to combine both. And also to understand psychology. After all, the main task of a composition is to create a plot, to convey meaning. And this is already psychology. 🙂🙂🙂
I devote more than 60% of my entire study time to composition in my photography course because there is such a rule in photography. You will learn how to work with exposure in three months, learn how to set the light in half a year, and you will study composition all your life.
You may also like to read: Basic Rules of Composition in Photography
17. Each Photo Has A Story Center
Every photo should have a story center, and this center should be one. It is the axiom of photography that all professional photographers follow.
The human brain is designed so that we grasp all the details in an image and combine them into one whole. And if you use several scenes of the same importance in your shot, then there is a chance that the viewer’s attention will be defocused and irritated.
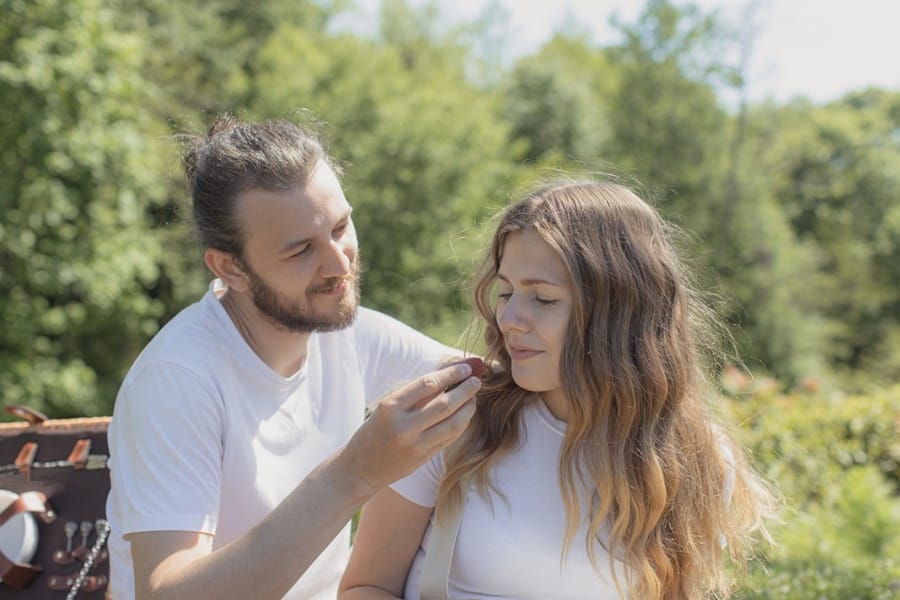
The plot center is the central part of the image, on which the viewer’s attention is focused. A well-formed composition helps to see the subject and present the story behind the shot.
But once you begin to understand the psychology of composition, you can add a few minor story centers, complicating the meaning of the shot and giving cause for thought.
18. The Rule of The Golden Ratio
The rule of the golden ratio is the basic geometric rule for positioning objects in the frame. It is used to achieve a harmonious frame. It is considered ideal for the human eye.
Whether you are shooting nature, interiors or architecture, the golden ratio will be your foundation for composition – the basis, but not the only rule.
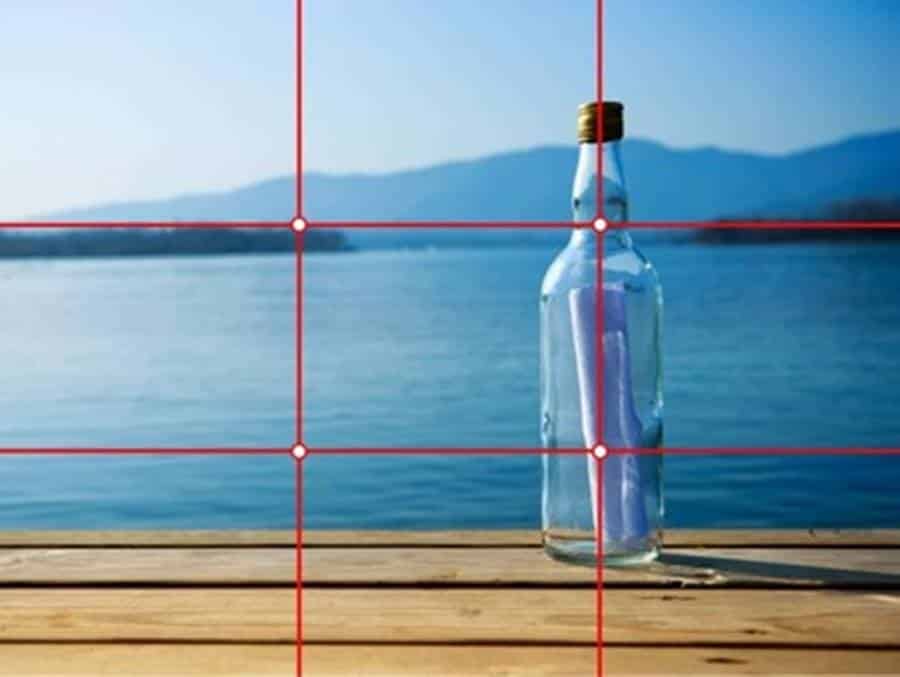
How does it work? In photography, we need to divide the frame into three parts equal in aspect ratio like 1/8, 2/8, and 3/8. Horizontal objects are placed on horizontal lines, vertical ones on vertical ones. The points of intersection are the points of semantic objects, where we put the most important thing in the picture: faces, eyes, subject centers.
19. When Shooting a Moving Subject, Leave Space in front of It in the Frame
When shooting the runner, leave space to the frame in the direction of travel, making the photo more voluminous and logical. A picture in which a person is moving “to nowhere” will cause dissonance in the viewer.
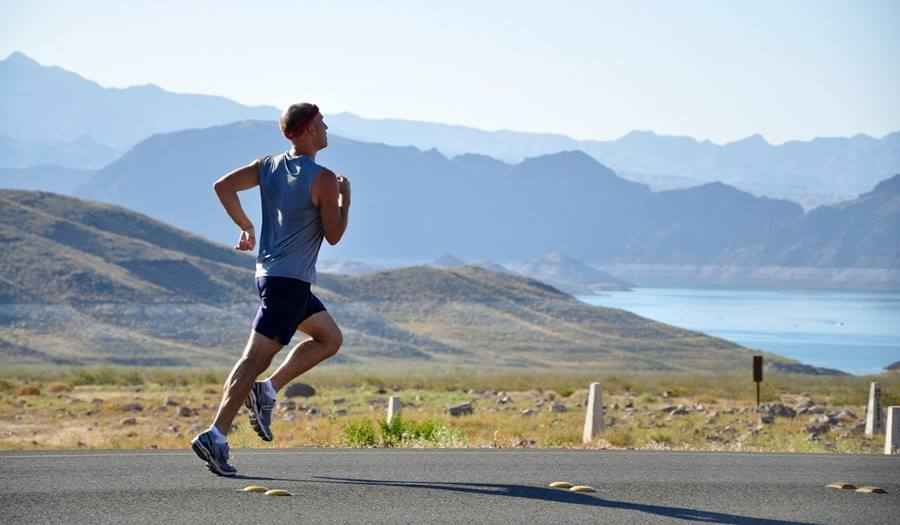
This rule is more likely already from the psychology of perception, and you remember that psychology is composition. If you asked your model to look to the side, or is it a driving car, a runner, or something else, leave space in front so our brain harmonizes the process.
But, if you want to create dissonance, stop the attention, cause irritation – do the opposite. For example, a driving car with no place in front of it creates a feeling of braking and anxiety.
The best way to explain this rule is to imagine a ball against a clear blue sky. There is nothing in the frame: only the sky and the ball.
If the ball is in the center of the frame, it appears to be hovering. If there is more room above the ball, it seems to be flying upward. If there is more room under the ball, it looks like it is falling. You can see that there are many nuances in photography.🙂🙂🙂
20. Keep Eyes in Focus
When we look at a person, first of all, we find eyes. The eyes are the most expressive part of the face. We see “eyes” even in cracks in the pavement and the shadows.

Therefore, psychologically, it is best to always focus on them when shooting portraits before our eyes.
21. Shoot Regularly
Without constant practice, any knowledge is forgotten. If you studied English a year ago and then did not practice it, your ability clearly could deteriorate. It’s the same with photography.
The ability to take a beautiful shot depends on constant practice. Therefore, shoot regularly.
It would seem that this is such a clear rule; it is written in all motivational books and articles that I shouldn’t even have talked about it. But I don’t want to give you some advice and breathe out calmly; this is not my way.
22. When Photographing Someone, Imagine Yourself in the Client’s Place
What kind of pictures would you like to get after the photoshoot? Of course, successful and super pretty. They would not be ashamed to post on social networks, those that will collect a lot of likes from friends.
Each client has their ideas, needs, and wishes. Each client has their tasks. The photographer’s job is to figure out these tasks and complete them with a photo shoot.
Here’s an example. A girl approached me intending to make an erotic photo session. I invited her to a preliminary meeting and talked to her for several hours.
We talked about various topics, looked at inspiring nude photos on Pinterest, discussed the shooting location and details. In the end, when she began to trust me a little, she admitted that she wanted to get her boyfriend back with the help of this photoshoot. With a message: look at what beauty you’ve lost.
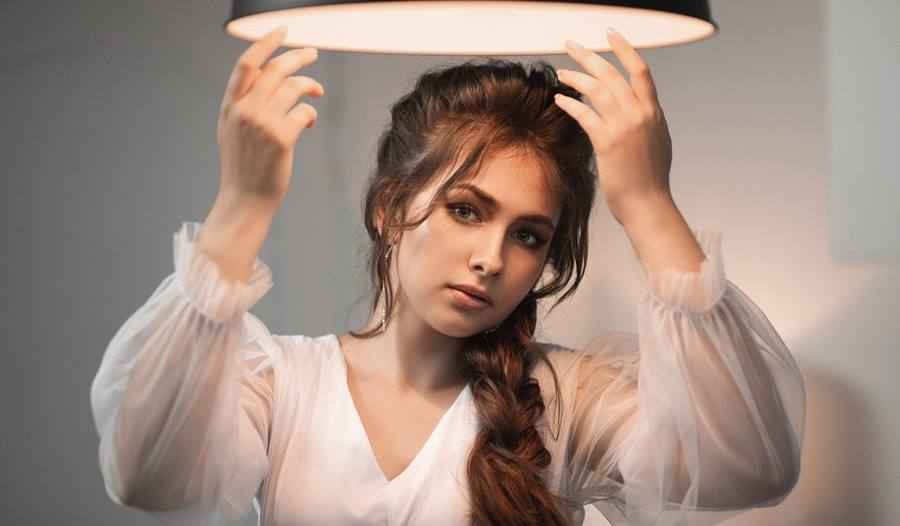
It was an obsession that I had to translate to another topic gradually. I invited her to be a boyfriend for a second, who saw her nude photos on social networks. Will he want her back after that?
Naturally not. And we did a completely different photo session, where Maria, that was the girl’s name appeared in an opposite image. Not accessible, but mysterious. Not naked, but stylishly dressed. Still sexy, just as desirable, but completely different from how she wanted to appear in front of her ex-boyfriend.
23. Make A List of Those Shots that You Would Like to Shoot
It can be done in several ways. It is convenient for someone to save a photo on the phone and write it down in a notebook by hand. It is a matter of habit.
For me, it is convenient to draw up a frame plan on Pinterest – this is an aggregator site for all kinds of ideas for photos (and not only). Its convenience also lies in the fact that there you can create separate boards for each topic. You can also make them private so that only you can see what’s stored there.
By the way, I also show my clients boards on Pinterest to find inspiration and develop the plot of the shot.
24. Think Over the Idea and Props in Advance
In general, planning is an excellent habit. By carefully thinking over the idea and deciding what is needed to bring it to its ideal form, you can make a successful shoot.

Do not expose yourself and the client – get ready to shoot in advance.
25. Don’t Review Every Photo You Take
Of course, not all shots will turn out perfect for you. Therefore, it is pointless to review each photo immediately after you have taken it. It will only take your time and the client’s time, and it will also get on their nerves.
It is best to shoot each frame several times in a row, in case you accidentally fall into sharpness or the client closes his eyes and then, already at home, upload all the photos to Adobe Lightroom and make a selection right there.
26. Go on Set in A Good Mood
A good mood is key to successful shooting. Of course, mood alone is not enough, but it plays a massive role in the filming process. A cheerful photographer will win over the model and charge her with a good mood, which will contribute to great shots.

But if your goal is dull footage from a boring photo shoot, then forget what I just told you.
27. Show Only Your Best Work
Well, why would anyone see your bad shots? Leave them for your archive, or instead delete them altogether, especially if you are in the habit of giving all your pictures to the client.
After all, who will give a guarantee that they will not fully post the entire photo session, even with the most terrible shots, on social networks and will not sign the album in large letters – MY Absurd Photos…😂😂😂

I had such a case in practice: I forgot to delete bad takes and gave the shooting to the client. He chose the worst and ugliest photos, posted them on Facebook, and signed: this is how one of the best photographers shoots, blah blah blah.
What motivated him, I do not know. But now you know that such people exist on this planet.
28. Interaction with Customers
When I was photographing people, I rarely scheduled a photo session without first meeting with the client. First, you need to know the person, find out “what he breathes,” and win him over.
Secondly, previously discussed all aspects of shooting, you will know precisely what the customer needs.

And thirdly, with the help of a preliminary meeting, you will endear your client to yourself, and it will be easier for her (or him) already at the photo session itself.
29. Prepare for The Weather
If you plan to shoot outdoors, be sure to focus on the weather conditions. Yes, the weather can change quickly, so you must always be ready for force majeure situations.

After all, you do not want your equipment to be flooded with rain, and the model’s wish list does not include ruining makeup and hair in the shower or wind.
30. Time it Right
Always leave yourself some “spare” time. In order not to rush later and not to panic in case of force majeure.

31. Don’t Schedule Multiple Shoots on the Same Day
A photo session is a creative process. Working with a model, you connect with it in one impulse, and it is pretty challenging to switch back.
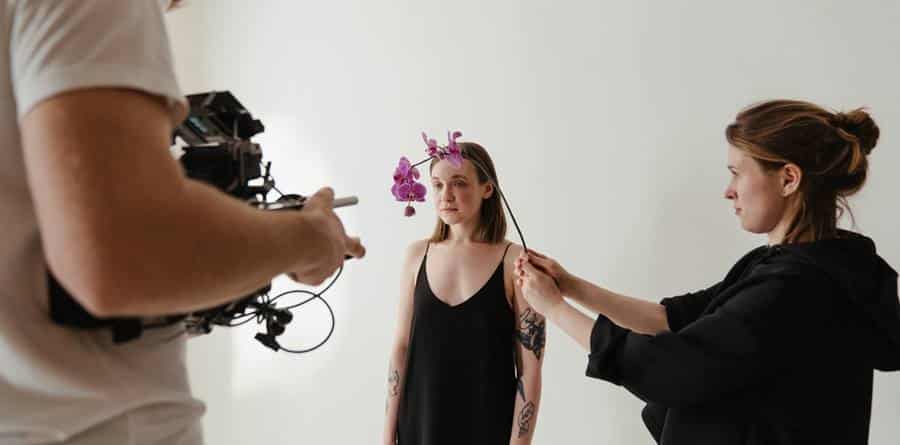
Therefore, by scheduling several photo sessions a day, you run the risk of not creating such a “connection” with your other model. And, of course, your second client may not get such good shots.
32. Make a Mood Board
It is also called the board for inspiration. You can compose it both yourself, based on the client’s wishes, and together with the customer. Of course, the second option is better because both of you will be one hundred percent sure that the result will satisfy both parties.
It is practical to create mood boards using the Pinterest service we talked about earlier.
33. Do Not Intrude (When filming at events, etc…)
Nobody likes obsessive people. And obsessive people with a camera are not liked even more. Therefore, if a person does not want to be in the frame, pose for you, do not force him.

Otherwise, the photos will turn out to be unsuccessful. After all, the person will be constrained or irritated. Nobody wants to get such images.
34. Pay Attention to Detail
Always pay attention to the background – to those objects that are located behind the person and near. Otherwise, you can get a picture where a person has everything perfectly – hairstyle, facial expressions, posture, but lying in the distance, for example, a garbage bag will make you put an end to the picture.
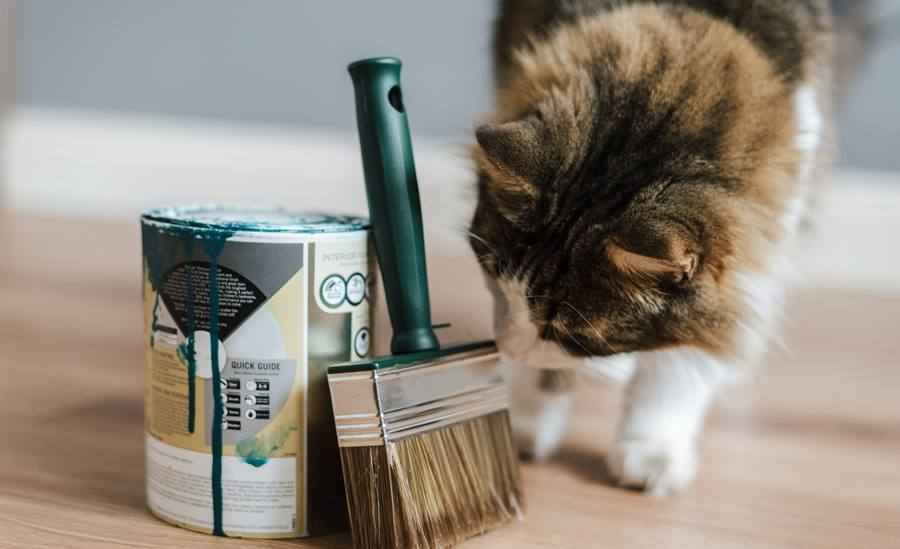
Another factor is sticking out poles and tree branches from your model’s head. It looks ridiculous and suggests that the photographer either does not know how to shoot or respects his model.
35. Correct Shooting Height
Shoot children and adults differently if your model is shorter than you shoot at her level not to spoil the person’s proportions. By the way, many quite often shoot children from above – and this is not always good. So make an effort and sit down – squats are good.
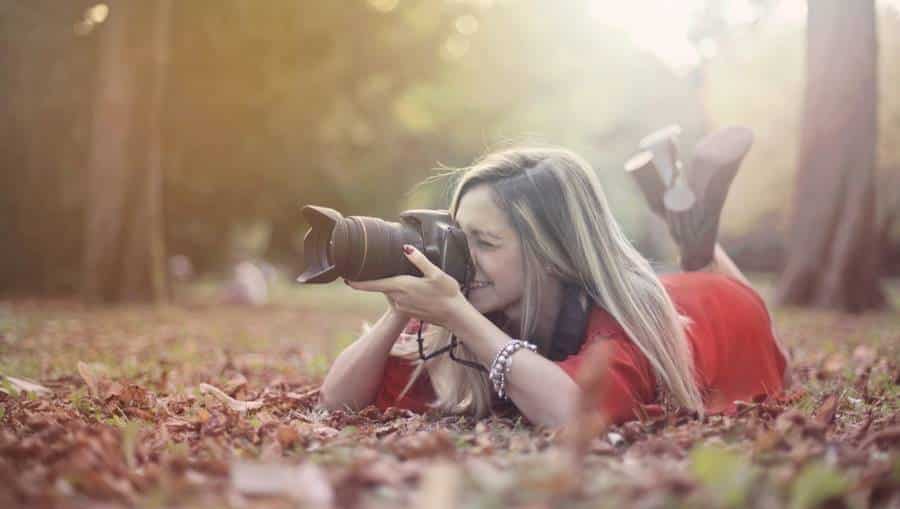
Universal Tip: If you are shooting a portrait, shoot it from the chest level of the model. If you shoot 3/4, shoot from waist level; if you shoot full-length, lie on the floor.
36. Wear Comfortable Clothing
When taking pictures, you will have to lie on the floor, hang in trees, kneel in puddles and sprinkle ashes on your head. And do not forget, the photographer is always on his feet during the photo session, for several hours in a row.
Therefore, do not wear high-heeled shoes or a tight miniskirt. A loose fit and comfortable flat-top sneakers are best.
And this advice does not apply to reportage photographers. After all, if you are filming an event where the dress code is “Black Tie” or “Festival attire,” you should at least know what it is, and as a maximum, dress accordingly. No one will take seriously a photographer wearing a sweaty T-shirt among tuxedos and evening gowns.
By the way, another important factor is a bag for a photographer. This article may help you choose the best backpack – What are the Best Backpacks for Nikon DSLR Camera?
37. Plan Key Plots
Decide on the number and locations of the main plots of your photoshoot. It will make it easier for you and your models to act as you shoot.
And don’t forget to schedule it. What time does it start, how long it takes to get ready and when to move to a new location.
Correctly compiled timing will eliminate the fuss, show you as a professional, and allow you to estimate the amount of time required for a photo session and accurately form the price.
38. Build a Relationship not with Camera, But with the Subject
Become a friend of your client during the photo session. Talk to him, make him laugh, do everything possible to make him accessible in front of the camera – after all, this is the key to an excellent result.

39. Take Inspiration from Other People’s Work
Remember, being inspired and copying is two different concepts. Copies are excusable at first, but then you need to find your style.
You can have any number of sources of inspiration. Nowadays, finding an exciting idea for photography is easy. Sign up on Pinterest, an idea aggregator site for every topic. And as I mentioned above, it is also convenient to make mood boards on it and select the frames you want to implement.
40. Learn to Edit Photos
Adobe Photoshop only costs $10 per month. And this gives you a massive number of possibilities – practice handling. Learn new things. Get inspired by how other photographers are processing your photos. Look for what is suitable for you.

And with Lightroom, which comes bundled with Photoshop for $10, you can even edit photos from your phone. It’s incredibly convenient.
41. Always Delete Ugly Photos
No, you don’t need them. No, you won’t fix ugly photos by processing them. And no, they will not serve as a bad example for the future. Although you need to make an amendment here: they will serve, you still have to delete them.
Don’t clog your memory with bad pictures. Delete them without the slightest regret.
42. If the Photo is not Interesting, There is no Point in Making It Black and White
Yes, black and white shots look impressive and, in some cases, even outperform photos in color. However, this is only possible when the shot is initially good.

A boring photo “about nothing” will not become a masterpiece if you make it black and white. So you also need to get rid of such pictures without regret.
You will spend much less time filming something new than fixing a bad old one.
43. Don’t Stop Learning
You get better with every new shoot. Your skills develop when you pay attention to them. Invest your time and money in training.
Learn from other photographers. Choose the most convenient training format for you. You must like what you are doing; otherwise, there will be no positive result.
And don’t forget, mainly so that you can learn easily and unobtrusively, I have prepared a helpful, educational newsletter with cool tips and homework on photography for you.
If you haven’t subscribed to it yet, now is the best time to do it.

