Last week, many readers asked how to take winter photos correctly, and I will answer this question in this article. When the ground is covered with snow, one of the most beautiful and the most difficult seasons of photography begins. While some are hiding in the studios, taking pictures against the backdrop of lush Christmas trees with golden decorations, others rush outside to take beautiful shots of real frosty winter.
But as we have already noted, winter is not an easy season for photography, so you need to prepare and photograph carefully. I will tell you exactly how to shoot fantastic winter shots correctly.
Preparing to Shoot
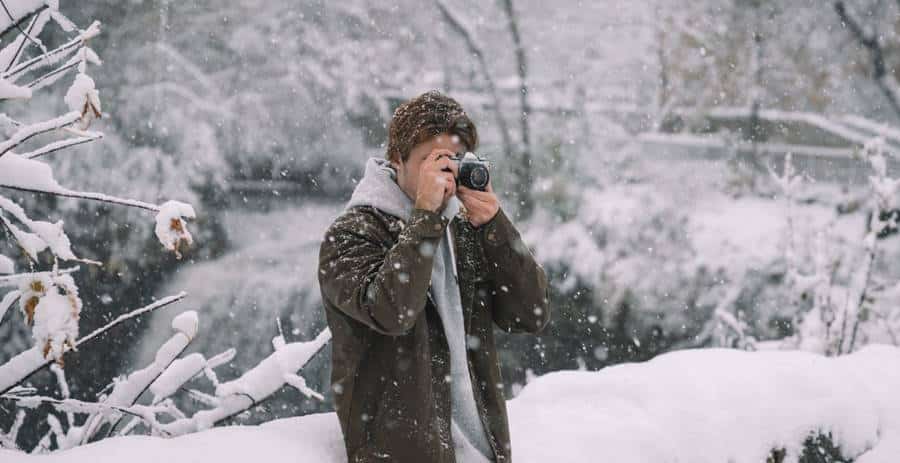
Shooting an object or person against the snow background is a real challenge, and it is not always possible to prepare in advance for any turn of events. The weather, for example, can always give surprises, so you should always start preparing for the situations that you will encounter.
Lighting at dawn tends to have a warm golden hue. And in combination with the cold blue inherent in snow, it can turn into a unique image. A rich palette, in principle, is typical for winter evenings, but in the morning, with a bit of luck, you will also get snow untouched by footsteps.
Be sure to prepare warm and waterproof things – you will have to spend a lot of time in the cold, and the body starts to freeze pretty soon, mainly if you shoot at a long exposure and have to be in a static position.
If your camera has a touchscreen, smartphone gloves with conductive material fingertips are a great help. They do not need to be removed to use the display, and your hands stay warm.
And of course, you need to prepare the camera for shooting: make sure the battery is fully charged, prepare a unique handy bag for the camera that can withstand low temperatures.
Small and handy, the Caden bag pack for SLR cameras got its name for a reason. It is made of durable materials that are not afraid of moisture and cold. It will provide shock resistance and can hold a camera, multiple lenses, and accessories.
And it is crucial that when you return and bring your camera home from the cold, let it gradually warm up. In this case, it is best to put it in the most fabulous place to prevent condensation in the mechanism.
Winter Exposition
The automatic mode is convenient, but in the case of shooting in winter, when everything is covered with snow, this option is very inconvenient. Snow will confuse the camera’s sensors, resulting in underexposed results, that is, with insufficient exposure. The snow in the photo will look gray, and it will not be possible to pull out its natural color even with post-processing. In this case, you will need to set the settings yourself.
First, of course, you will need to select a frame and focus. Then select the brightest area in the snow and zoom in on it. Next, you need to use the exposure compensation button and choose a value that will vary between +2/3 and +1 2/3 EV, depending on the brightness of the snow. Read the indicators and remember the settings. After that, go to manual mode and choose the shutter speed and aperture value. Slow shutter speeds will help keep the snow bright and not spoil other subjects’ look in the frame.
If mid-tone objects, such as large gray rocks, buildings, etc., come into the frame, treat them differently. These settings will help you display snow correctly, but you will have to specify negative compensation, such as -1/3EV. This must be done so that the snow is not overexposed.
There is another way, and this is a histogram. It also allows you to adjust the exposure of the frame. All you need to do is take a test shot and check the histogram. If the values are too high in the middle, then you need to add a bit of positive compensation to add brightness to the frame. And suppose the histogram either on the right or on the left is significantly reduced, on the contrary. In that case, you need to add negative compensation so as not to overexpose the brightest places.
Reflections
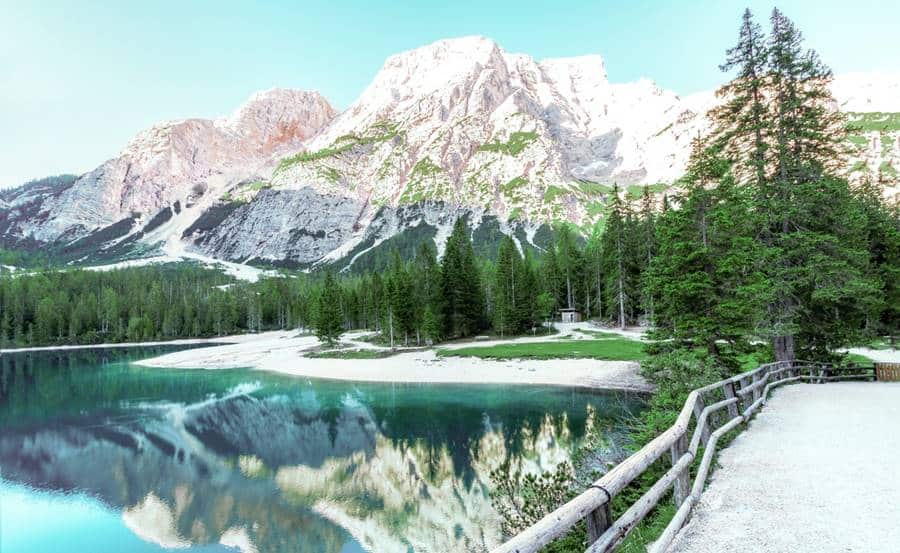
Of course, due to its color and surface, snow is a pretty strong reflector. But we don’t always need extra highlights in the frame. But even this case can be corrected or instead prevented.
When you shoot the snow, be sure to use a lens hood; otherwise, you risk getting blurry photos because snow causes glare and flashes of light that are not so easy to predict. Choose a hood depending on your lens. For example, one-piece hoods are suitable for standard lenses, while a “petal” hood should be used with a wide-angle lens.
“The same reason should be reason enough not to even think about using a flash. The most apparent scenario when shooting with a flash is overexposure and, as a result, overexposed areas in the photo.
How to Take Winter Photos: Ideas and Their Implementation
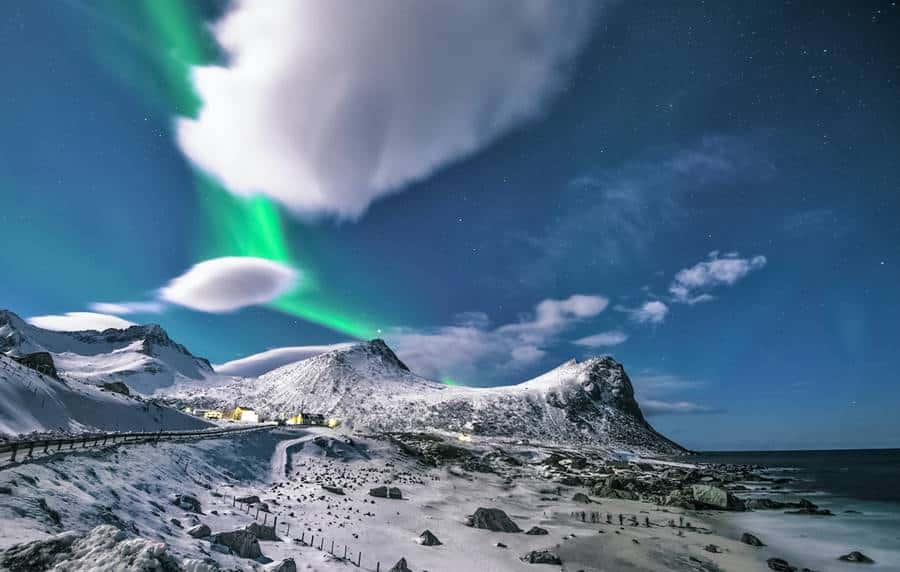
All the ideas that you have, you need to prepare in advance. Chasing frames in the cold is not a pleasant task. So be sure to think through whatever you want to shoot, and best of all, go to the location in advance to familiarize yourself with the situation. As for the shots, here are some excellent ideas:
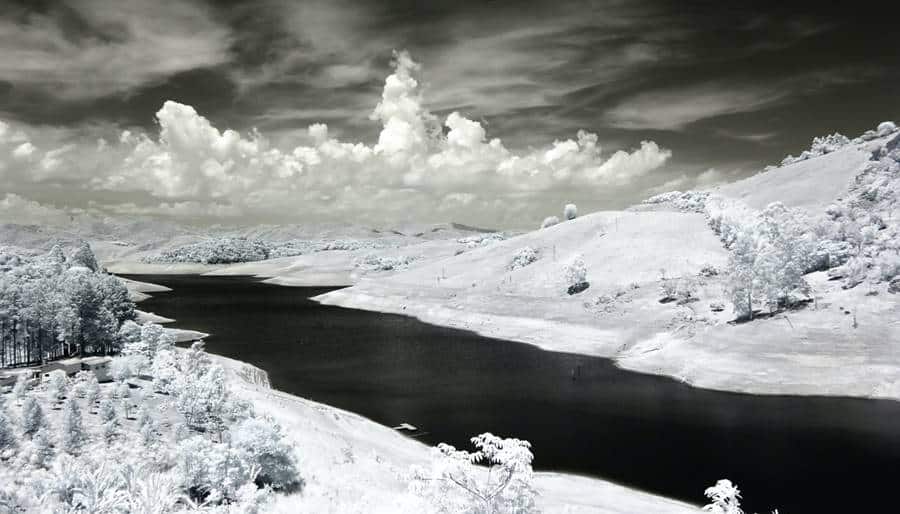
- If you’re aiming for a dark photo, winter is a great time. Large low clouds and dark contrasting objects and buildings buried in snow can look quite dramatic. If you don’t mind shooting in b/w, then this is the most opportune moment. With the right approach, you can achieve both a silvery frame and a sharp, contrasting one with bright white and dark elements.
- If you shoot in color, be careful. Again, it’s worth noting that snow has a solid ability to reflect, so you need to watch out for reflexes. Bright, saturated colors are more likely to give a reflex in the snow.
- Look for curious color combinations and contrasting pairs. Again, bright elements will catch your eye against a white background, and with suitable composition, this can produce great results.
- Winter light has another exciting feature. In winter, shadows from objects and people look longer. How can this affect the photo? Very simple and very positive. We often mention the need to lead the viewer to the subject in the frame. And these shadows are a great opportunity. They are natural, so you don’t have to add extra objects to the frame and lead us directly to what or who is throwing them away.
- Speaking of unnecessary objects, don’t overload the frame with them. Zoom in and see details for yourself. Clean background and a clear object look much more effective than many elements crammed into the overall frame.
- One of the rules that I always strive to mention is essential for all photographers who plan to do the business professionally. Always shoot in RAW format. This format provides the most post-editing and customization options. You can correct the exposure, some types of overexposure, the temperature of the picture and correctly convert it to b/w. JPEG will never give you this experience. Therefore, always remember the convenience of RAW shots.
Endurance is Always Your Friend
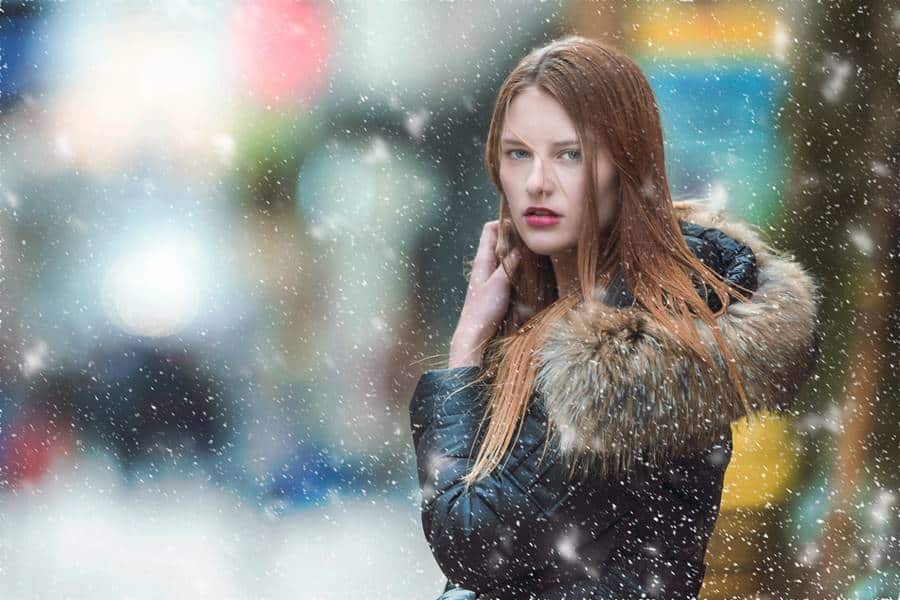
I have saved a few tips for the final paragraph. And they concern, of course, endurance. You have probably already noticed that we repeatedly talk about its importance. But when shooting snow, it has almost the same value as when shooting at night.
- So, for starters, if you want to get falling snowflakes that will look like snow-white stripes, use a tripod and a slow shutter speed. This is not a new technique, but that is why it is no less compelling.
By the way, if you’re looking for a tripod that does a great job in the cold, this is the TECELKS Lightweight Tripod. The unique advantage of this tripod is its lightweight CFRP body and stable legs. It is ideal for travel and filming outdoors and in nature.
- If you are shooting snowflakes in a strong wind or shooting a real blizzard, then the shutter speed should still be set to a shorter one. In calm conditions, or just in light wind, it is quite possible to shoot at a shutter speed of about 1/15 second.
- Also, at dawn and dusk, when you want to capture all the subtleties and shades of the sky and their reflection on the snowy surface, it is best to use a slow shutter speed.
Everything else, perhaps, relies only on your ideas and your creativity. I hope you got the answer to your question – “how to take winter photos?”. Don’t forget to experiment, take shots and watch the results. And try not to get cold. Happy winter photography.

